Step 3. Ground the system
Microinverters and modules must be connected to the grounding conductor
in accordance with national standards. Fix the grounding wire with screws
to the microinverter’s grounding hole, so that the grounding of
microinverters can be realized.
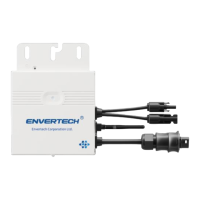
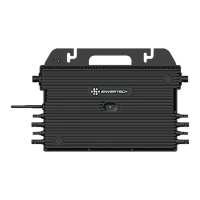
Step 4. Install a Wi-Fi antenna
For better Wi-Fi signal, rotate the antenna clockwise until it is firmly secured
to the EVT400.
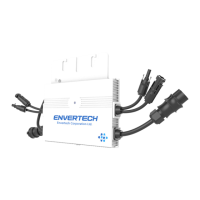
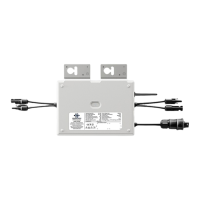
Step 5. Connect microinverter AC cables serially
Connect the AC connectors on both sides of the microinverters in a hand-in-
hand way.
Step 6. Fasten AC cables and seal the unused connector
Fasten AC cables and grounding cables to the rack with cable ties.
Insert the end cap directly into the connector on the unused end, and check
if it is inserted in place.
Step 7. Connect to the grid
Option a. Connect to air switch
Remove the skin of the two ends of the ex-tension cable by y=40mm and
remove the skin of internal wires by x=14mm. Set the metal terminals onto
the open parts and clamp them to tighten the connection;
Connect the other side of the extension cable to the air switch.