5
230V Version
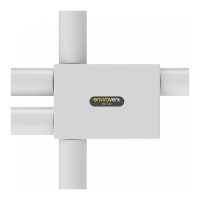
6. This fan must be installed by a competent
person. Oer up the central cartridge join green
male/female connector (230V) and carefully
insert central cartridge into back carcass.
Insert four silver screws to x central cartridge
in place. N.B. Take care not to trap cables. (Fig
4.)
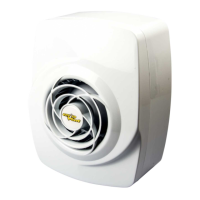
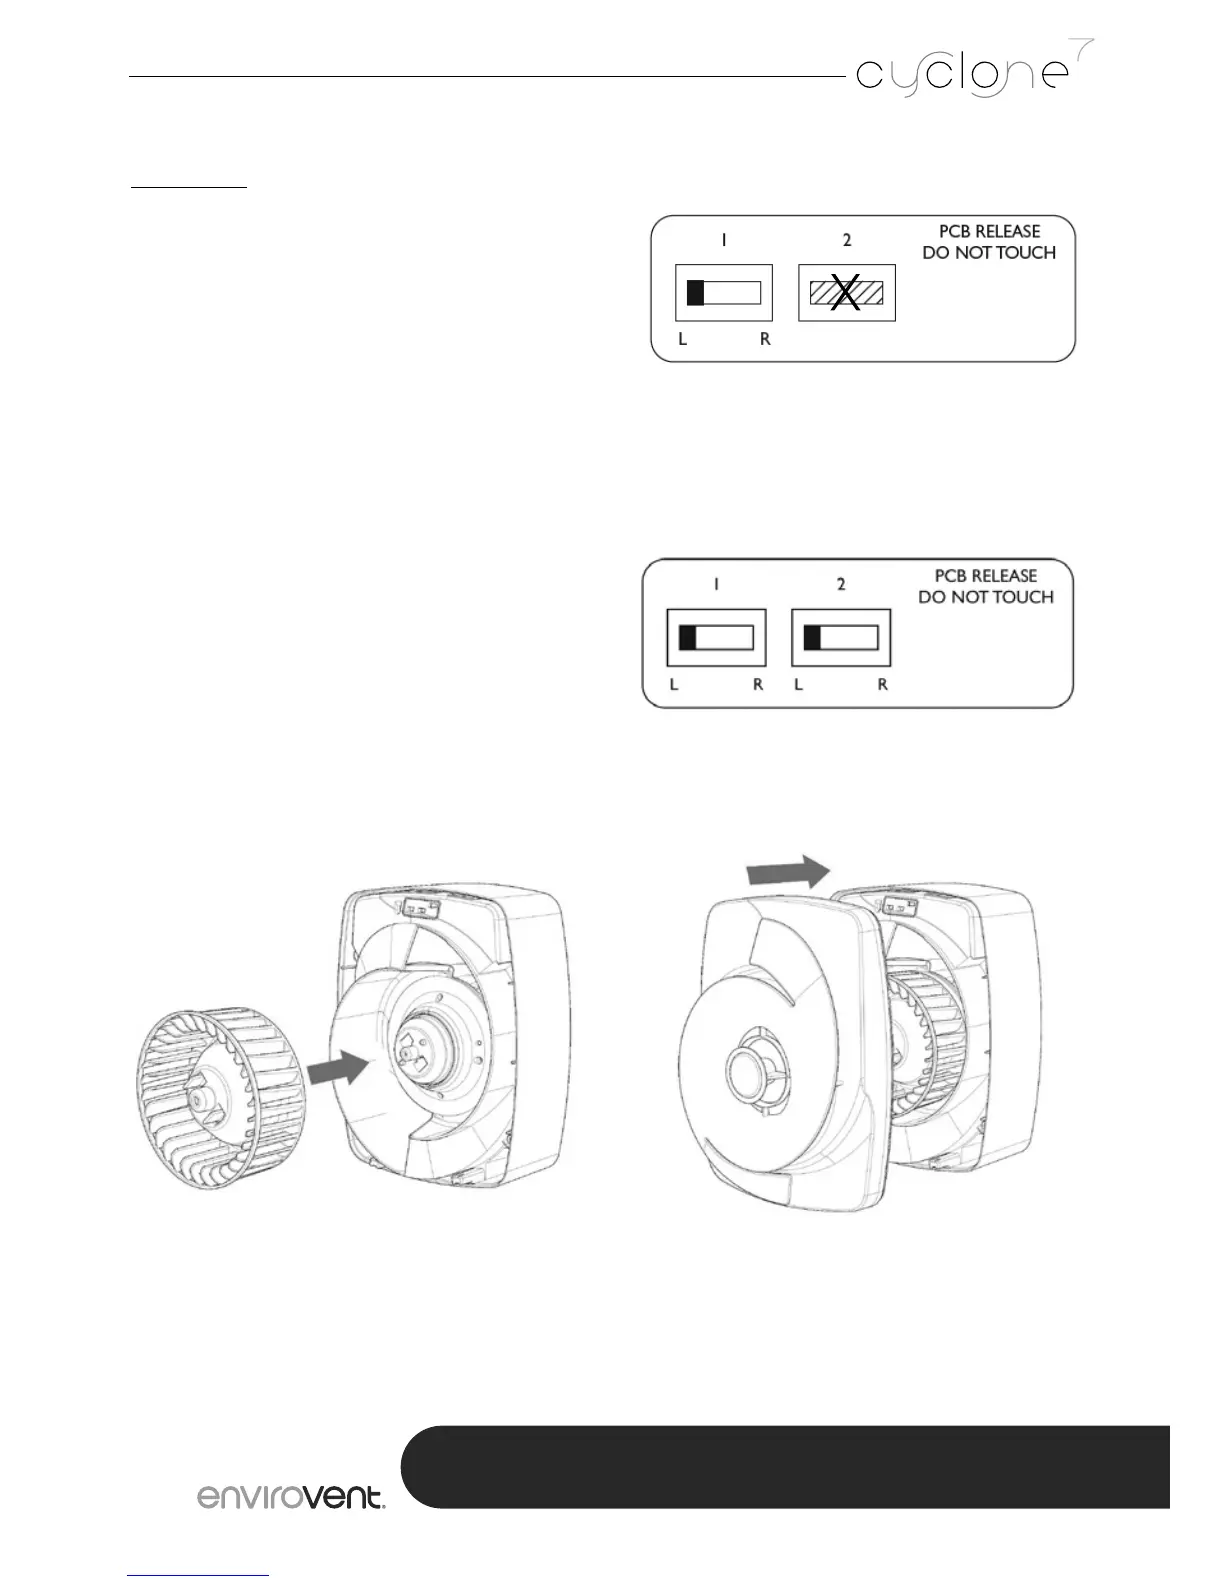
7. This fan is factory set to kitchen duty with
humidity tracking function. If two speed or
bathroom option is required, commission
fan by setting slider switch as appropriate
(Fig.5a/5b). Fix supplied gasket over selector
switches.
8. Check impeller is tted correctly - ensure ‘click’
action engaged cleanly. (Fig. 6)
9. F i x f r o n t c o v e r . E n s u r e p u l l c o r d n e s t l e s i n t o g r o o v e .
N.B. Fan will not operate unless front cover is
in position. (Fig. 7) place.
Fig.5a
Fig.5b
Fig.6 Fig.7
1. LEFT - Humidity Tracking
RIGHT - Two Speed
2. SLIDER NOT USED
1. LEFT - Humidity Tracking
RIGHT - Two Speed
2. LEFT - Kitchen
RIGHT - Bathroom
OTHER APPLICATIONS/VARIATIONS
For recessed only installations we can supply a bezel.
COMMISSIONING:
This fan is factory set to kitchen duty with humidity tracking function.
INSTALLATION INSTRUCTIONS
SELV SLIDER
230V SLIDER