EasyManuals Logo

Epilog Laser Fusion Pro 32 Assembly Replacement

Epilog Laser Fusion Pro 32
22 pages
To Next Page IconTo Next Page
To Previous Page IconTo Previous Page
Page #8 background imageLoading...
Page #8 background image
PRO 32 & 48 X-AXIS ASSEMBLY
8
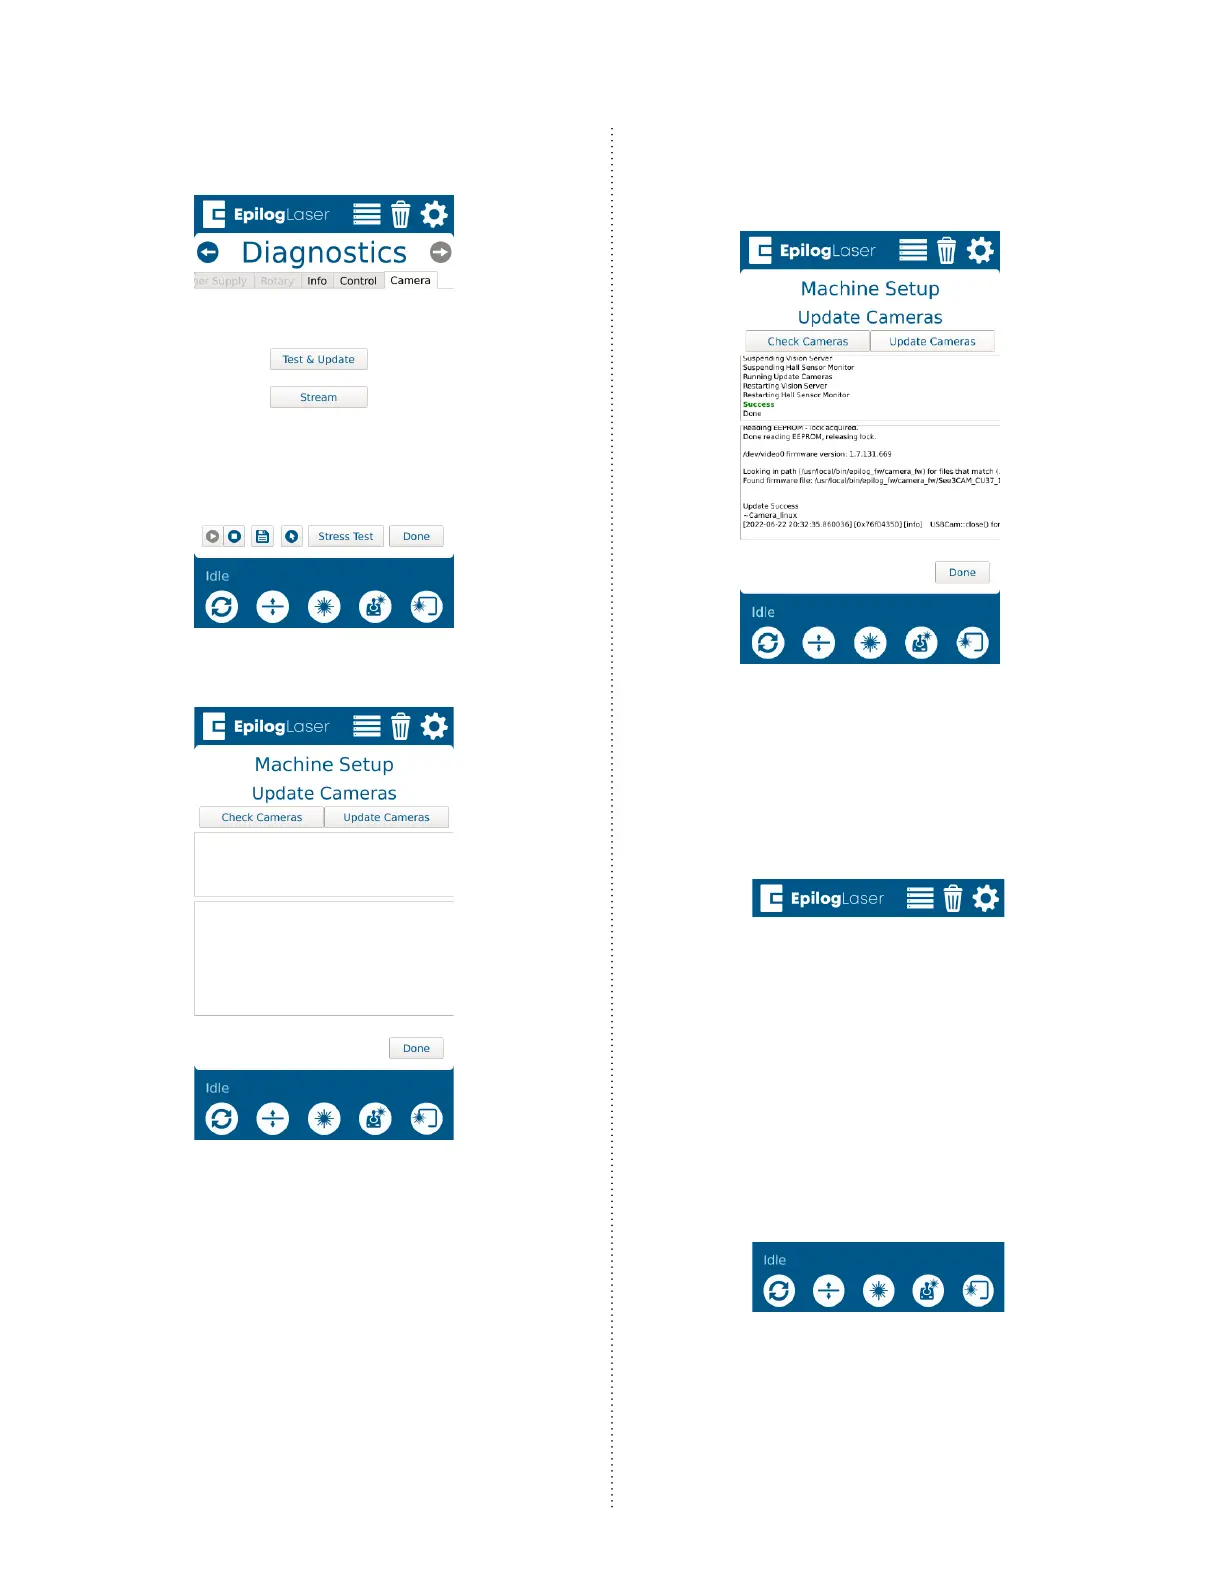
3. Enter the Diagnostics menu and scroll to
the Camera tab. Press Test & Update:
4. Press Update:
5. Allow the engraver to complete the
update. Once done, a success message
will appear:
Updating the Peripherals
1. At the display panel, press the gear icon
in the upper right-hand corner of the
display to open the Settings menu:

Other manuals for Epilog Laser Fusion Pro 32

Questions and Answers:

Question and Answer IconNeed help?

Do you have a question about the Epilog Laser Fusion Pro 32 and is the answer not in the manual?

Epilog Laser Fusion Pro 32 Specifications

General IconGeneral
BrandEpilog Laser
ModelFusion Pro 32
CategoryEngraver
LanguageEnglish

Related product manuals