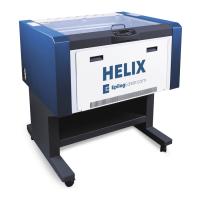
6. Press [FOCUS], then attach magnetic focus tool (see figure 3 below)
and adjust the bed
height using [∆] and [∇] (up and down arrows) until the height tool on the head is just
touching your material.
0. Remove the focus tool
and press [RESET] to move the head back to the starting position.
Figure 3
: Magnetic focus tool fitted
to the head of the laser and cutting
bed raised showing focus tool
touching material.
SOFTWARE
D. Create image using any software that can export to .dxf file
.
E. Go to cutting software (e.g. Rhinoceros or Illustrator), and import the .dxf file. Make sure
your lines are joined together, this will ensure that the laser works sequentially around the
drawing (rather than moving randomly between lines).
IN RHINO:
In Rhinoceros, choose FILE > PRINT. Click on SET to define the bed size. Place it
over the top of your drawing. Note that in Rhino you can adjust the colour/line
thickness of various LAYERS, so if you want to change lines from vector (cut) to
raster (engrave), adjusting the colours/line thicknesses is the best way to do this.

 Loading...