EasyManuals Logo

Epilog Laser Helix Replacing Instructions

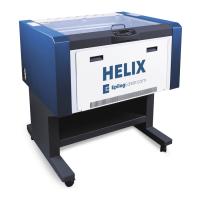
Epilog Laser Helix
4 pages
To Next Page IconTo Next Page
To Previous Page IconTo Previous Page
Page #2 background imageLoading...
Page #2 background image
3. Disconnect air intake. Push in the white ring and then
pull the air hose out.
4. Cut the white electrical tie around the white ribbon
cable.
White Ribbon
Cable
E
lectrical tie
5. Disconnect white ribbon cable.
6. Unscrew the green captive screw on the left side of
the I-beam.
7. Unscrew the two green captive screws on the right side
of the I-beam.

Other manuals for Epilog Laser Helix

Questions and Answers:

Question and Answer IconNeed help?

Do you have a question about the Epilog Laser Helix and is the answer not in the manual?

Epilog Laser Helix Specifications

General IconGeneral
Laser TypeCO2
Resolutionup to 1200 dpi
Cooling SystemAir-cooled
SoftwareEpilog Dashboard
Warranty2 years
Laser Power30, 40, 50, 60 watts
Max Material Thickness8" (203 mm)
ConnectivityUSB
Operating System CompatibilityWindows
Operating ModesRaster, Vector, Combined
Power Supply50/60Hz
Supported File FormatsAI, EPS, PDF, DXF, BMP, GIF, JPEG, PNG, TIFF
Work Area24" x 18" (610 x 457 mm)

Related product manuals