EasyManuals Logo
Home>Epilog Laser>Engraver>Helix

Epilog Laser Helix Replacing Instructions

Epilog Laser Helix
4 pages
To Previous Page IconTo Previous Page
Page #4 background imageLoading...
Page #4 background image
10. Tighten green captive screws on both sides of the I-
beam.
11. Move the I-beam to the front and to the back to make
sure for smooth y-axis movement.
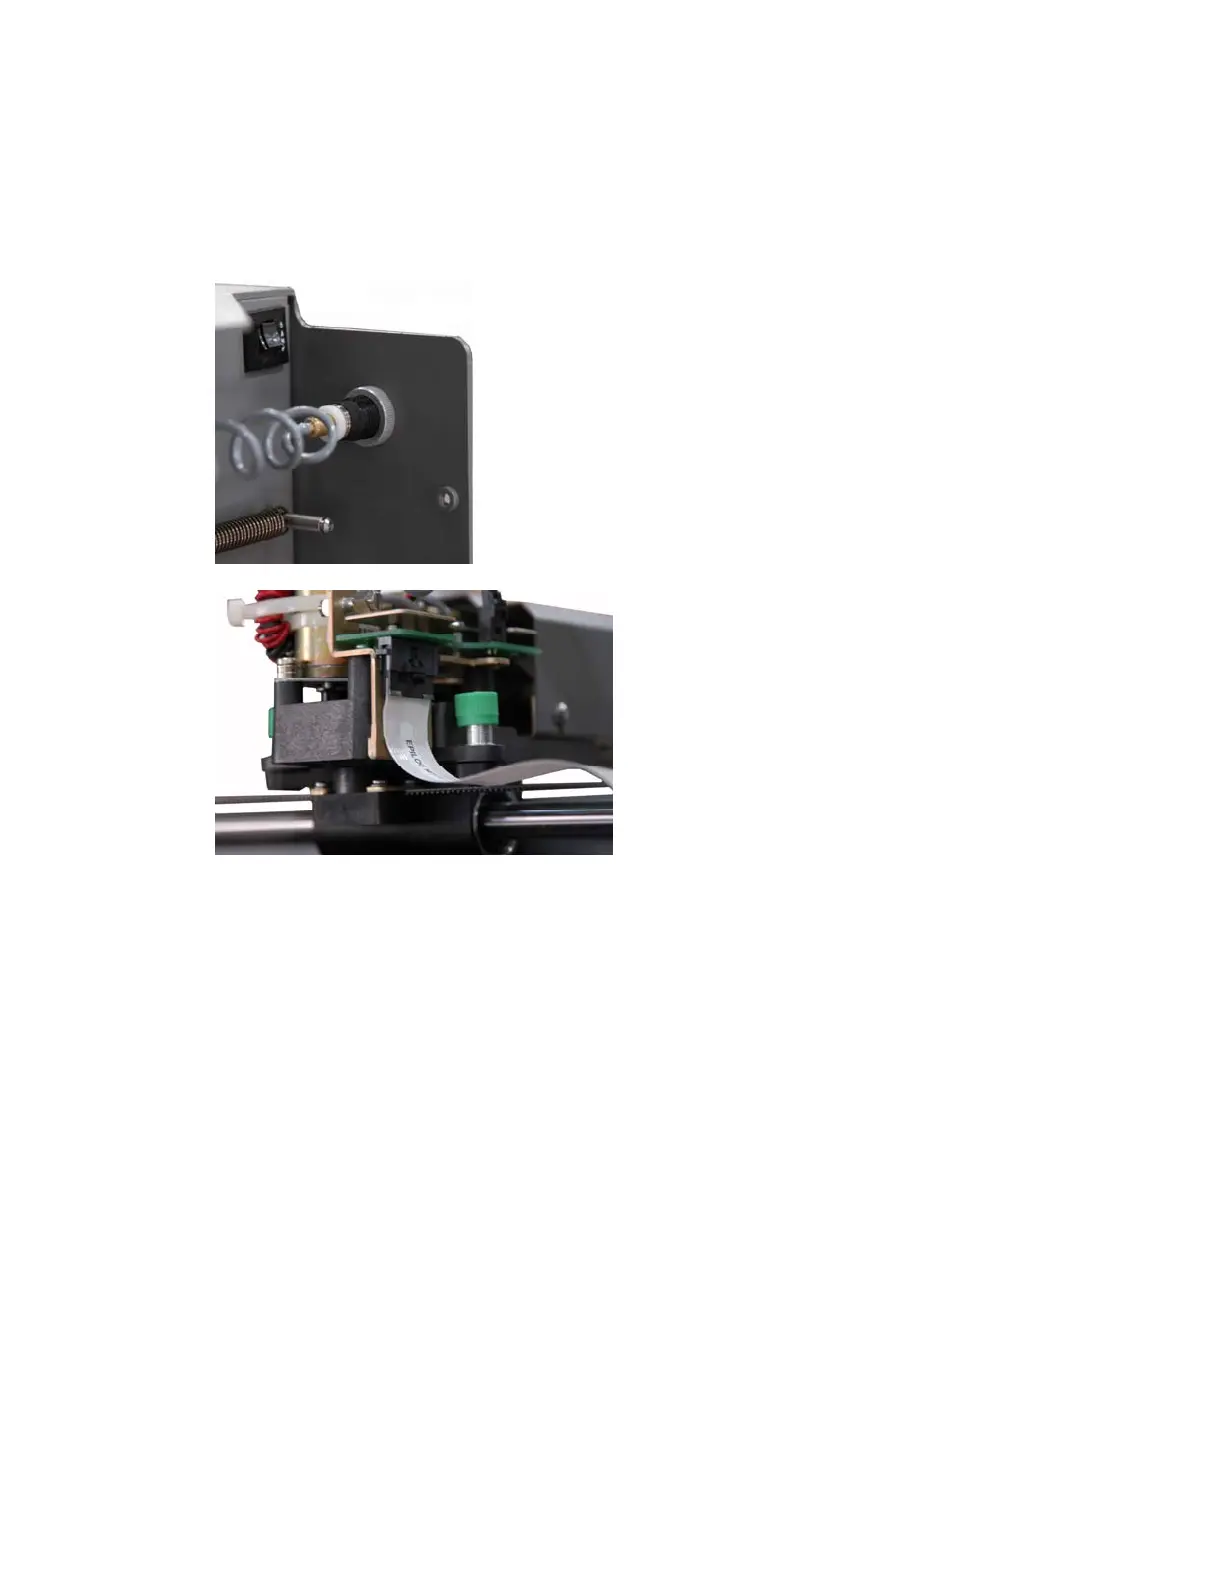
12. Reconnect air intake
13. Reconnect white ribbon cable.
14. Replace side panels.
If you have any questions, please contact Epilog’s
Technical Support
Phone 303.215.9171
Fax 303.531.7594
E-Mail tech@epiloglaser.com

Other manuals for Epilog Laser Helix

Questions and Answers:

Question and Answer IconNeed help?

Do you have a question about the Epilog Laser Helix and is the answer not in the manual?

Epilog Laser Helix Specifications

General IconGeneral
BrandEpilog Laser
ModelHelix
CategoryEngraver
LanguageEnglish

Related product manuals