EasyManuals Logo
Home>Epilog Laser>Engraver>MINI

Epilog Laser MINI User Manual

Epilog Laser MINI
17 pages
To Next Page IconTo Next Page
To Previous Page IconTo Previous Page
Page #5 background imageLoading...
Page #5 background image
Epilog Laser Tube Upgrade
Mini / Helix
Revision Date: 9/27/2013 pg. 5 of 17
Procedure B: Installing Adapter Bracket
Step 1:
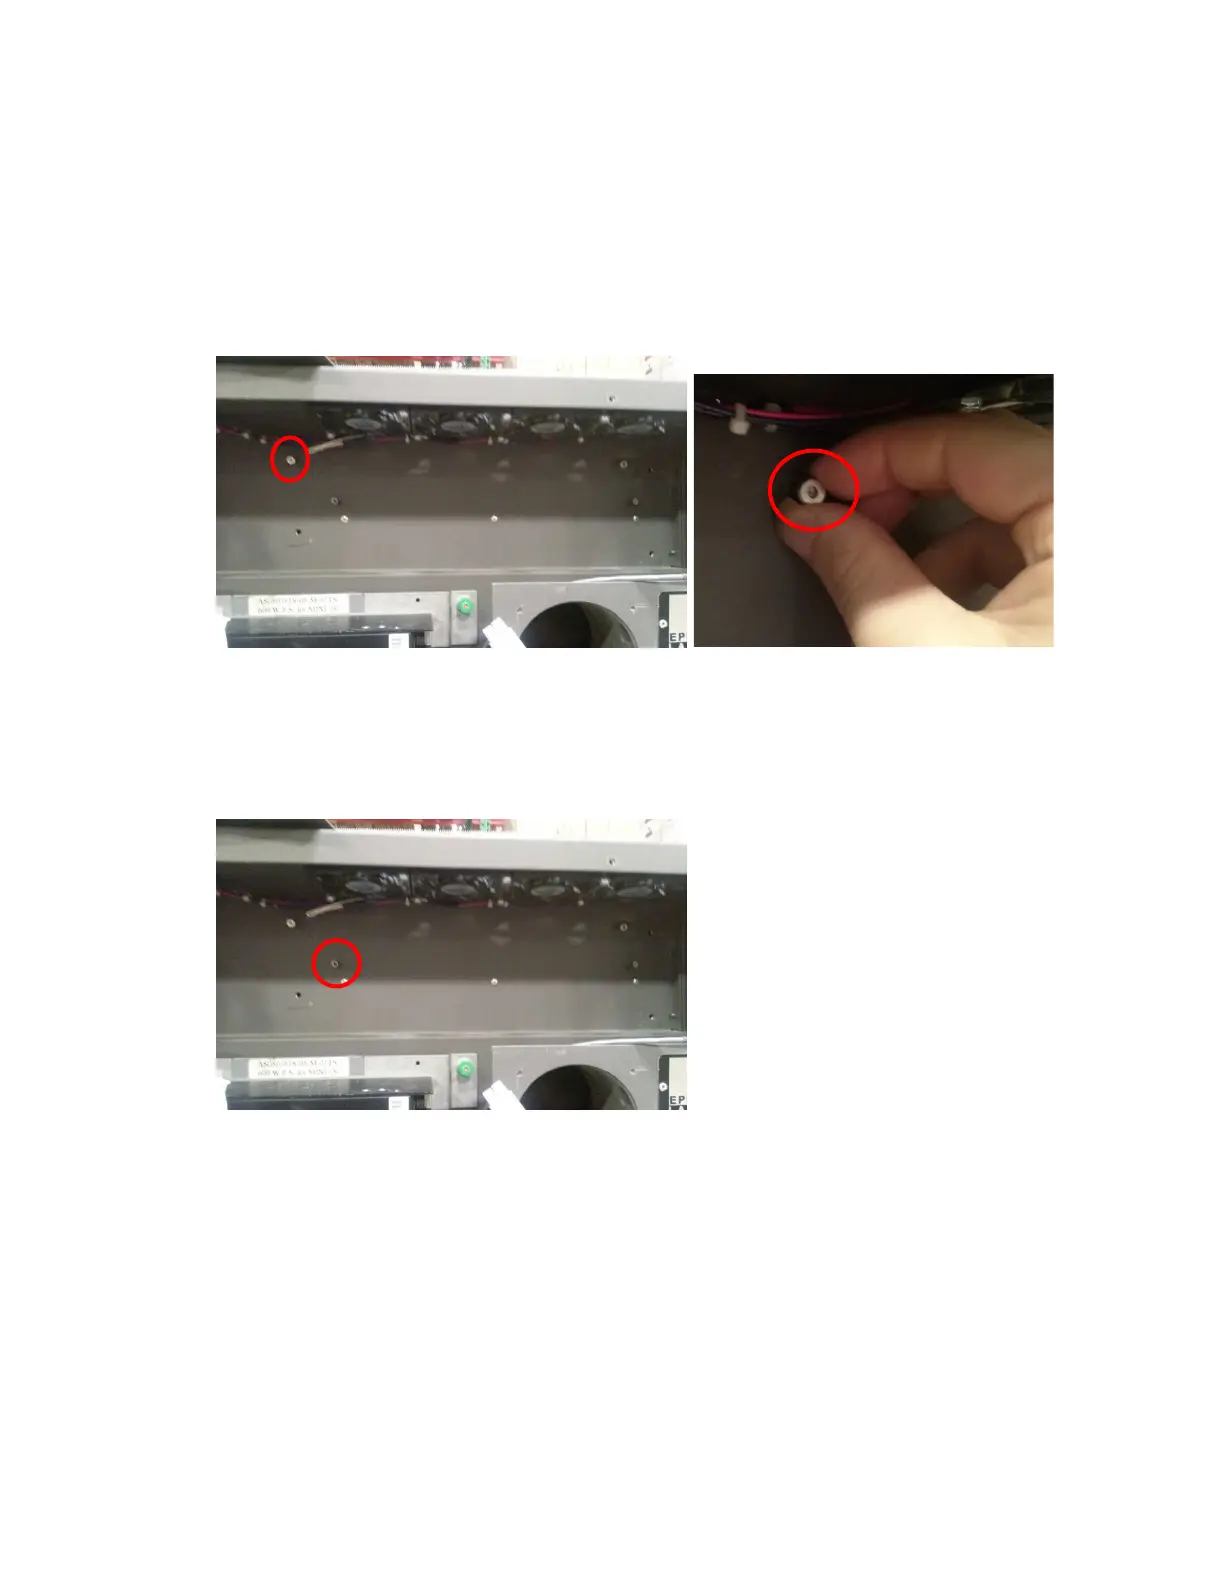
Locate the left hand shoulder screw and remove it by unscrewing it. When
finished please discard the shoulder screw.
Step 2:
Locate the left hand spacing standoff. Using a pair of Locking Pliers, break the
standoff away from the body of the engraver. You will not damage the Engraver.

Other manuals for Epilog Laser MINI

Questions and Answers:

Question and Answer IconNeed help?

Do you have a question about the Epilog Laser MINI and is the answer not in the manual?

Epilog Laser MINI Specifications

General IconGeneral
BrandEpilog Laser
ModelMINI
CategoryEngraver
LanguageEnglish

Related product manuals