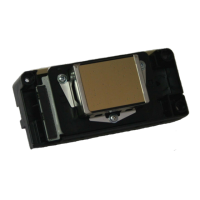
10) Push damper into print head. Make sure to install dampers in the correct positions in the printer and
push all the way down for a tight seal. Once ink lines are filled and dampers are all installed in the
printer, release clamps to open ink flow. Make sure ink lines return to round shape after clamp is opened.
If pinch remains in line after opening clamp, pinch tube in opposite direction with finger and thumb.
11) Install lid over dampers in print head as shown below. Place tape over damper lid as shown to prevent
tubes from bending forward as they naturally want to do.
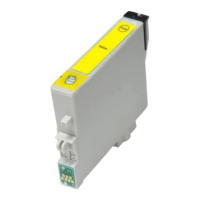
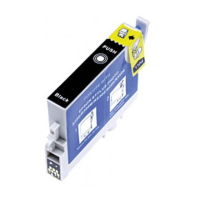
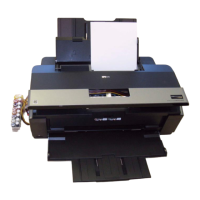
12) Install tube brackets on printer (shown below) Place tubes flat from dampers to ink bottles, using
brackets to hold in place. For proper tube placement, yellow tube should be at the top and cyan at the
bottom (see photos above). Allow only enough slack in the ink tubes so the print head can move to the
far right side of the printer without slack or tension in the tubes- having too much or not enough slack in
the tubes will make the tubes not move and bend correctly.
11/5/09 © Vermont PhotoInkjet Page 4 of 6