Do you have a question about the Epson BrightLink 695Wi+ and is the answer not in the manual?
| Projection Technology | 3LCD |
|---|---|
| Native Resolution | WXGA (1280 x 800) |
| Lamp Life | Up to 10, 000 hours (ECO mode) |
| Operating Temperature | 41°F to 95°F (5°C to 35°C) |
| Operating Humidity | 20% to 80% (no condensation) |
| Connectivity | HDMI, USB, VGA, LAN |
| Interactive Features | Finger touch and pen interactivity |
| Speakers | 16W |
| Projection Size | 60" - 100" |
| Brightness | 3, 500 lumens |
| Zoom | Digital zoom |
Provides an overview of the installation guide and the products it covers.
Details safety instructions, warnings, and symbols for safe operation and installation.
Covers safety precautions for installation and requirements for the installation location.
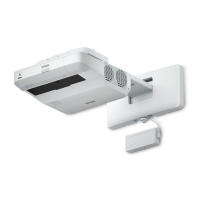
Lists and illustrates the components included for the Touch Unit installation.
Lists and illustrates the components included for the Touch Unit Bracket.
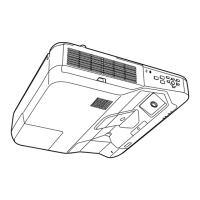
Details external dimensions, weight, and labels for the Touch Unit and Control Pad.
Details the external dimensions and weight of the pen stand.
Step-by-step guide for installing the Touch Unit above a whiteboard.
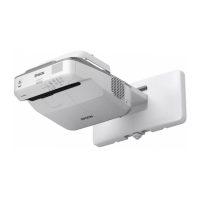
Step-by-step guide for installing the Touch Unit directly onto a whiteboard.
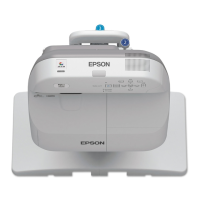
Ensures adequate space, removes front cover, and checks installation location for Control Pad.
Procedure for attaching the Control Pad, connecting cables, and securing ports.
Details on calibration and software for the Easy Interactive Function.
Instructions on how to attach a security cable to the projector.