5.
Set the
le
saving settings.
❏ Image Format: Select the le format for saving the scanned image from the list.
You can specify detailed settings for each
le
format except BITMAP and PNG.
Aer
selecting the
le
format, select Options from the list.
❏ File Name: Conrm the displayed le name.
You c a n ch a ng e s e t t ing s for t he
le
name by selecting Settings from the list.
❏ Folder: Select the save folder for the scanned image from the list.
You can select another folder or create a new folder by selecting Select from the list.
6.
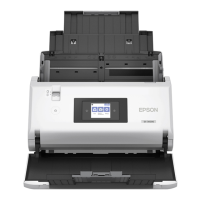
Make sure that the feed selector on the scanner is set to the appropriate position.
❏
: Standard size originals such as A4 paper
❏
: Special originals such as folded documents and plastic cards
7.
en click Scan.
Note:
❏ You can also start scanning by pressing the
x
button on the scanner’s control panel.
❏ To scan originals that are likely to jam, such as thin paper, tap Settings > Slow in this order to reduce the feeding
speed.
Scanning
>
Scanning with Epson Scan 2
80

 Loading...