7
English
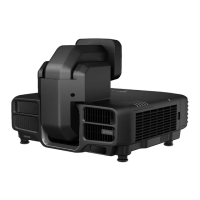
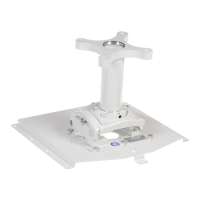
2-3 Fitting the Projector Plate to the Projector
(1) Turn over the projector so that the operating panel faces downwards.
(2) Use the four projector mounting screws provided to attach the projector
plate to the projector.
There are several oblong holes in the projector plate. Place the screws through
the holes that align with your projector and tighten them.
• The illustration may differ depending on the kind of projector.
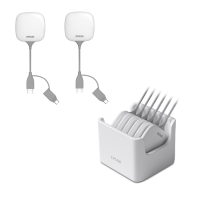
Projector mounting
screws (4 pcs.)/lock
washers (4 pcs.)/plain
washers (4 pcs.)
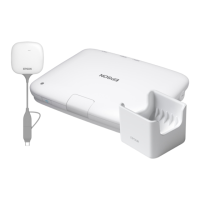
Projector lens side
Projector operating panel side
Projector plate
Always use the screws provided to secure the projector.
After tightening the screws check carefully that they are tight.
Firmly fix the projector to the ceiling mount with a sufficiently strong
safety wire or belt to prevent it from falling. (Read the instruction
manual of the projector to confirm which part of the projector can be
to attach a safety wire or belt.)
Applying a screw-locking adhesive or lubricant, oil and so on to the
projector where it is fixed to the ceiling mount can make the case
crack and the projector fall, leading to damage or injury. Do not use
any sort of adhesive, lubricant, or oil when installing or adjusting the
ceiling mount.
Warning