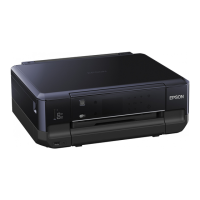
C
Slide the edge guides to the sides of the paper
cassette.
Note:
When using Legal-size paper, remove the CD/DVD tray,
and then extend cassette 2 as shown in the illustration.
D
Slide the edge guide to adjust to the paper size you
will use.
E
Load paper toward the edge guide with printable
side face-down, and check that the paper is not
sticking out from the end of the cassette.
Note:
❏ Fan and align the edges of the paper before loading.
❏ For plain paper, do not load paper above the line just
under the
arrow mark inside the edge guide.
For Epson special media, make sure the number of
sheets is less than the limit specified for the media.
❏ When you select Cassette 1>Cassette 2 as the Paper
Source, load the same size and type of paper in both
cassettes.
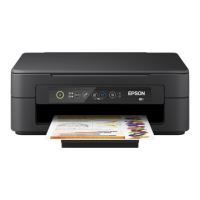
F
Slide the edge guides to the edges of the paper.
G
Keep the cassette flat and insert it back into the
product carefully and slowly.
Note:
❏ Leave enough space in front of the product for the
paper to be fully ejected.
❏ Do not remove or insert the paper cassette while the
product is operating.
Into the rear paper feed slot
Note:
Even though you can print on paper with a thickness of
0.05 to 0.6 mm, some hard paper may not be fed correctly
even if the thickness is within this range.
Basic Guide
Paper and Media Handling
6