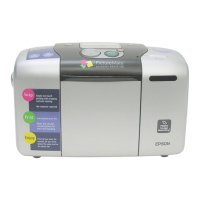
Turn On
to the back of
back.
to turn on PictureMate.
see
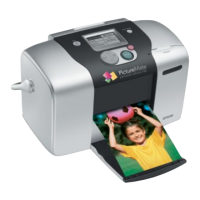
photo cartridge.
Initial
2 Slide the cartridge lever left
to the Release position.
3 Remove the initial photo cartridge
from its package.
Caution: Do not install a
different PictureMate
cartridge for initial setup.
Install only the initial photo cartridge
that came with PictureMate.
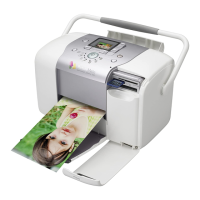
4 Slide the cartridge straight into the slot, label side up,
until it clicks into place. It will not go in all the way.
5 Slide the lever all the way right, to the Lock position.
6 Close the cartridge door.
PictureMate charges the print head for
3 to 4 minutes and displays the screen above.
7 When you see the
Charging complete
message on the photo
viewer screen, press OK.
Turn over
Press here

 Loading...