2 Plug In and Turn On
1 Connect the power adapter to the back of
PictureMate.
2 Connect the power
cable to the power
adapter.
3 Plug the other end
of the power cable
into a power outlet.
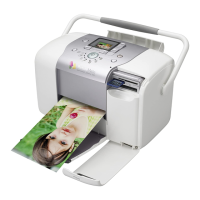
4 Flip the handle to the back.
5 Open the paper support.
6 Press the On button to turn on PictureMate.
After a moment, you see
this on the photo
viewer screen:
Now you can install your initial photo cartridge.
3 Install the Initial
Photo Cartridge
1 Open the cartridge door.
PictureMate charges the print head for
3 to 4 minutes and displays the screen above.
7 When you see the
Charging complete
message on the photo
viewer screen, press OK.
Turn over
Press here

 Loading...