Start Here
Set up your PictureMate and
print–no computer required!
Note: To print from your computer, see Using PictureMate With a
Computer and your CD after completing these steps.
1 Unpack
PictureMate comes with all these items in the box.
Remove all the tape and packing material from PictureMate.
Caution: To avoid damaging your PictureMate,
keep it out of the sun and don’t leave it in your
car or other location where it can get too hot.
2 Install the Photo
Cartridge
1 Flip the handle to the
front of PictureMate.
2 Open the cartridge door
on the back of PictureMate.
You see the release lever.
3 Move the lever to the Release position by sliding it
in the direction shown.
4 Shake the photo cartridge
a few times in its package,
then unwrap the cartridge.
5 Slide the cartridge straight into the slot, label side up,
until it is fully inserted. Push in both sides evenly to
make sure it is not crooked.
Caution: Make sure both sides of the cartridge are even,
or ink may leak. If either side is sticking out, remove the
cartridge and reinstall it.
6 Move the lever right to the Lock position. If it does
not lock in place, the cartridge is not installed
correctly. Release it and try again.
7 Close the cartridge door. Make sure it is completely
closed.
If the door does not close completely, the cartridge is
not installed correctly. Remove it and try again.
8 Flip the handle to the
back of PictureMate
and all the way down.
3 Plug In and Turn
On PictureMate
1 Connect the power cable
to the power adapter.
2 Plug the small cable into
the back of PictureMate.
3 Plug the other end of
the power cable into a
standard power outlet.
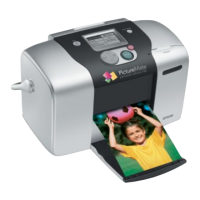
4 Press the On button to turn on PictureMate.
PictureMate gets the ink ready for printing.
You see this message:
After a few minutes, when PictureMate is ready,
you see this message:
5 Press the OK button.
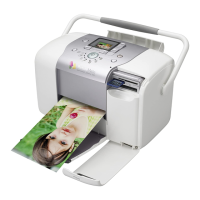
4 Load Paper
Your PictureMate comes with photo paper made especially
for it.
Caution: Don’t load or print on plain paper; this may damage
PictureMate.
1 Flip open the
paper support.
2 Pull up the paper
support all the way.
3 Open the output tray.
Note: Make sure the paper support is fully extended.
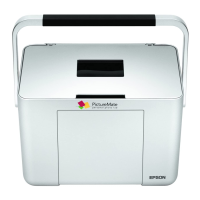
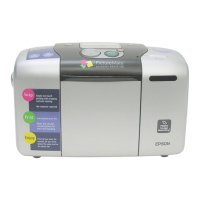
PictureMate
Power cable Photo cartridge (ink)
Paper
Using PictureMate
Without a Computer
book
Printer
Software
CD
+
Turn over
Using PictureMate
With a Computer
booklet
Power adapter
4051812-00 XXX
To release lever
Handle
Lever
Make sure the handle
is all the way down
WrongRight