Setting Up the Projector 17
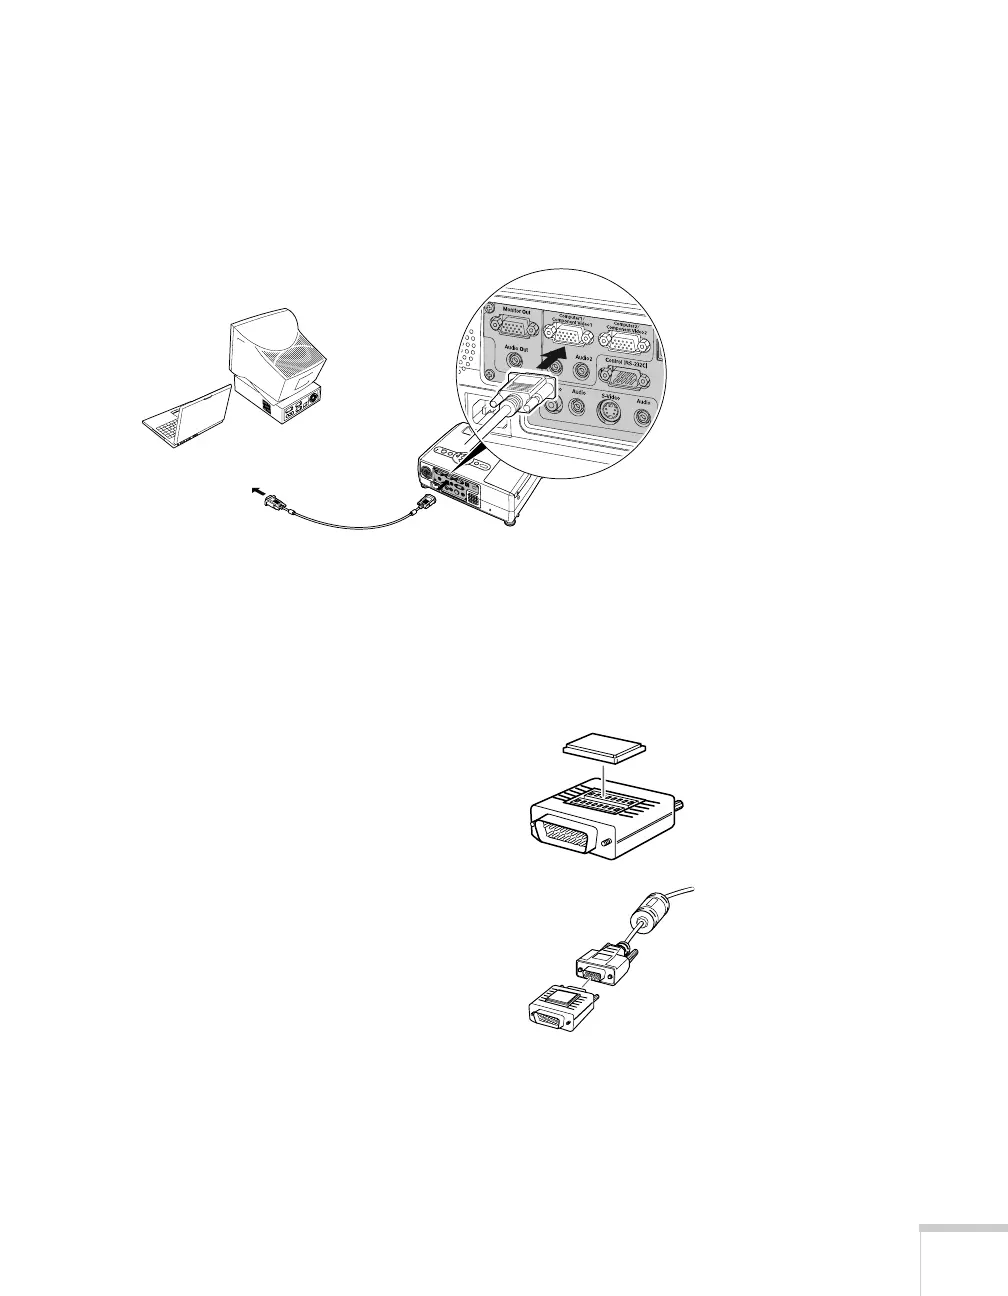
3. Connect one end of the cable to the projector’s
Computer1/Component Video1 or the
Computer2/Component Video2 port. If you are going to
connect your computer monitor to the projector for simultaneous
display, use the
Computer1/Component Video1 port.
4. Connect the other end of the cable to your computer’s video-out
or monitor port.
If you’re using a PowerBook or iBook and you can’t connect the
cable, you may need to use the Macintosh desktop adapter as
shown below (available from Epson; see page 12).
To use the adapter, remove its cover as
shown and set its DIP switches according
to the resolution you want to use, such as
16-inch mode. See your Macintosh
documentation for instructions.
Replace the cover and connect the
adapter to the free end of the computer
video cable. Then plug the cable (with
the adapter) into the video port on your
Macintosh.
5. If you want to view the display
simultaneously on your computer monitor and the projector
screen, see “Connecting an External Monitor” on page 20.
6. Tighten the screws on the connectors.
 Loading...