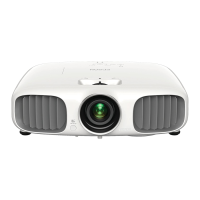
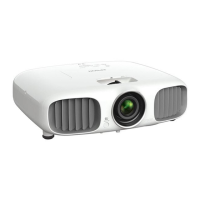
Adjust the image
1
If you don’t see an image, press one of the Source buttons on the remote
control or the Home and arrow buttons on the projector to select the
image source.
Note: If you still see a blank screen or have other display problems,
see “Troubleshooting.”
2
For the best image quality, place the projector directly in front of the
center of the screen, facing the screen squarely. If this is not possible, turn
the horizontal and vertical lens shift dials to adjust the image position and
center it on the screen.
3
If the image is tilted, adjust the front feet as shown below.
4
Turn the zoom ring to reduce or enlarge the image.
5
Turn the focus ring to sharpen the image.
6
If your image is uneven on the sides, you can use the keystone correction
feature to adjust the image. To use this feature, you must first set the lens
to the center-top position using the lens shift dials.
Press the or button to display the keystone correction screen.
Then press the
, , , or button to correct for horizontal keystone
distortion and the
or button to correct for vertical keystone
distortion.
Using the remote control
Make sure the batteries are installed as shown (two AA batteries).
Turn projector on
Choose which source
to display
Access projector
menus
Turn projector off
Navigate projector
menus
Display Home screen
For more information on using the remote control, see the online
User’s Guide.
Viewing 3D images
To view 3D content, you must first connect a 3D-compatible video device to
one of the HDMI ports on your projector. You will also need a pair of Epson
®
(part number V12H548006) or Epson-compatible RF 3D active shutter glasses.
1
Turn on and begin playback on the 3D-compatible video device.
Note: Make sure you set the video device to play content in 3D mode.
2
Press the 3D Format button on the remote control, if necessary.
3
Slide the power switch on your 3D glasses to the On position.
Note: If the glasses don’t automatically display 3D content, you may
need to pair them with the projector. Move the glasses within 10 feet
(3 m) of the projector, then press and hold the Pairing button on the
3D glasses for at least 3 seconds. The status light on the glasses will
alternately flash green and red, then remain green for 10 seconds if
pairing is successful.
 Loading...