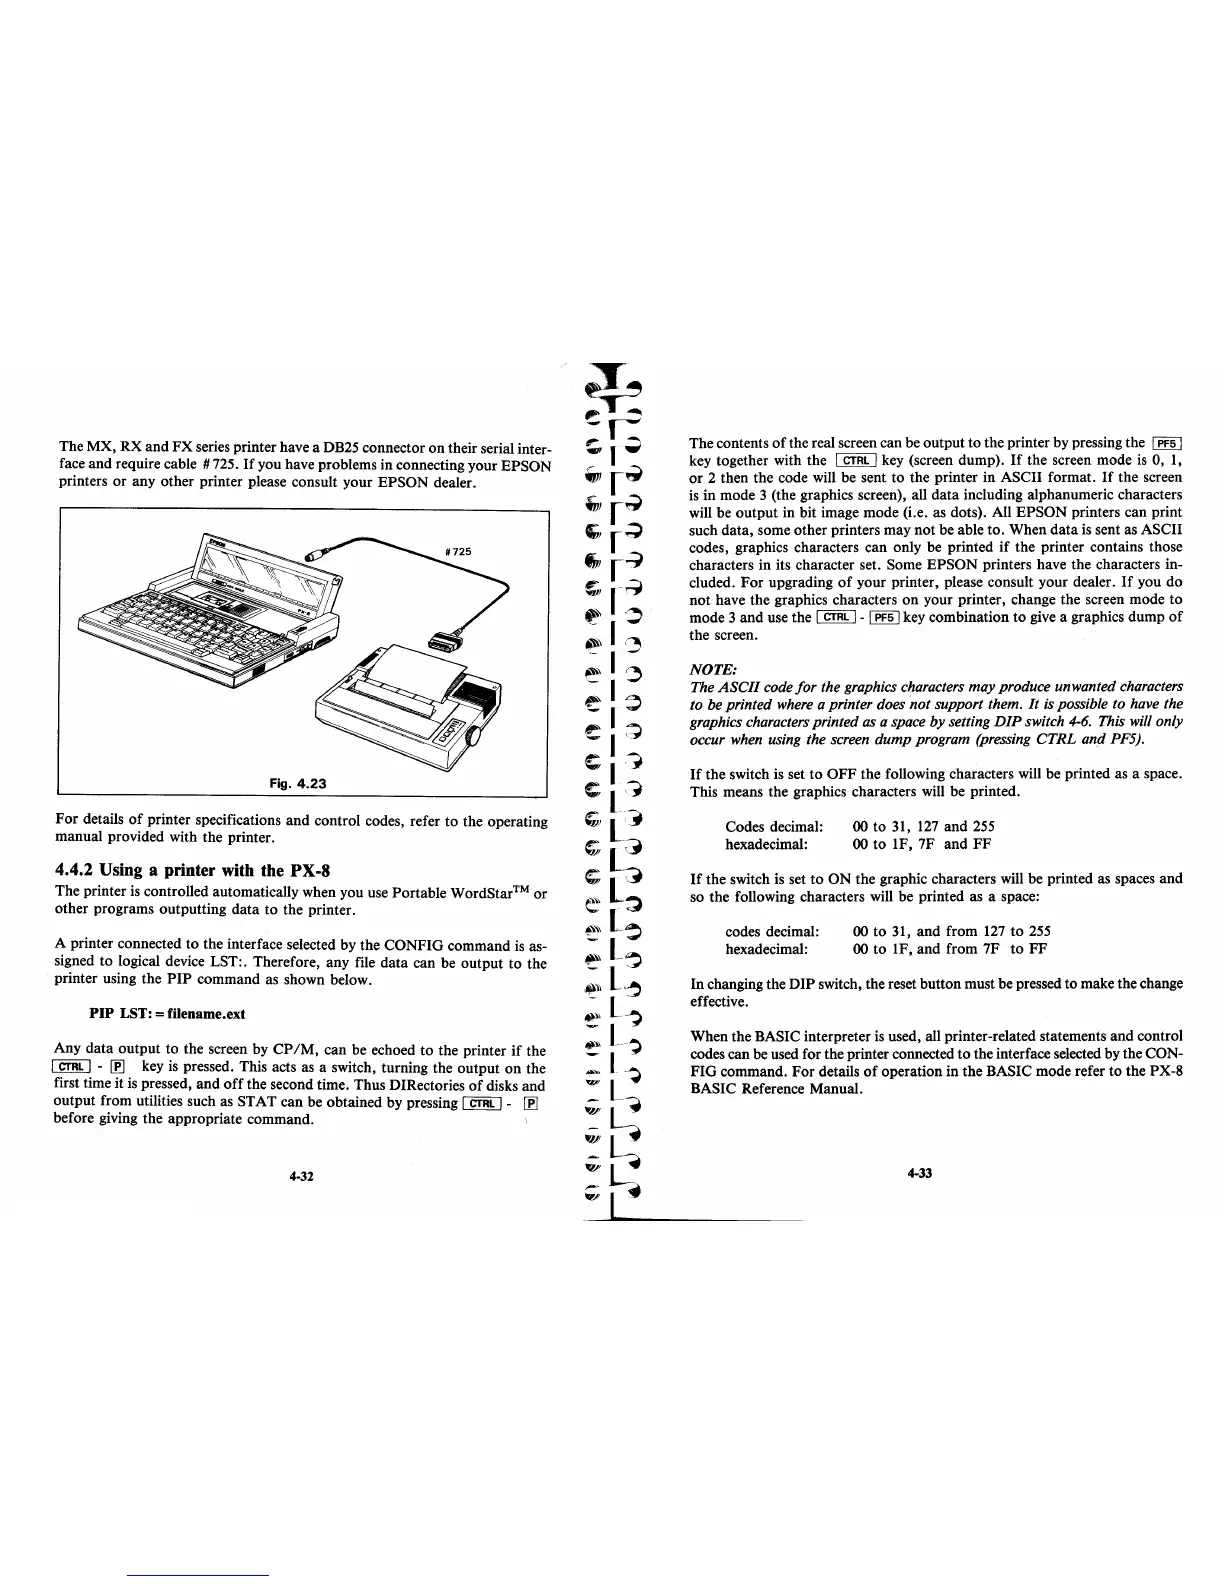
The MX, RX and
FX
series printer have a DB25 connector on their serial inter-
face and require cable # 725.
If
you have problems in connecting your EPSON
printers or any other printer please consult your EPSON dealer.
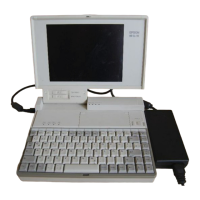
Fig.
4.23
For details
of
printer specifications and control codes, refer to the operating
manual provided with the printer.
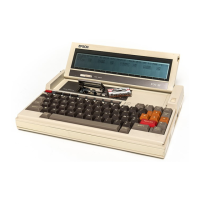
4.4.2 Using a printer with the PX-8
The printer
is
controlled automatically when you use Portable WordStar™
or
other programs outputting data to the printer.
A printer connected
to
the interface selected by the CONFIG command
is
as-
signed to logical device LST:. Therefore, any file data can be output to the
printer using the
PIP
command
as
shown below.
PIP
LST: = filename. ext
Any data output
to
the screen by
CP
1M,
can be echoed to the printer
if
the
I CTRL I -
~
key
is
pressed. This acts as a switch, turning the output on the
first time it
is
pressed, and
off
the second time. Thus DIRectories
of
disks and
output from utilities such
as
STAT can be obtained by pressing I CTRL I -
~
before giving the appropriate command.
4-32
The contents
of
the real screen can be output
to
the printer by pressing the I PF5 I
key together with the I CTRL I key (screen dump).
If
the screen mode
is
0,
1,
or
2 then the code will be sent
to
the printer in ASCII format.
If
the screen
is
in mode 3 (the graphics screen), all data including alphanumeric characters
will be output in bit image mode (Le. as dots). All EPSON printers can print
such data, some other printers may not be able to. When data
is
sent as ASCII
codes, graphics characters can only be printed
if
the printer contains those
characters in its character set. Some EPSON printers have the characters in-
cluded.
For
upgrading
of
your printer, please consult your dealer.
If
you do
not have the graphics characters
on
your printer, change the screen mode
to
mode 3 and use the I CTRL I - I PF5 I key combination
to
give a graphics dump
of
the screen.
NOTE:
The
ASCII
code
for
the graphics characters
may
produce unwanted characters
to be printed where a printer does
not
support them.
It
is possible to have the
graphics characters printed as a space
by
setting
DIP
switch 4-6. This will only
occur when using the screen
dump
program (pressing
CTRL
and PF5).
If
the switch
is
set
to
OFF
the following characters will be printed as a space.
This means the graphics characters will be printed.
Codes decimal:
hexadecimal:
00 to 31,
127
and
255
00
to
IF, 7F and
FF
If
the switch
is
set
to
ON
the graphic characters will be printed as spaces and
so the following characters will be printed as a space:
codes decimal:
hexadecimal:
00 to 31, and from
127
to
255
00
to
IF, and from 7F
to
FF
In changing the DIP switch, the reset button must be pressed to make the change
effective.
When the BASIC interpreter
is
used, all printer-related statements and control
codes can be used for the printer connected
to
the interface selected by the CON-
FIG command. For details
of
operation in the BASIC mode refer
to
the PX-8
BASIC Reference Manual.
4-33