to
alter the number
of
columns
of
the display
of
each screen. The number
of
lines
on
each screen must be the same.
When the number
of
lines in the virtual screens have been chosen correctly in
the range S
to
4S, the
prompt
line changes
to
show:
Number
of
columns
of
virtual screen 1 ?
It
is
thus possible
to
alter the width
of
the two halves
of
the display. The num-
ber
of
columns must be in the range 1
to
79. When the width
of
the left
hand
side
of
the screen is chosen the width
of
the right
hand
side
is
set
to
a value
of
79 minus the size
of
the left
hand
side.
When the screen width has been set the
prompt
line changes to:
Select virtual screen (1,2) ?
and it
is
possible
to
set which screen the cursor lies in. When this has been chosen,
the final input required is the separator character.
If
the I
RETURN
I key is pressed,
the default character is used; this is the same character as
is
used as separator
for the screen mode
1.
On
pressing I
RETURN
I when the separator character has been chosen, the screen
shows all the parameters chosen,
and
it is then possible
to
use the I ESC I key
to
return
to
the
CONFIG
main menu.
Screen
mode
3
There is only one setting for the parameters
of
screen mode 3.
The
screen has
only one virtual screen
of
S lines
and
SO
columns. Thus entering screen mode
3
and
pressing I
RETURN
I causes the
prompt
line
to
revert
to
the same
prompt
line, awaiting either the screen
to
be changed again
or
the I ESC I key
to
be pressed
to
return
to
the main CONFIG menu.
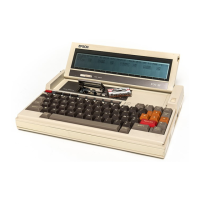
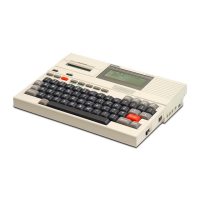
10.
THE
SERIAL INTERFACE
The Serial interface is used for communication with other devices (in particu-
lar printers
and
floppy disk drives)
but
not
for general communication in the
way
that
the RS-232C interface is.
If
an
EPSON
disk drive
is
connected, the
transmission rate
is
set by the PX-S.
If
a printer is connected, the transmission
rate can be adjusted using
CONFIG
command.
Selecting option A from the
CONFIG
main menu shows the following display:
3-72
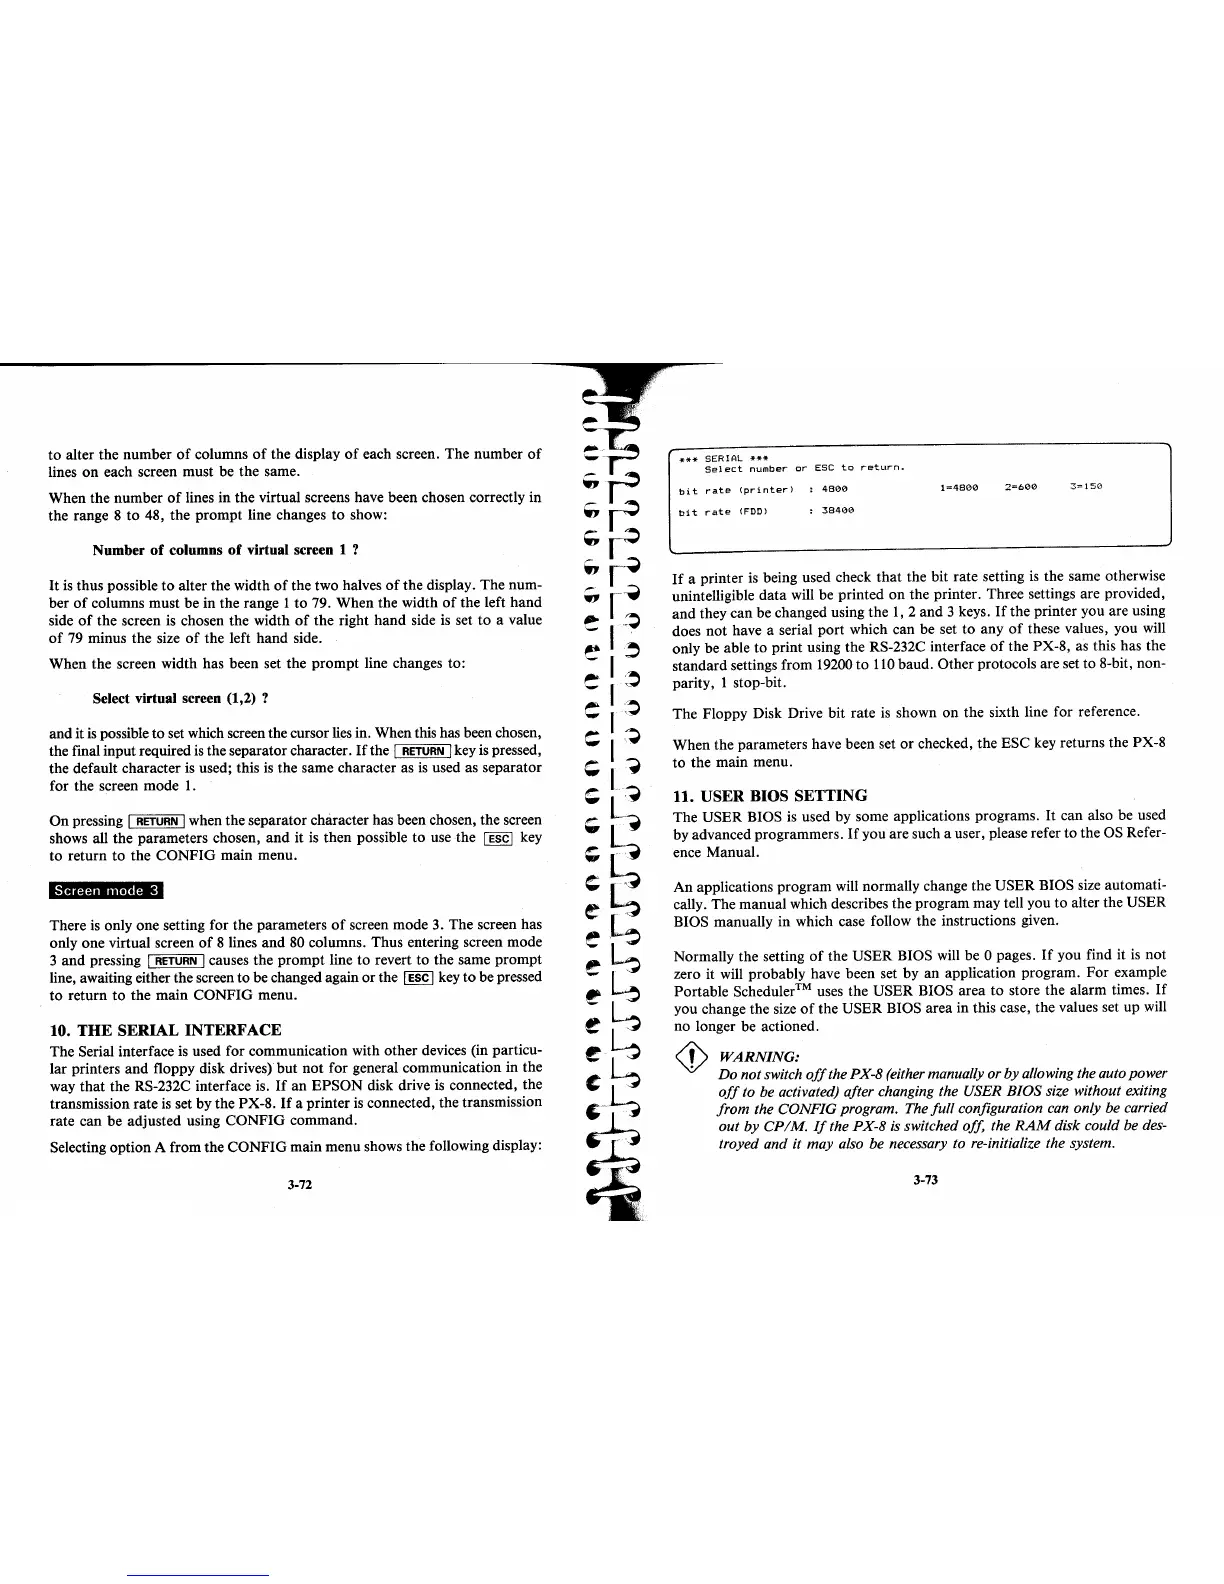
***
SERIAL
***
Select
numbe~
o~
ESC
to
~etu~n.
bit
~ate
(p~inte~)
4800
1=4800
2=600
3=150
bit
~ate
(FDD)
38400
If
a printer
is
being used check
that
the bit rate setting
is
the same otherwise
unintelligible
data
will be printed
on
the printer. Three settings are provided,
and
they can be changed using the
1,
2
and
3 keys.
If
the printer you are using
does
not
have a serial
port
which can be set
to
any
of
these values, you will
only be able
to
print using the RS-232C interface
of
the PX-S, as this has the
standard settings from 19200
to
110
baud. Other protocols are set
to
S-bit, non-
parity, 1 stop-bit.
The Floppy Disk Drive bit rate is shown
on
the sixth line for reference.
When the parameters have been set
or
checked, the ESC key returns the PX-S
to
the main menu.
11. USER BIOS SETTING
The USER BIOS
is
used
by
some applications programs.
It
can also be used
by
advanced programmers.
If
you are such a user, please refer
to
the OS Refer-
ence Manual.
An
applications program will normally change the USER BIOS size automati-
cally. The manual which describes the program may tell you to alter the USER
BIOS manually in which case follow the instructions given.
Normally the setting
of
the USER BIOS will be 0 pages.
If
you find it
is
not
zero
it
will probably have been set
by
an
application program.
For
example
Portable Scheduler™ uses the USER BIOS area
to
store the alarm times.
If
you change the size
of
the USER BIOS area in this case, the values set up will
no longer be actioned.
<!>
WARNING:
Do
not switch
off
the PX-8 (either manually or by allowing the auto power
off
to be activated) after changing the USER
BIOS
size without exiting
from
the CONFIG program. The full configuration
can
only be carried
out
by
CP/M.
If
the
PX-8
is switched off, the
RAM
disk could be des-
troyed and it may also be necessary to re-initialize the system.
3-73