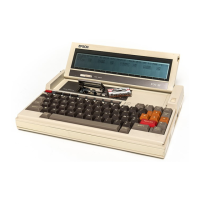
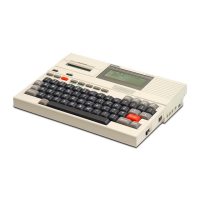
6)
Rewind the tape and press the
EJECT
button
to remove the micro cassette
from the drive.
When you have familiarised yourself with the controls you can now use the
other controls
on
the function keys to prepare a tape on which to store
programs.
e)
Directory initialization (DIRINIT)
The tape directory
is
a tape block which contains various information required
for the microcassette tape operating system to manage tape files. This infor-
mation includes the number
of
files in the tape, the tape location
of
each file
(the tape count
at
the beginning and end
of
the file), the name
of
each file,
etc. The tape directory
is
always placed
at
the beginning
of
a microcassette tape.
Although the operating system manages the tape directory, you must initialize
the directory block
on
to the tape before using a new tape. The procedure to
do this
is
as follows:
1)
Load a new microcassette.
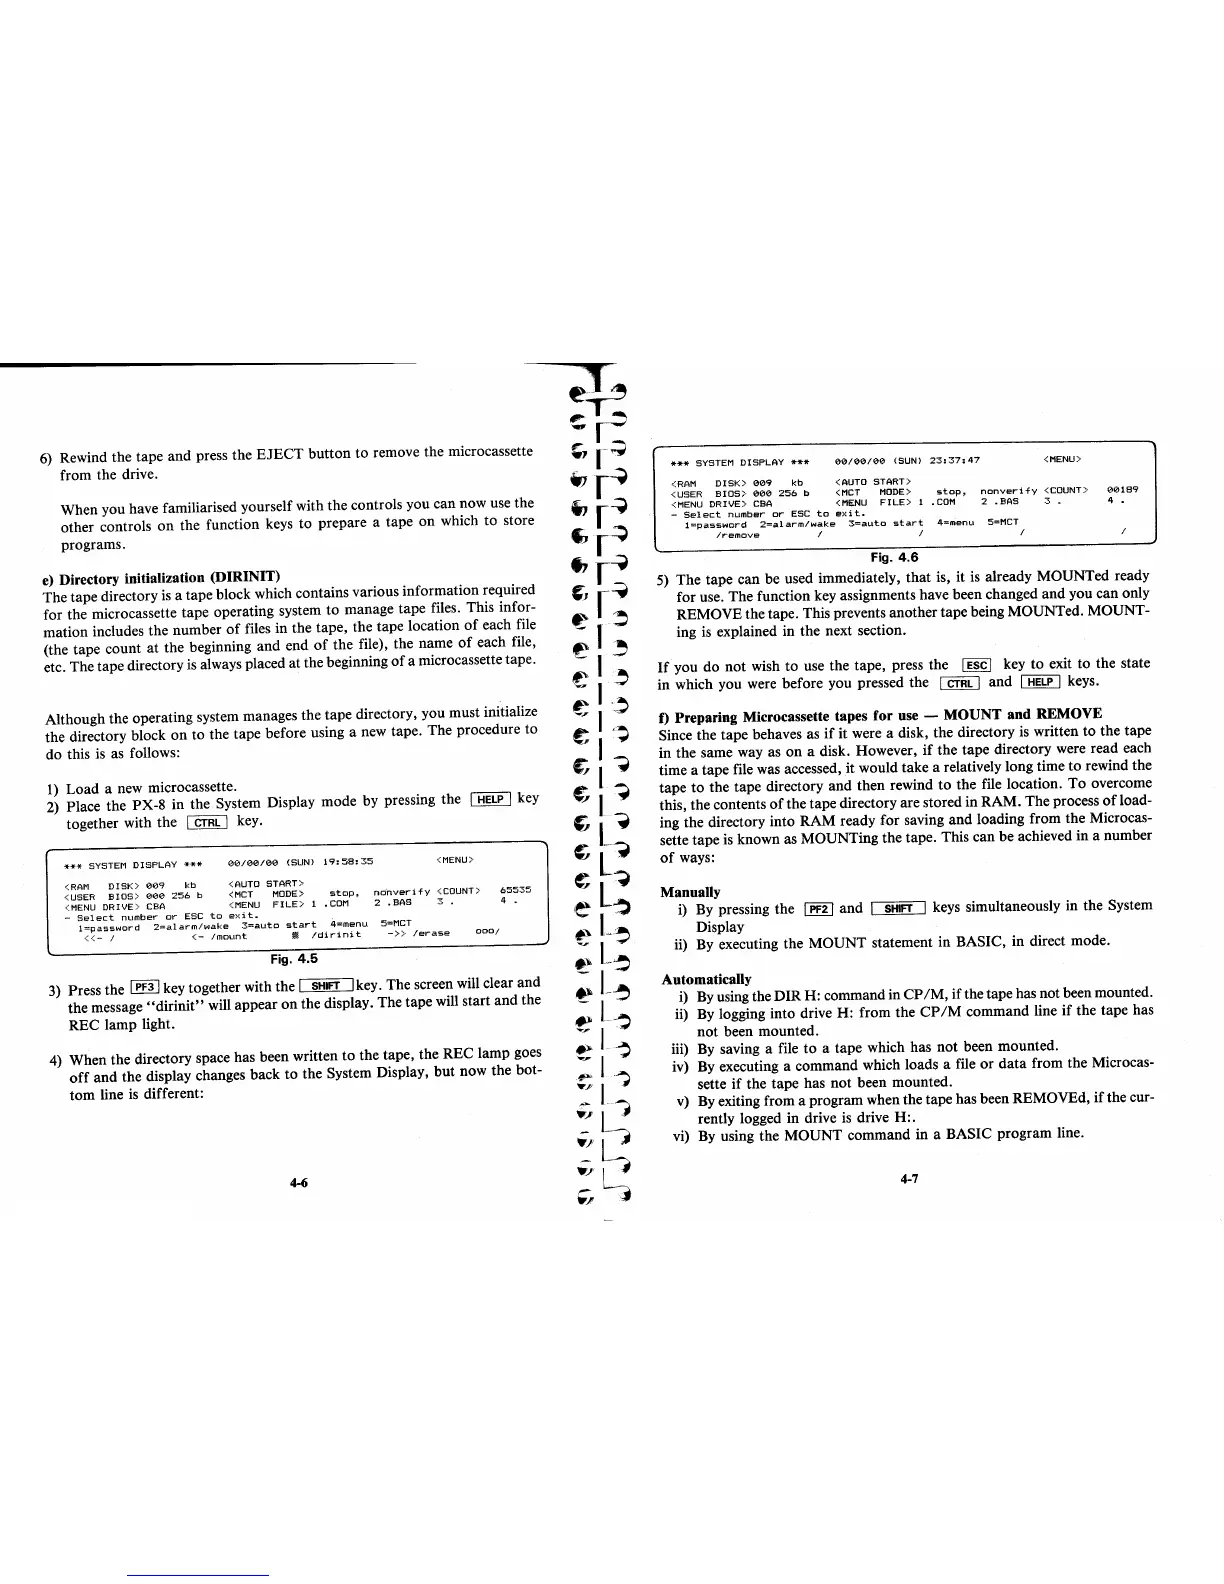
2)
Place the PX-8 in the System Display mode by pressing the
I
HELP
I
key
together with the
I
CTRL
I
key.
**
.•
SYSTEM
DISPLAY
***
00/00/00
(SUN)
19:58:35
(MENU)
<AUTO
START>
(RAM
DISK)
009
kb
(USER
BIOS)
000
256
b
<MENU
DRIVE>
CBA
<MCT
MODE)
stop,
ndnverify
<COUNT>
65535
(MENU
FILE)
1
.COM
2 .BAS
3.
4
-
Sel
ect
number
or
ESC
to
e~<
it.
l=password
2=alarm/wake
3=auto
start
4=menu
5=MCT
«-
/
(-
/mount
•
/dirinit
-»
/erase
000/
Fig.
4.5
3)
Press the
I PF31
key together with the
I SHIFT
'key. The screen will clear and
the message
"dirinit"
will appear on the display. The tape will start and the
REC lamp light.
4)
When the directory space has been written to the tape, the REC lamp goes
off
and the display changes back to the System Display,
but
now the bot-
tom
line
is
different:
4-6
***
SYSTEM
DISPLAY
***
00/00/00
(SUN)
23:37:47
<MENU>
<RAM
DISK>
009
kb
<AUTO
START)
<USER
BIOS>
000
256
b
<MCT
MODE)
stop,
nonverify
<COUNT>
00189
<MENU
DRIVE>
CBA
<MENU
FILE>
1
.COM
2
.BAS
3.
4 .
-
Select
number
or
ESC
to
exit.
l=password
2=alarm/wake
3=auto
start
4=menu
5=MCT
Iremove
I I I I
Fig.
4.6
5)
The tape can be used immediately, that is, it
is
already MOUNTed ready
for use. The function key assignments have been changed and you can only
REMOVE the tape. This prevents another tape being MOUNTed. MOUNT-
ing
is
explained in the next section.
If
you do
not
wish to use the tape, press the
I ESC
I
key
to
exit to the state
in which you were before you pressed the
I
CTRL'
and
I
HELP'
keys.
f)
Preparing Microcassette tapes for use - MOUNT
and
REMOVE
Since the tape behaves as
if
it were a disk, the directory
is
written to the tape
in the same way as on a disk. However,
if
the tape directory were read each
time a tape file was accessed, it would take a relatively long time to rewind the
tape
to
the tape directory and then rewind
to
the file location. To overcome
this, the contents
of
the tape directory are stored in RAM. The process
of
load-
ing the directory into RAM ready
f.or
saving and loading from the Microcas-
sette tape
is
known as MOUNTing the tape. This can be achieved in a number
of
ways:
Manually
i)
By
pressing the
I
PF2 ,
and
I
SHIFT
I
keys simultaneously in the System
Display
ii)
By
executing the MOUNT statement in BASIC, in direct mode.
Automatically
i)
By
using the DIR H: command in
CP
1M,
if the tape has not been mounted.
ii)
By
logging into drive H: from the
CP
1M
command line
if
the tape has
not
been mounted.
iii)
By
saving a file
to
a tape which has not been mounted.
iv) By executing a command which loads a file
or
data from the Microcas-
sette
if
the tape has
not
been mounted.
v)
By
exiting from a program when the tape has been REMOVEd,
if
the cur-
rently logged in drive
is
drive
H:.
vi) By using the MOUNT command in a BASIC program line.
4-7