Printing from a Memory Card 15
En gli sh
3. Scanning the index sheet and
printing the selected photos
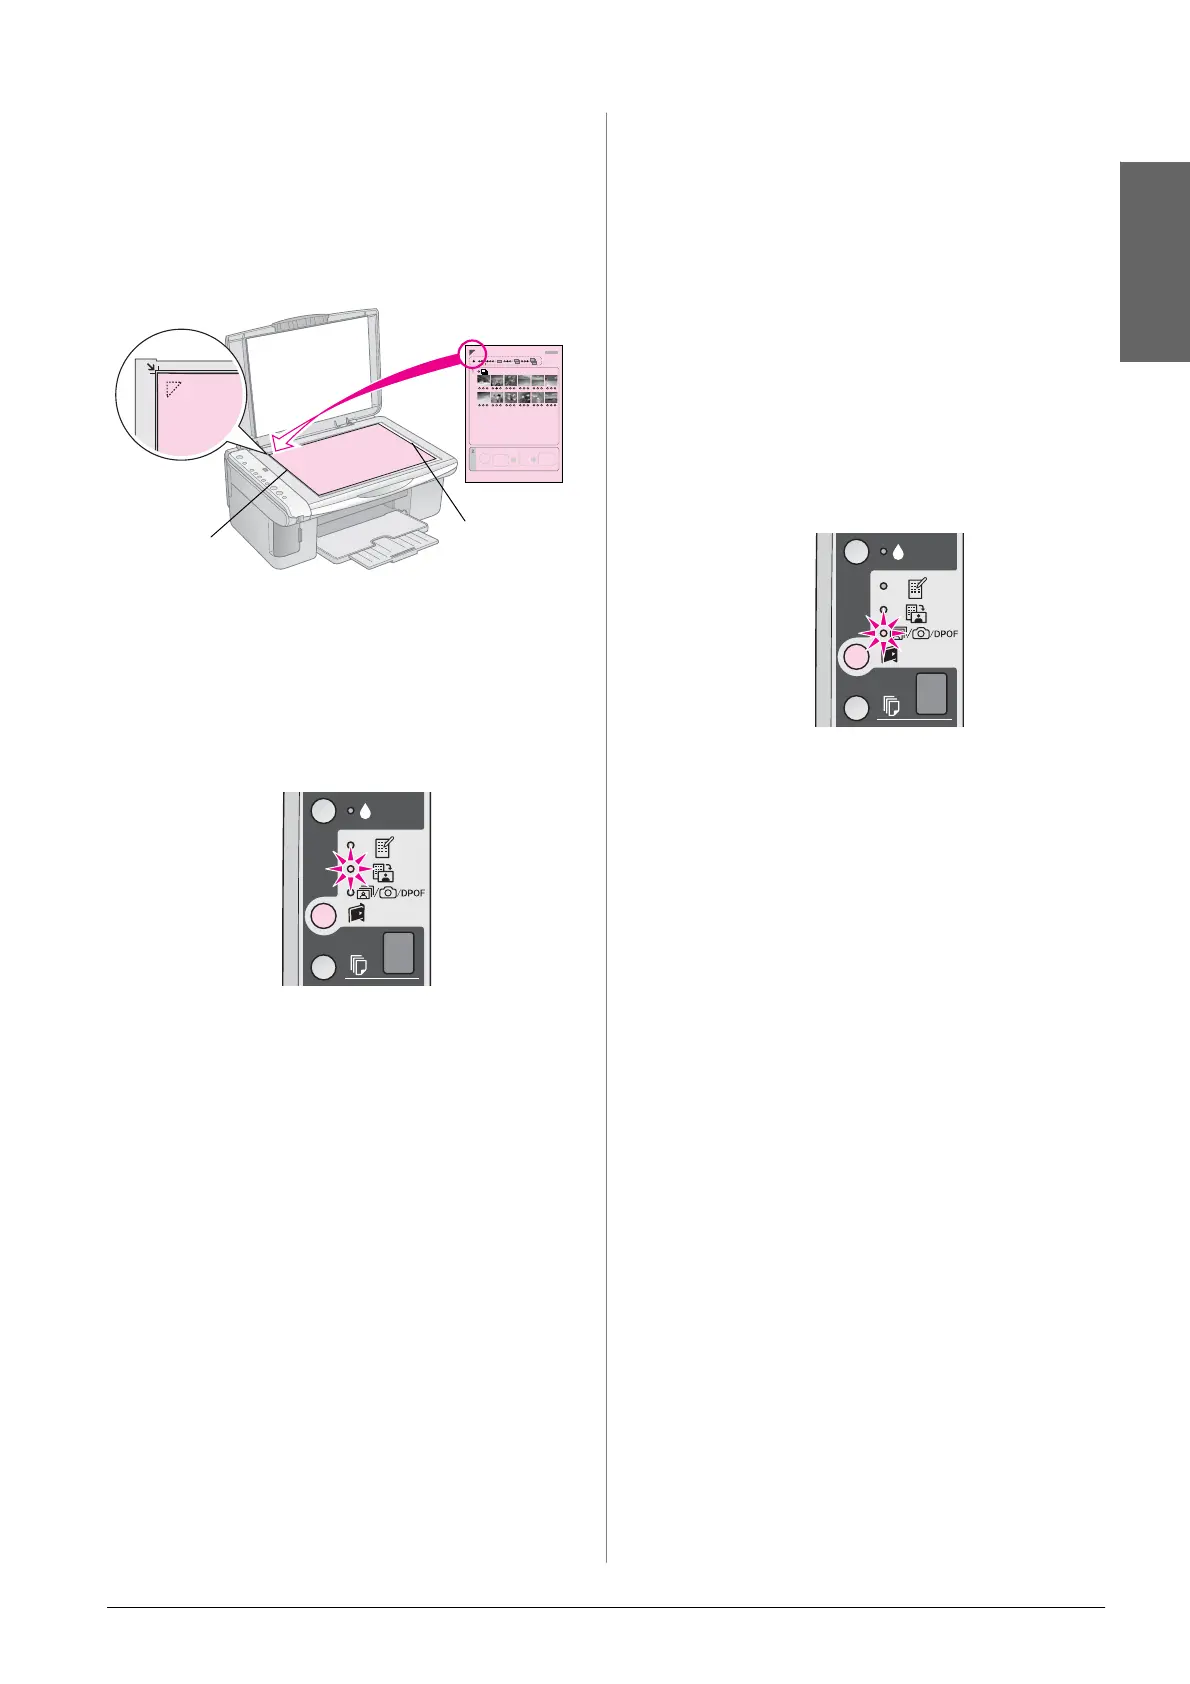
1. Place the index sheet face-down on the
document table, in the upper left corner, so that
the top of the sheet is aligned against the left
edge of the document table.
2. Close the document cover.
3. Load the type of paper you want to print on
(& page 8). Load enough sheets for the number
of photos you want to print.
4. Make sure the i [Print From Index Sheet] light
is on.
5. Select l [Plain Paper] or g [Photo Paper]
(whichever you loaded).
If you select l [Plain Paper], the photos are
printed with a white border. If you select
g [Photo Paper], the photos are printed without
borders to the edge of the paper.
6. Select the paper size you loaded.
7. Press the x Start E [Color] button. The sheet
is scanned and your photos are printed.
If you need to stop printing, press the y Stop
button.
Note:
If you have more than one index sheet, wait each time until
printing is complete. Then repeat the steps above to scan and
print from each additional sheet.
Printing All Photos or DPOF
Photos
Follow the steps below to print one copy of each
photo on the memory card or to print only those
photos that were pre-selected with your camera’s
DPOF feature.
1. Load the type of paper you want to use
(& page 8). Load enough sheets for the number
of photos you want to print.
2. Insert the memory card (& page 12).
3. Press the C [Memory Card] button until
the f/e/DPOF [Print All/DPOF/PictBridge]
light comes on.
Note:
If the memory card does not contain DPOF information, one
copy of all the photos on the memory card will be printed.
4. Select l [Plain Paper] or g [Photo Paper]
(whichever you loaded).
If you select l [Plain Paper], the photos are
printed with a white border. If you select
g [Photo Paper], the photos are printed without
borders to the edge of the paper.
5. Select the paper size you loaded.
6. Press the x Start E [Color] button to print
your photos.
If you need to cancel printing, press the y Stop
button.
Top
Bottom
 Loading...

