6
Wireless Network Installation
7. Use the arrow buttons on the printer’s control panel to enter your WEP key or
WPA passphrase. Press the
x
Menu
button to switch between uppercase,
lowercase, or numeric/special characters.
Important:
WPA passphrases and WEP keys in ASCII format are case-sensitive. Be sure to
enter upper- or lowercase letters as necessary.
■
Press x
Menu
to switch between uppercase (
ABC
), lowercase (
abc
), or
numeric/special (
123
) characters.
■ Press u or d until you see the character you want.
■ Press l or r to move the cursor.
■ Press
–
to delete a character.
8. When you’re done entering your WEP key or WPA passphrase, press
OK
.
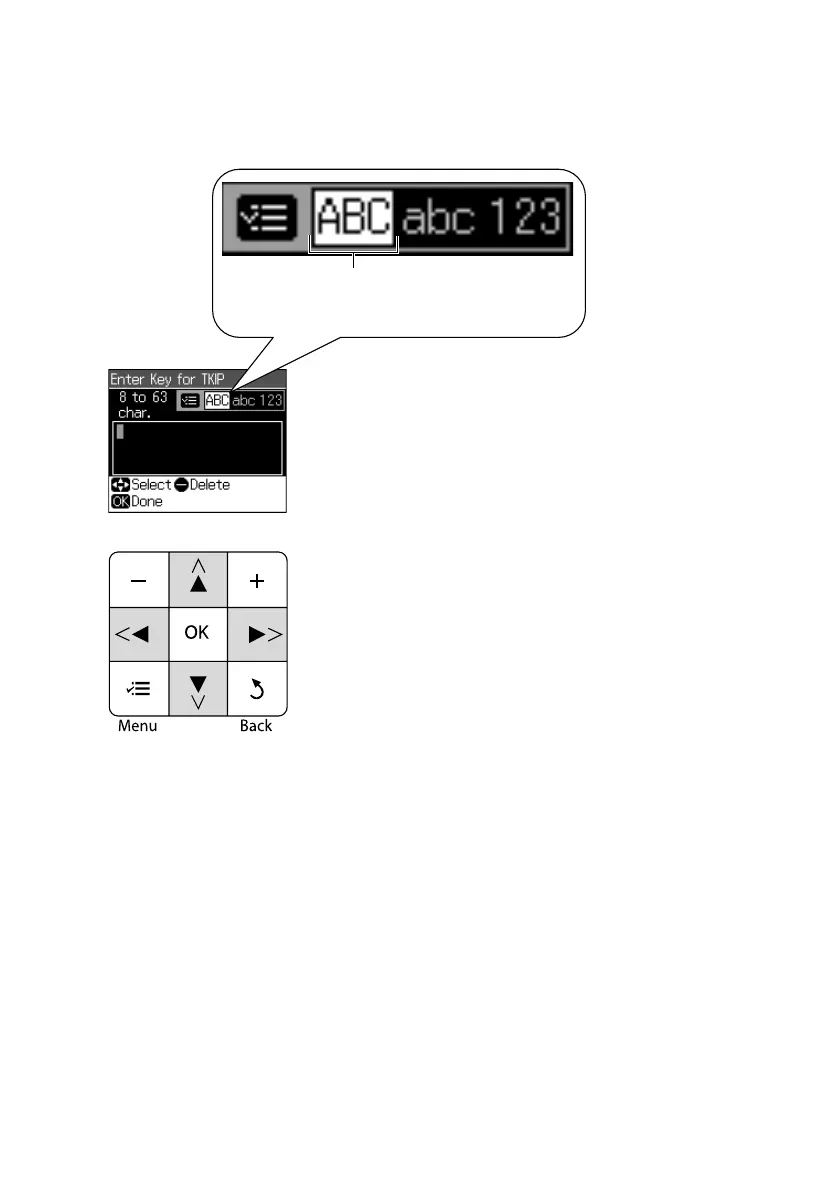
Indicates current selection. Press the x Menu
button to switch between uppercase, lowercase,
or numeric/special characters.
From the printer’s control panel:
Press u or d to select a character.
Press l or r to move the cursor.
Press – to delete a character.
Press OK when done.
Network Guide_R1.fm Page 6 Wednesday, April 8, 2009 2:37 PM
 Loading...