152
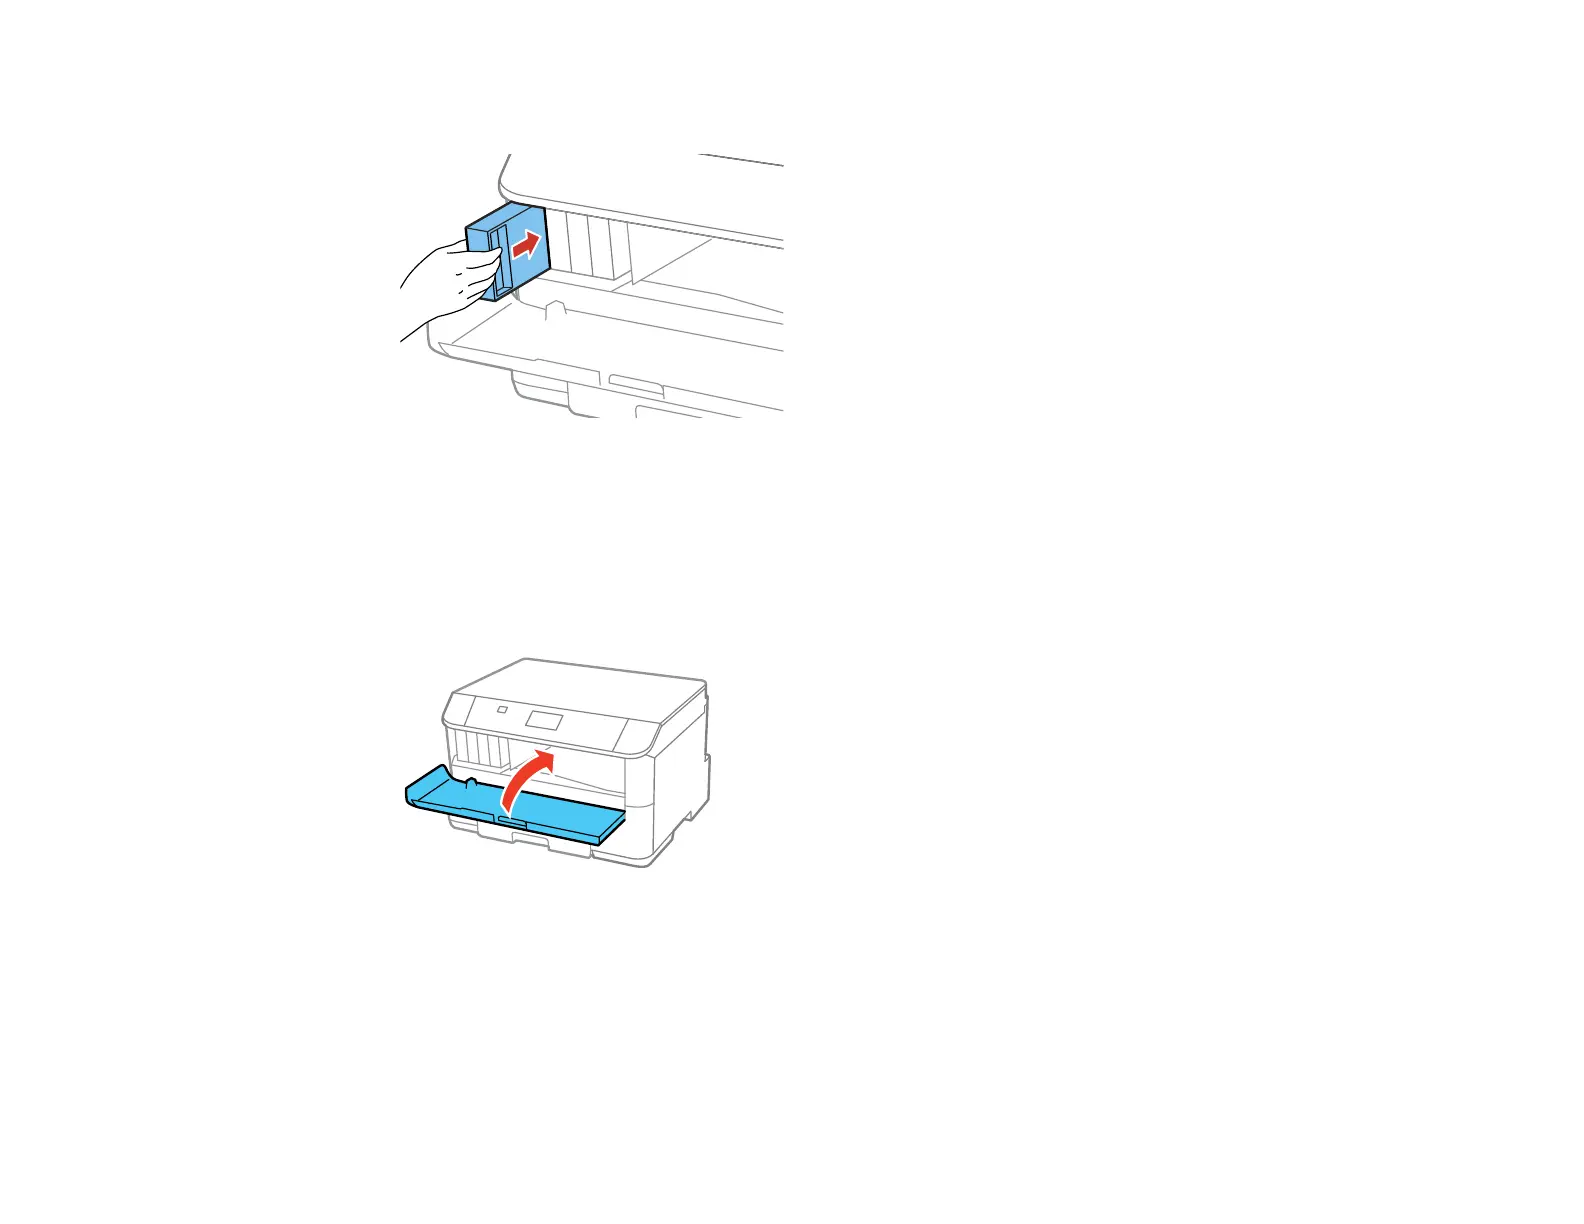
7. Insert the new cartridge into the holder and push it in until it clicks into place.
8. Select Check on the LCD screen to make sure the cartridges are installed correctly.
Caution: If you see a message that an ink cartridge is installed incorrectly, press in the ink cartridge
until it clicks into place.
9. When you are finished, close the front cover.
The product starts charging the ink and returns to its previous state when finished.
Note: Do not turn off the printer during ink replacement.
Caution: If you remove an ink cartridge for later use, protect the ink supply area from dirt and dust and
store it in the same environment as the printer. The valve in the ink supply port is designed to contain
any excess ink, but do not touch the ink supply port or surrounding area. Always store ink cartridges with
the label facing up; do not store cartridges upside-down.