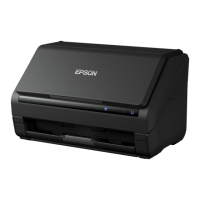
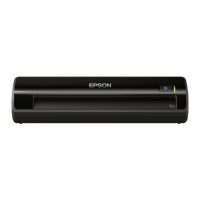
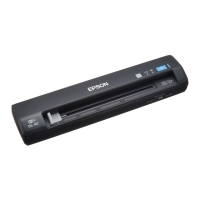
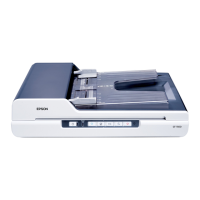
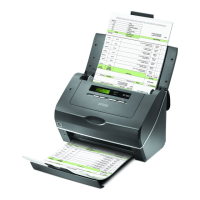
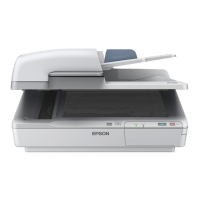
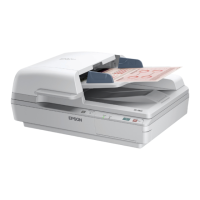
Connecting the Scanner to the Network
If the scanner is not connected to the network, use the installer to connect the scanner to the network.
You can use any of the following methods to start the installer.
❏ Setting up from the website
Access the following website, and then enter the product name. Go to Setup, and then start setting up.
http://epson.sn
❏ Setting up using the soware disc (only for models that come with a soware disc and users with Windows
computers with disc drives.)
Insert the soware disc into the computer, and then follow the on-screen instructions.
If you want to check the network connection or connect to the network manually, see the related information.
Related Information
& “Lights” on page 21
& “Error Indicators” on page 22
& “Connecting to the Network” on page 125
Making Wi-Fi Settings from the Control Panel
You can make network settings from the scanner's control panel.
Aer
connecting the scanner to the network,
connect to the scanner from the device that you want to use (computer, smart phone, tablet, and so on.)
Making Wi-Fi Settings by Push Button Setup (WPS)
You can automatically set up a Wi-Fi network by pressing a button on the access point. If the following conditions
are met, you can set up by using this method.
❏
e
access point is compatible with WPS (Wi-Fi Protected Setup).
❏ e current Wi-Fi connection was established by pressing a button on the access point.
Note:
If you cannot nd the button or you are setting up using the soware, see the documentation provided with the access point.
Network Settings
>
Making Wi-Fi Settings from the Control Panel
>
Making Wi-Fi Settings by Push Button Setup (
…
65
 Loading...
