EasyManua.ls Logo

Erreka TORO KM1800 - User Manual

Erreka TORO KM1800
5 pages
Print Icon
To Next Page IconTo Next Page
Loading...
11
TORO KM1800 / KM2500
Quick installation and programming guide English
IMPORTANT
NOTE
This quick guide is a summary of the complete installation manual. The manual contains safety warnings
and other explanations which must be taken into account. The installation manual can be downloaded by
going to the "Downloads" section at the Erreka website:
http://www.erreka.com/Automatismos/descargaDocumentos.aspx
E160B
A1
A2
ELECTRICAL CABLING:
Element Nº threads x section
Maximum
length
A1: Main power supply
KM1800
3x1.5mm
2
30m
A2: Main power supply
KM2500
5x1.5mm
2
30m
B: Flashing light 2x0.5mm
2
20m
C: Photocells (Tx / Rx) 2x0.5mm
2
/ 4x0.5mm
2
30m
D: Pushbutton/wall key 2x0.5mm
2
50m
E: Operator KM2500 (motor/
limit switches)
4x1.5mm
2
/ 3x0.5mm
2
20m
F: Antenna Coaxial cable 50k (RG-58/U) 5m
Elements of the complete installation
C160B
Assembly levels (mm)
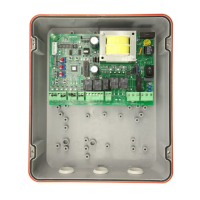
Only the exterior control panel is
necessary for the KM2500. The KM1800
model has a built-in control panel.
Question and Answer IconNeed help?

Do you have a question about the Erreka TORO KM1800 and is the answer not in the manual?

Summary

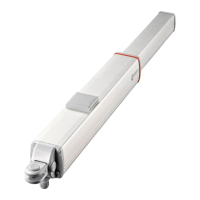
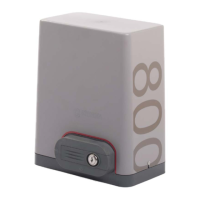
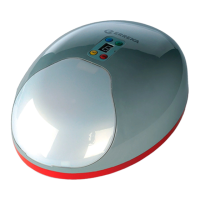
Elements of the Complete Installation

Electrical Cabling Details

Details electrical cabling requirements for gate operator components like power supply, photocells, and antenna.

KM1800: General Connections (AP606 Control Panel)

Checking Operator Turning Direction

Instructions on how to check and correct the operator's turning direction by interchanging cables.

DIP Switch Settings for Operation

Ensuring DIP7, DIP8, and DIP10 are in the OFF position for correct system operation.

Photocell Testing Procedure

Procedure for enabling photocell testing using DIP6 for opening and DIP9 for closing.

KM1800: SW2 Functions During Programming (DIP1=ON)

DIP1: Programming Mode Enable

Enables programming mode when DIP1 is set to ON, indicated by DL3 illumination.

DIP1+DIP2: Total Open;Close Programming

Activates total open/close programming mode when DIP1 and DIP2 are both ON.

DIP1+DIP3: Pedestrian Open;Close Programming

Enables pedestrian open/close programming when DIP1 and DIP3 are set to ON.

DIP1+DIP4: Total Opening Radio Code Programming

Initiates total opening radio code programming when DIP1 and DIP4 are ON.

DIP1+DIP6: Pedestrian Opening Radio Code Programming

Sets up pedestrian opening radio code programming with DIP1 and DIP6 ON.

KM1800 Programming Procedures

Total Opening Radio Code Programming

Step-by-step guide for programming the total opening radio code using DIP1 and DIP4.

Total Open;Close Programming

Procedure for programming total open/close functionality using DIP1 and DIP2.

Pedestrian Open;Close Programming

Method for pedestrian open/close programming using DIP1/DIP3 and ST2.

KM1800: Function and Mode Selection using SW2 (DIP1=OFF)

DIP Functionality Overview

Details the modes and functions controlled by DIP switches 1 through 10 when DIP1 is OFF.

Potentiometer Adjustments

Guidance on adjusting T.E. (standby time), T.LG. (light time), and P.M. (motor torque).

KM2500: General Connections (Exterior Control Panel)

Operator and Control Panel Wiring

Illustrates the connection of the KM2500 operator to the VIVO-T101 exterior control panel.

Clutch Adjustment Procedure

Steps for adjusting the operator's clutch torque to meet safety standards.

Erreka TORO KM1800 Specifications

General IconGeneral
Power Supply230V AC
Motor Power180W
Protection RatingIP44
Operating Temperature-20°C to +55°C
Protection ClassClass I
Voltage24V DC
Power180 W
Motor TypeDC Motor

Related product manuals