33
SECTION 3 INSTALLATION
D. Open the cylinder valve slightly, for an instant, to blow out any dust or dirt that may have collected in the valve outlet.
BE SURE to keep your face away from the valve outlet to protect your eyes.
E. Attach the regulator to the cylinder valve. Align the regulator so that the owmeter is vertical and then tighten the
connection nut with a 1-1/8 in. open end or adjustable wrench. To prevent damaging the O-ring seals and plastic tube,
do not use the owmeter tube as a ‘handle’ when attaching the regulator.
F. Close the ow control valve on the owmeter.
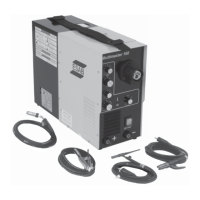
G. Attach the gas hose from the rear of the Multimaster 260 to the regulator outlet connection.
H. Open the cylinder valve SLOWLY a fraction of a turn. This will prevent damage to the gauge and critical components
in the regulator. When the gauge needle stops moving, then open the cylinder valve fully.
I. Using a leak test solution, such as P/N 998771 (8 oz. ctr) or soapy water, test for leakage around the cylinder valve stem,
the regulator inlet connection, and the hose connections at the regulator. Correct any leaks before starting work.
3.8.2 TO REGULATE FLOW
Flow is controlled by adjusting the owmeter valve until desired ow is indicated by the ball oat in the owmeter tube.
Always take the reading across the TOP of the ball.