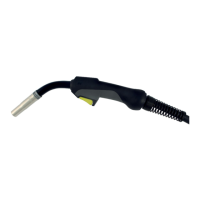
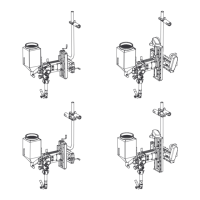
Installing a steel liner
1. Remove the sleeve nut from the
central connector, remove the gas
nozzle, contact tip and tip holder
from the torch.
2. Insert the liner through the central
connector and lock it with the sleeve
nut.
3. Gently push back the front part of
the liner into the torch as far as it will
go, do not apply force. Mark the end
of the torch neck on the liner.
4. Cut the liner to the correct length
using a projectile "X" measured from
the marking as shown in the figure.
Remove the liner from the torch and carefully
smoothen its front end. If needed, grind down
burred edges. Make sure the inner hole is
completely open.
For insulated liners, remove the insulation at
the front end so that the remaining insulation
ends approximately at the front end of the
torch handle.
Reinstall the liner and lock it with the sleeve
nut. Install all equipment parts on the torch
neck.
Cutting length
Welding torch Projectile "X"
PSF 260C 16 mm
PSF 415C, PSF 415C RS3 12 mm
PSF 420Cw, PSF 420Cw RS3 12 mm