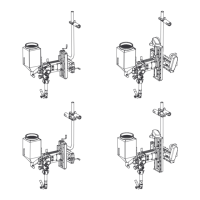
7 TROUBLESHOOTING
7 TROUBLESHOOTING
If the measures described below are not successful, consult your dealer or the manufacturer.
Read the operating instructions for the welding components, e.g. power source and wire feed
unit.
Problem Possible cause Action
Torch becomes too hot
• Contact tip / tip holder
not tight enough
• Cooling system is not
working well
• Torch overstrained
• Cable assembly
defective
• Check and tighten
hand-tight
• Check water flow, filling
level and cleanliness
• Observe technical data,
if needed, choose a
different type
• Check cables, tubes
and connections
Wire feeding problems • Contact tip is worn
• Liner is worn / dirty
• Consumables used are
not suitable for the wire
diameter or material
• Wire feeder not set-up
properly
• Cable assembly is bent
or laid out in small radii
• Wire is contaminated
• Exchange contact tip
• Check the liner, blow
through in both
directions. Exchange if
needed.
• Check with spare part
list
• Check the wire feeding
rolls, the contact
pressure and the spool
brake
• Check the cable
assembly and lay it out
straight
• Use a cleaning felt
Problem Possible cause Action
Porous welds
• Gas swirl caused by
spatter adherence
• Too small or extremely
high gas flow in the
torch
• Gas supply defective
• Air draft at the
workplace
• Moisture or
contamination on the
wire or on the work
piece
• Clean the torch head,
use gas diffuser /
spatter protection
• Check flow rate with
measurement tool
• Check flow rate and
possible leakage
• Install shielding
• Check the wire and the
work piece, use less or
different anti-spatter
liquid
Variable arc • Contact tip is worn
• Wrong welding
parameters
• Exchange contact tip
• Correct the welding
parameters
Welding process does not
start
• Control cable is broken
or the trigger is
defective
• Check and repair the
trigger connections,
clean the trigger switch
or exchange it