IMPORTANT! Nylon washers (#5) adequately space
painted parts at all pivot points. Neglecting the use of
these washers will result in rusted parts.
NOTE: All board arms are made of rectangular tubing.
Tightening hardware too tight may damage tubing
and make adjustment of system difficult.
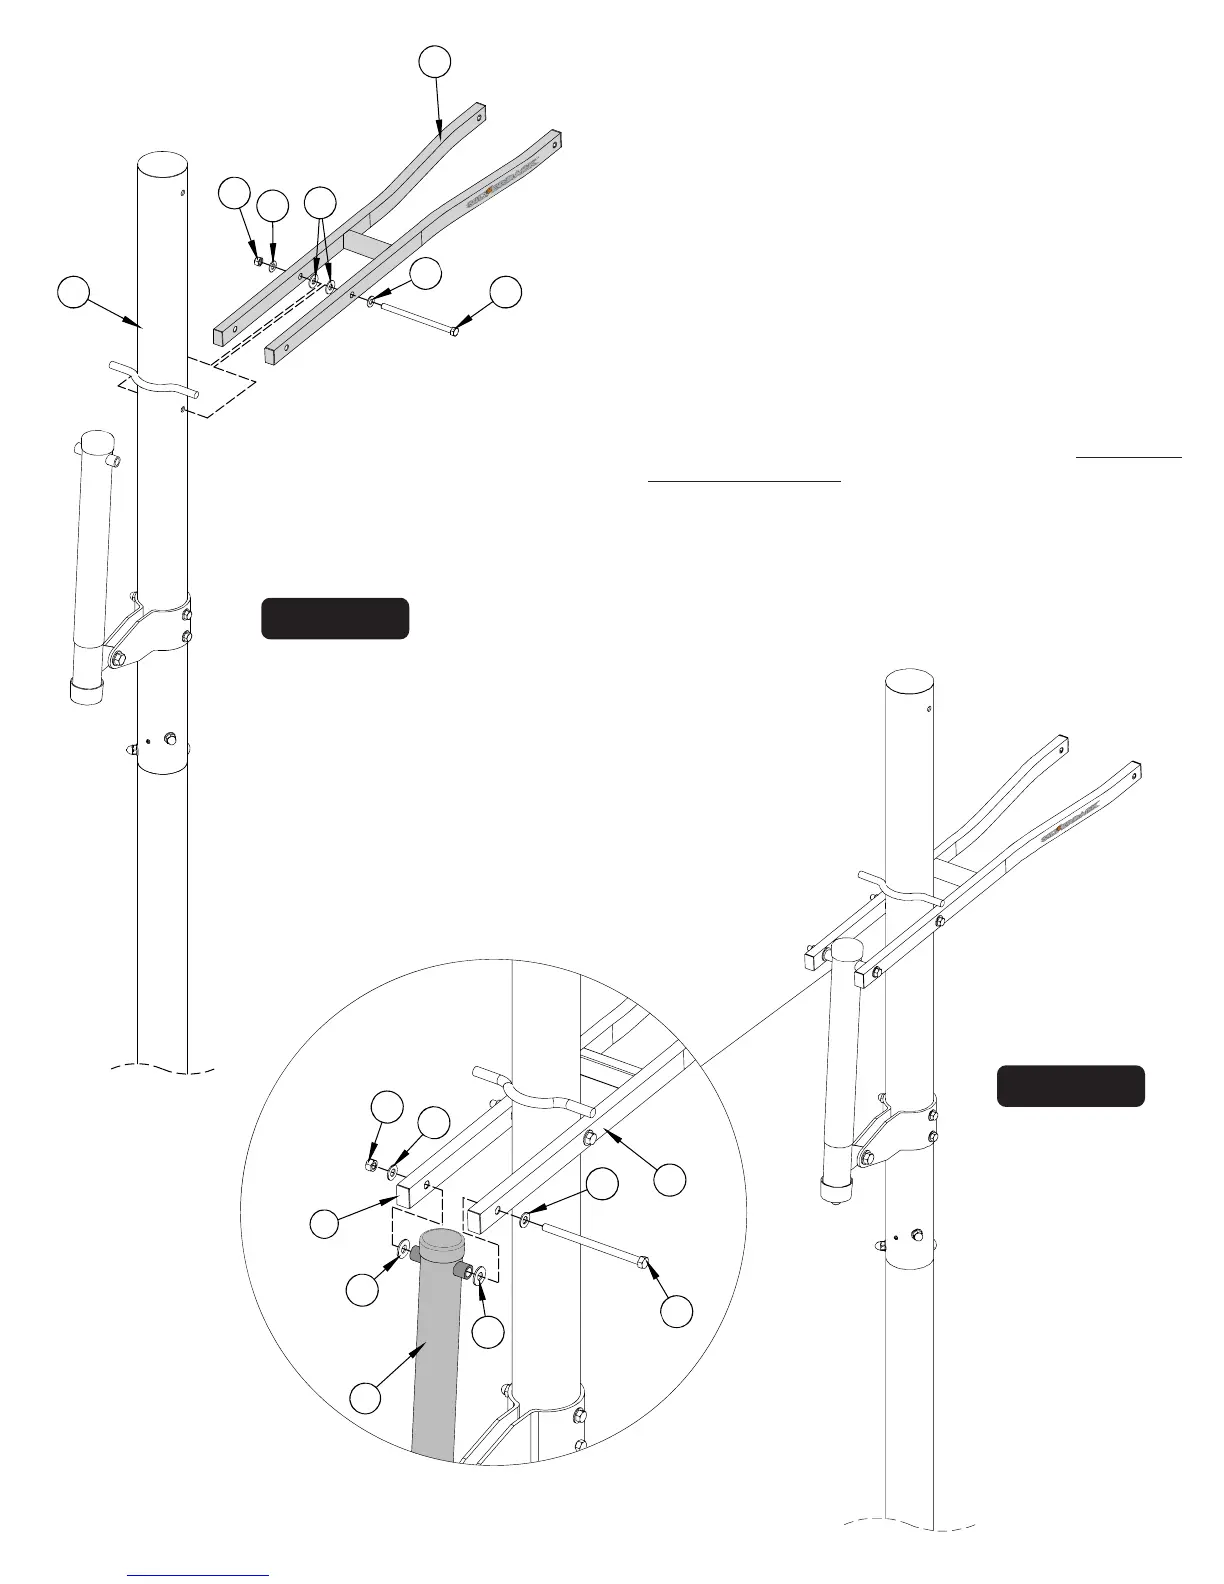
Figure 9
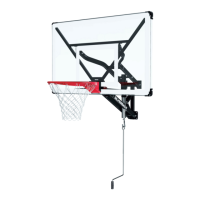
17. Attach lower arms (#11) to top pole (#3), as shown in
Figure 8, using a hex bolt (#22), two flat washers (#18),
two plastic washers (#5) and lock nut (#4).
Note: make sure lettering is RIGHT SIDE UP.
DO NOT tighten bolt (#22) at this time.
Figure 8
18. Secure actuator (#16) to lower arms (#11) using one bolt
(#22), two flat washers (#18), two plastic washers (#5) and
one lock nut (#4). See Figure 9 and Detail 3. Tighten both
bolts (#22) at this time to secure lower arm (#11).
Note: Tighten bolts snug but, do not over tighten.
Board arms must pivot freely.
Detail 3
9
11
22
18
18
4
5
3
22
4
18
5
5
18
11
If tube plugs (#8) are not already installed insert them into open
ends of the lower board arm (#11). It may be necessary to use
a rubber mallet to tap plugs in.
19.
16
8