Ultra-Low Temperature Freezer
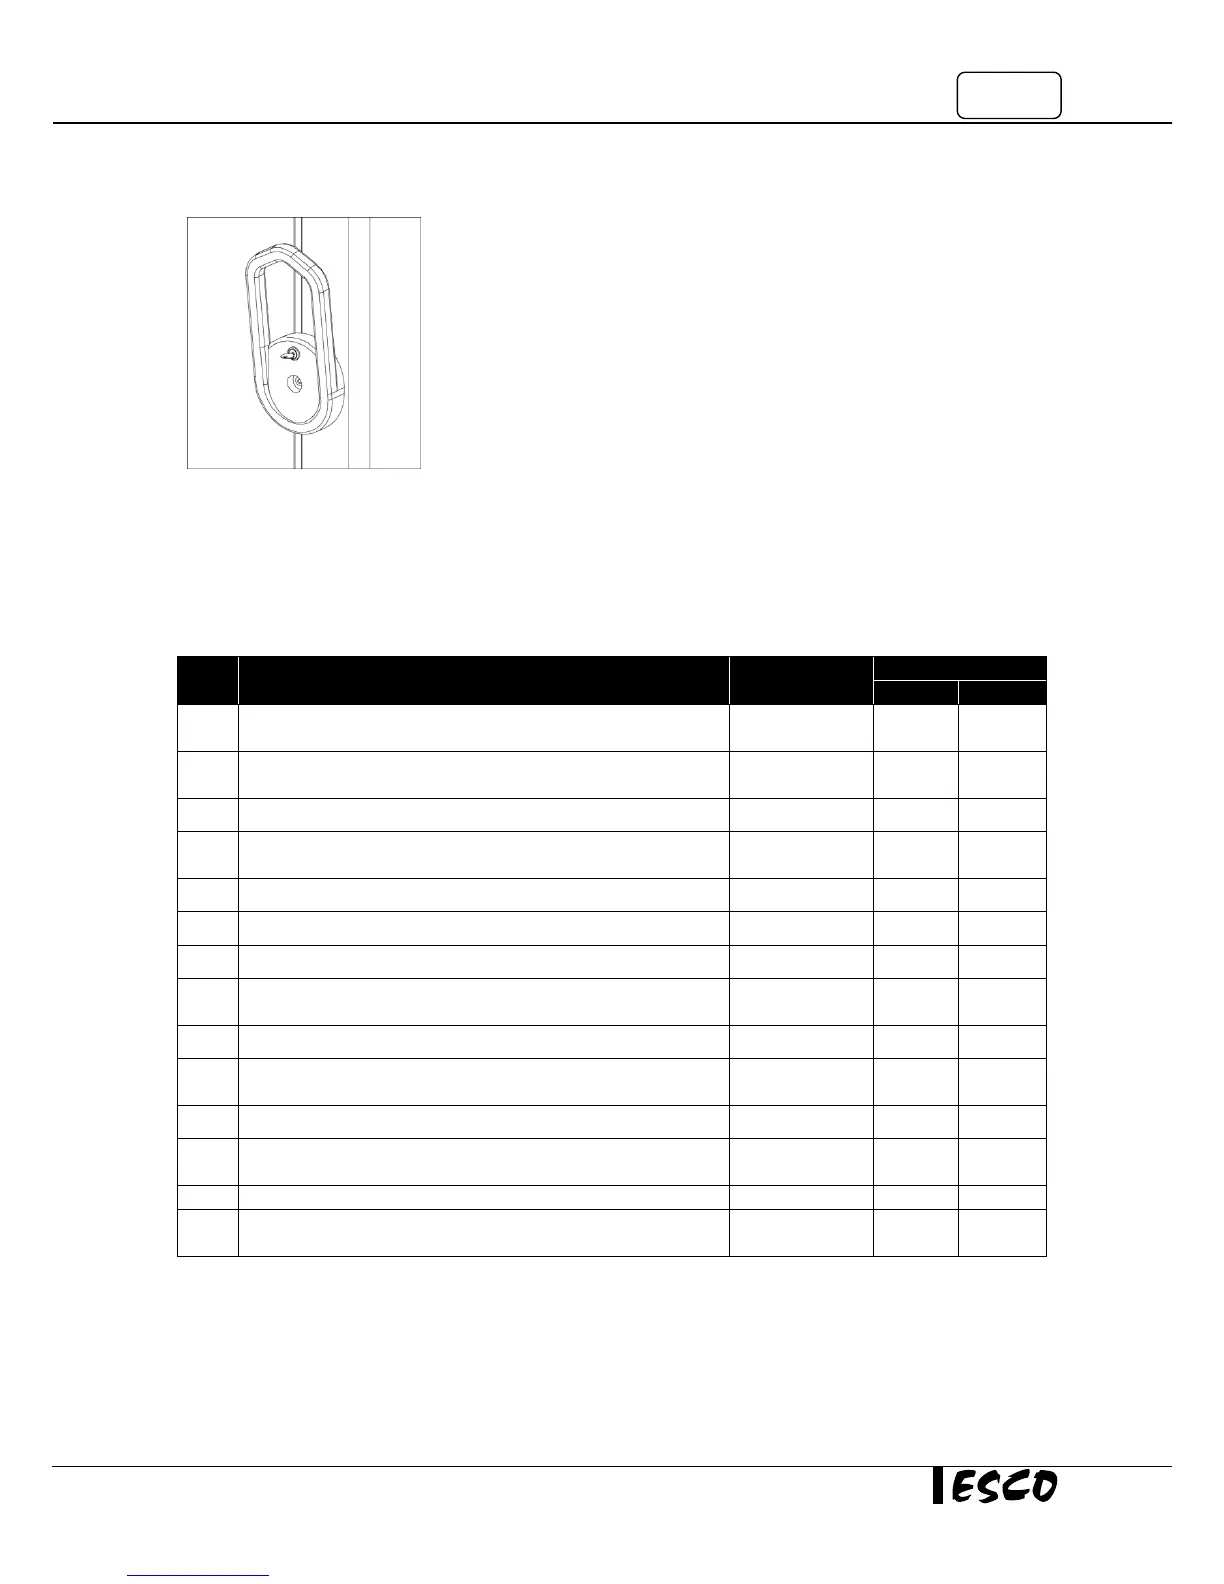
3.4.3 Locking the Main Door
Main door can be locked with the standard key set provided.
3.5 Alarm
3.5.1 High/Low Temperature Alarm
If ‘Set Point” is changed, the ‘Alarm High’ and ‘Alarm Low’ will also change. To modify the alarms:
Press “P” key for 3 seconds (the second display shows
chamber temperature; eg: 15
o
C)
Set code 72 for accessing the parameter level by using the ▼
and ▲keys
Press “P” key to set the temperature
Set the temperature value by using the ▼ and ▲keys (the
second display show set point temperature; eg: -80
o
C)
Set the r.2 value by using the ▼ and ▲keys
Press “P” key to set the Alarm Low
Set the Alarm Low value by using the ▼ and ▲keys (the
second display show temperature; eg: -90
o
C)
Press “P” key to set the Alarm High
Set the Alarm High value by using the ▼ and ▲keys (the
second display show temperature; eg: -70
o
C)
Press “P” key to set the hysteresis
Set the hysteresis value by using the ▼ and ▲keys (the
second display show set point hysteresis; eg: 1
o
C)
Allow some time for the instrument to switch back to the
process value display
3.5.2 Power Failure Alarm
Power failure switch should always be turned on when the unit runs. Refer to section 2.3 for details.