ETC Setup and Connect Guide
Paradigm
®
Touchscreen Interface
Paradigm Touchscreen Interface Setup and Connect Guide Page 2 of 12 Electronic Theatre Controls, Inc.
Operating Environment
• 0-50°C, 10-95% non-condensing humidity environment.
Help from ETC Technical Services
If you experience difficulty during setup or installation of the Paradigm Touchscreen Interface, additional
information is available from www.etcconnect.com, or by contacting ETC Technical Services at your
local office listed on the bottom of this page.
Setup and Connect
Step 1: Connect an Ethernet cable (not provided) between the Touchscreen Interface “Net3
Network” receptacle and the network switch that is also connected to the Paradigm
Central Control Server (P-CCS).
Step 2: Setup the external touchscreen monitor (by others) following the manufacturers provided
instructions.
Step 3: Connect the external touchscreen monitor digital video interface (DVI) connector to the
Touchscreen Interface “DVI” receptacle.
Step 4: Connect the external touchscreen monitor USB cable (providing touchscreen
functionality) to a Touchscreen Interface USB port.
Step 5: Locate the power supply and IEC power supply cable.
Step 6: Insert the power supply round plug into the Touchscreen Interface “12V DC” receptacle,
located on the top left corner of the unit rear panel. Tighten the lock ring around the
receptacle for a secure installation.
Step 7: Using the IEC power cable required for your region, insert the receptacle end into the
power supply and the plug end into the power source.
P-TSI Initial Power-up
To power-up the Paradigm
®
Touchscreen Interface, press the power button on the front panel.
Because ETC has prepared the P-TSI at the factory prior to shipment, on initial power-up, the Paradigm
Virtual Touchscreen application loads.
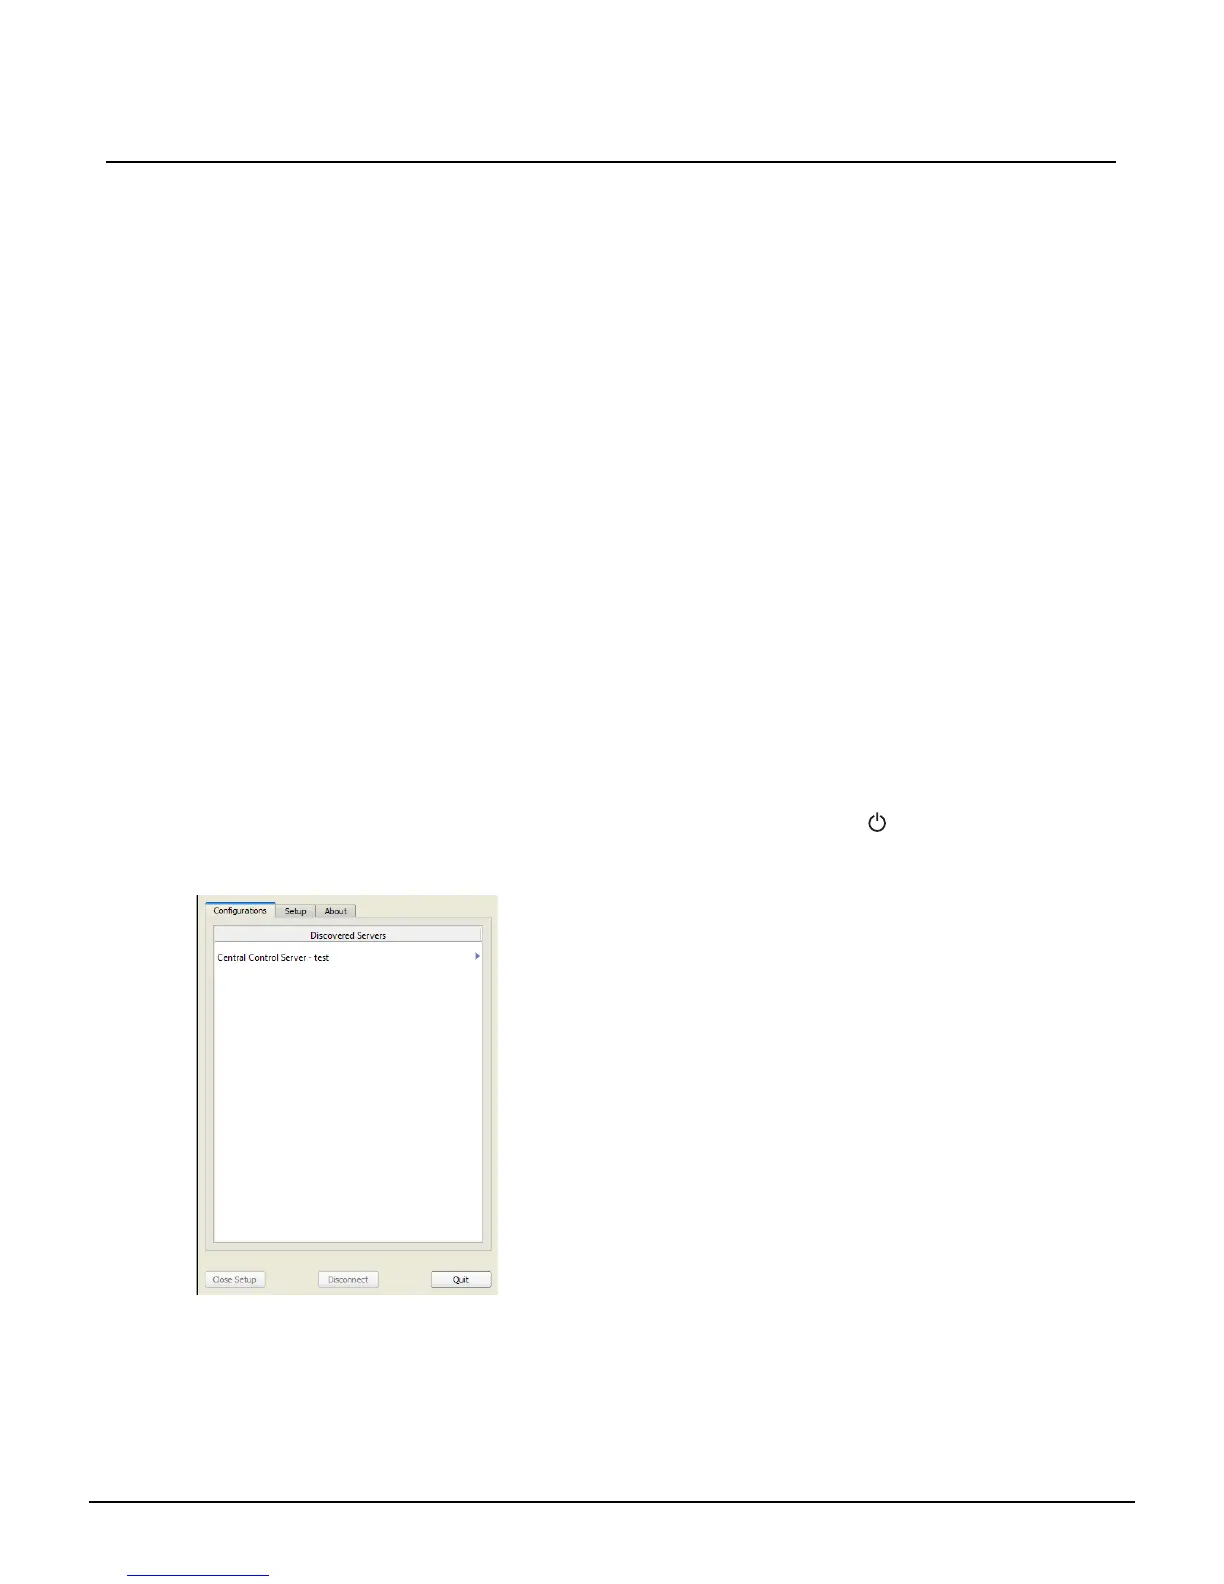
To continue with selecting a Virtual Touchscreen configuration,
touch to select the “Central Control Server” from the
“Discovered Servers” list. Reference the Paradigm Virtual
Touchscreen Setup Guide for instructions to use the P-VTS
software.
To update the Virtual Touchscreen application, to change IP or
network settings, or for additional advanced features and
troubleshooting, touch the [Quit] button on the bottom right
corner of the P-VTS application. The P-VTS software
application closes and the Application Shell displays.
 Loading...