6 7
INSTRUCTIONS FOR ASSEMBLY AND
DISASSEMBLY OF CLEAN WATER TANK
FUNCTIONS
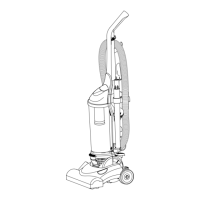
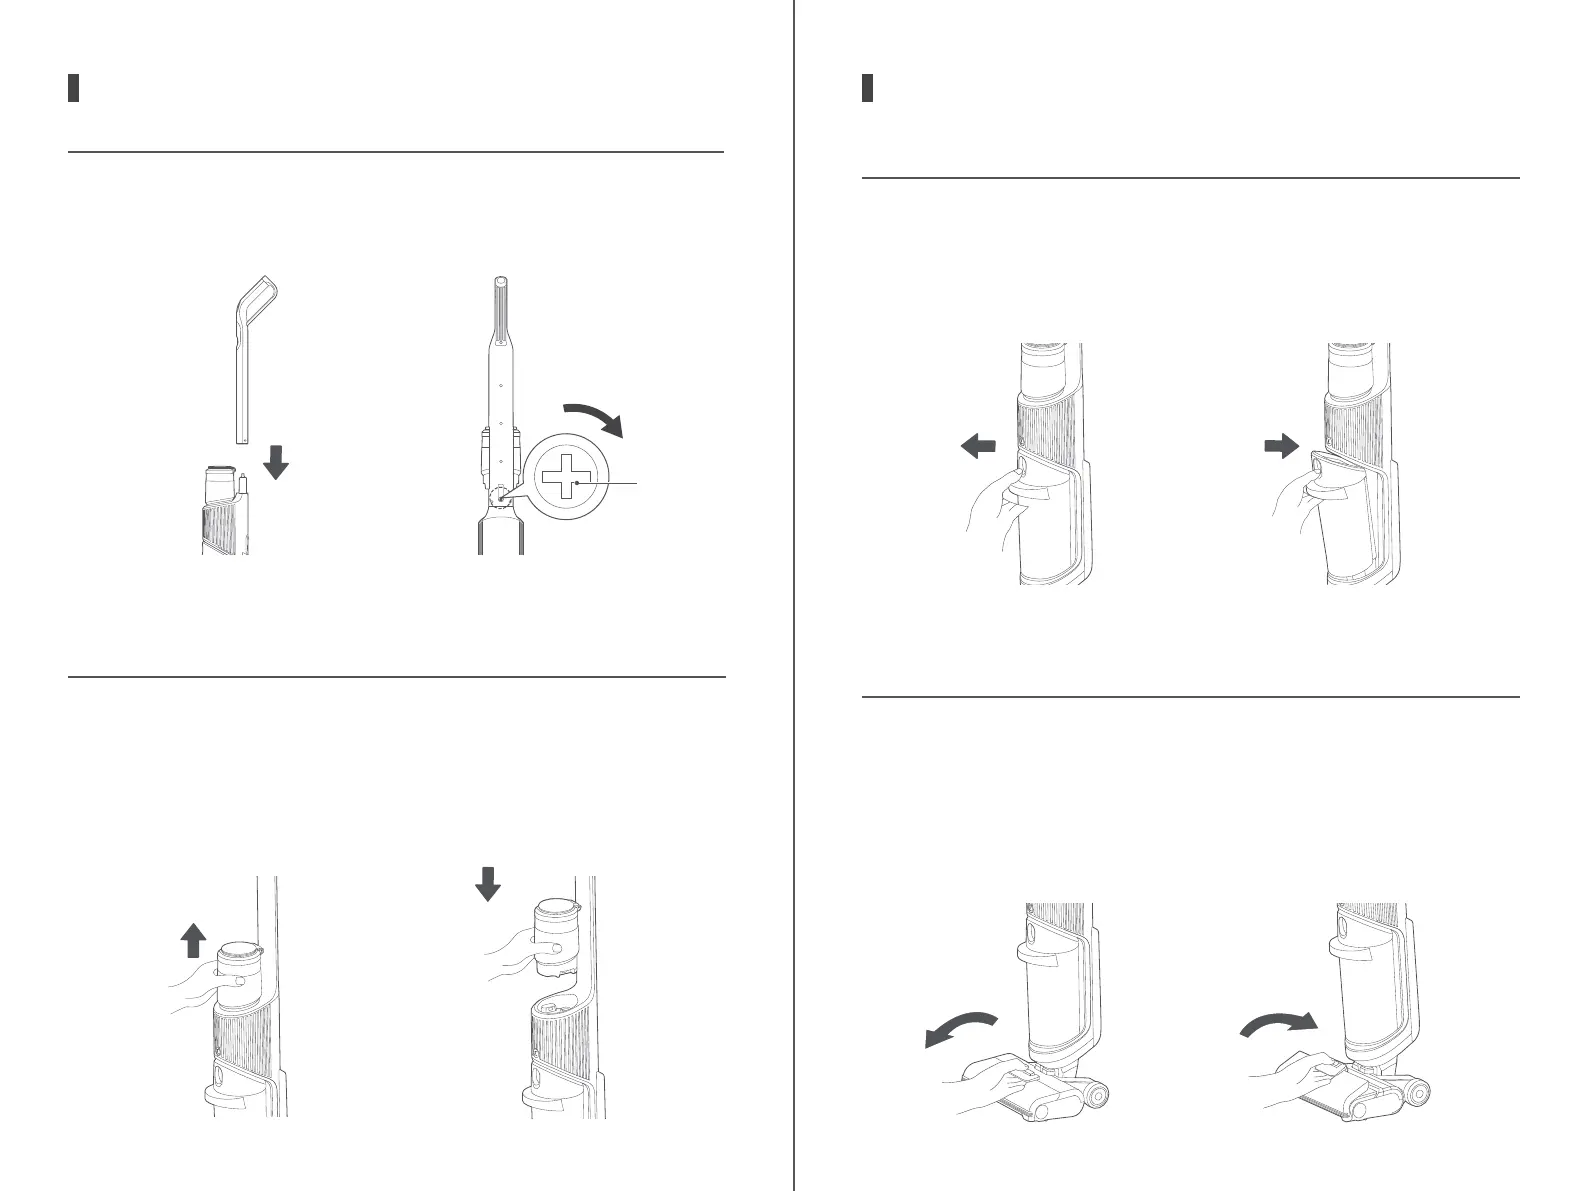
INSTRUCTIONS FOR ASSEMBLY OF HANDLE
Insert the end of handle into the port of main body in vertical direction
until it reaches the final position, and then use the souvenir coin to tight-
en the bolt. Make sure that the handle is tight without loosening, that is,
the assembly is successful.
To disassemble the clean water tank, hold the machine body with one
hand, and grab the clean water tank with the other hand and pull it up
and out vertically.
To assemble the clean water tank, adjust the direction of clean water
tank first, and then press it down vertically. After hearing a click, the
assembly is successful.
1.
2.
Bolt
Press
Pull
To disassemble the dirty water tank, hold the machine body with one
hand, and push the button of dirty water tank with the other hand
and pull it out at the same time.
To assemble the dirty water tank, put the bottom of dirty water tank
into the support position of machine body’s opening, then gently
push the tank. After hearing a click, the assembly is successful.
1.
2.
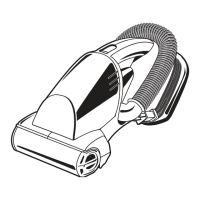
To disassemble the roller brush cover, apply your fingers to the posi-
tion as shown in the figure, while pressing the front end of the release
button with your thumb, and pull the cover out and up with your middle
finger and index finger.
To assemble the roller brush cover, align the clasps on both ends of it
with the slots on both ends of nozzel, flip it forward and press, and then
press the handle of surface. After hearing a click, the assembly is
successful.
1.
2.
Push
Pull
INSTRUCTIONS FOR ASSEMBLY AND
DISASSEMBLY OF ROLLER BRUSH COVER
FUNCTIONS
INSTRUCTIONS FOR ASSEMBLY AND
DISASSEMBLY OF DIRTY WATER TANK