Before cleaning, please turn o the power and stop the machine.
Wipe it with water or neutral detergent. Be sure to wring the cleaning cloth
dry before wiping to avoid water seep into the electrical components of the
machine.
1.
2.
CLEANING OF DIRTY WATER TANK
When the dirty water tank is full, the float will block the air inlet of fan, and a
voice message will be issued.
If stubborn dirt is found on the inner wall of dirty water tank, please remove
it directly with the little cleaning tool.
After cleaning, close the lid, and reinstall the tank to the machine body. After
hearing a click, the installation is successful.
1.
2.
3.
CLEANING OF DIRTY WATER TANK
If the float is blocked in the dirty water tank, please clean it in time.
Remove the lid from dirty water tank and wash it with clean water.
After cleaning, reinstall the lid to the tank.
1.
2.
3.
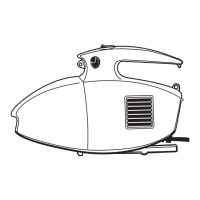
CLEANING OF MAIN BODY (MACHINE BODY)
CLEANING AND MAINTENANCE
CLEANING OF DIRTY WATER TANK
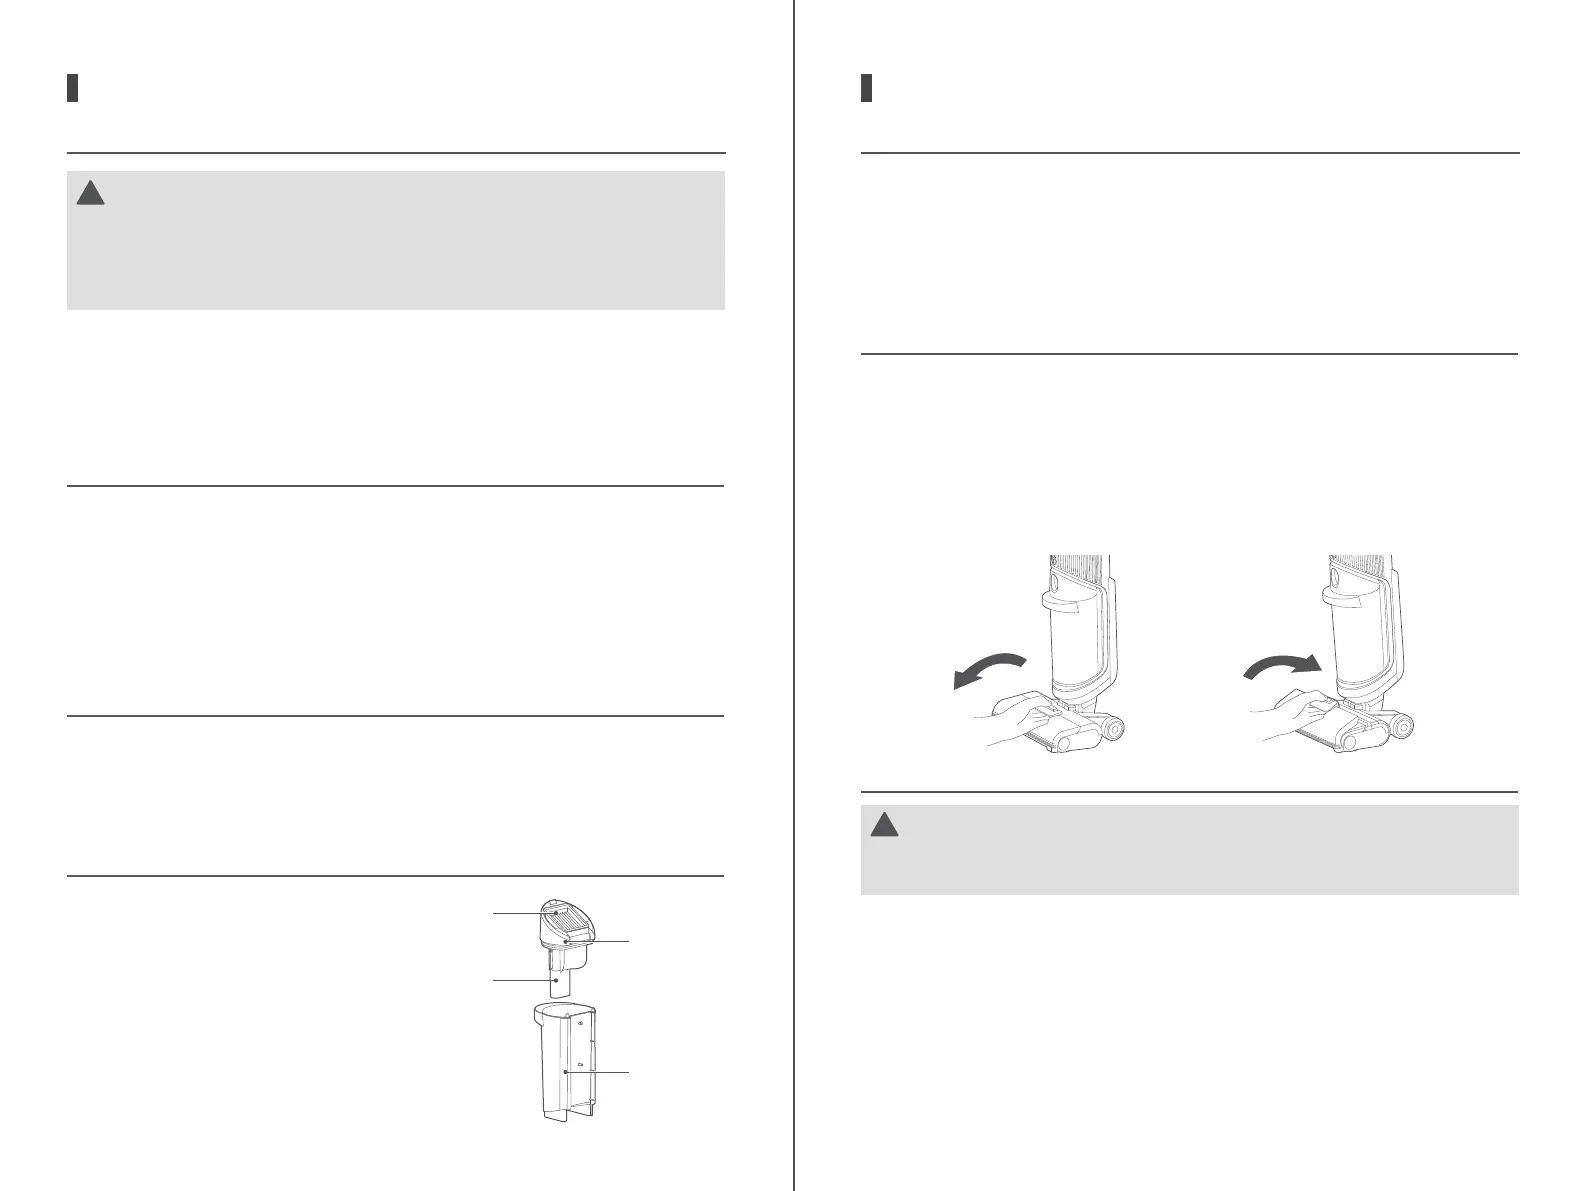
First, remove the filter from the
top of dirty water tank.
Then wash the filter with clean water.
After it is completely dried, reinstall
it to the tank.
1.
2.
Filter
Lid of dirty
water tank
Float
Dirty water
tank
CAUTION
!
1.
2.
After cleaning, it is recommended to place the machine upright in the
tray, and be careful not to place it in direct sunlight or wet places.
In order to ensure the performance of the machine, it is recommended
that maintenance work should be done on its parts regularly.
12
Before and after using the self-cleaning function, please clean the dirty water
tank; if there are residual stains on the base, please clean it in time.
After use, please put the machine back to the base in time, step on the drying
pedal or self-cleaning pedal to start self-cleaning.
Do not rinse and dry the base to prevent water from entering the base. If
there is water on the base, please wipe it o in time.
1.
2.
3.
SELF-CLEANING
CLEANING AND MAINTENANCE
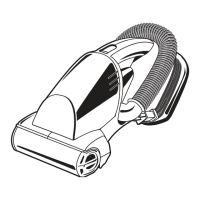
It is recommended that after each use of the machine, the roller brush should be
washed and dried to keep it clean.
CLEANING OF ROLLER BRUSH
Pull the handle up on the left end of roller brush to remove the brush.
Disassemble the roller brush handle and use the small cleaning tool to
remove the entangled hair or debris on the brush head.
Then rinse the roller brush with clean water.
After cleaning, reinstall the roller brush handle first, and then reinstall the
roller brush into the floor brush. To assemble the roller brush, align its right
side (without protruding structure) into the right slot first, and then push the
left side (with handle) in along the left and right slots.
1.
2.
3.
4.
CAUTION
!
If residual stains are found at the suction nozzle, please wipe it with a
wet cloth instead of rinsing it with water.
It is recommended that after the machine is used, the roller brush cover should
be washed regularly to keep it clean.
CLEANING OF ROLLER BRUSH COVER
To disassemble the roller brush cover, apply your fingers to the position as
shown in the figure, while pressing the front end of the release button with
your thumb, and pull the cover out and up with your middle finger and index finger.
After removal, rinse the cover with clean water thoroughly until it is clean.
When the cleaning is completed, reinstall the roller brush cover to the nozzel
base.
1.
2.
3.
13