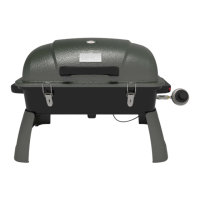
Assembly
Instruc ons
Remove all contents from the carton. Make sure all parts are present before starng assembly. Once the barbecue is
fully assembled, go back and check to make certain all the bolts are secure. Tighten again using the screwdriver provided if
necessary.
Es
mated Assembly Time: 20 minutes.
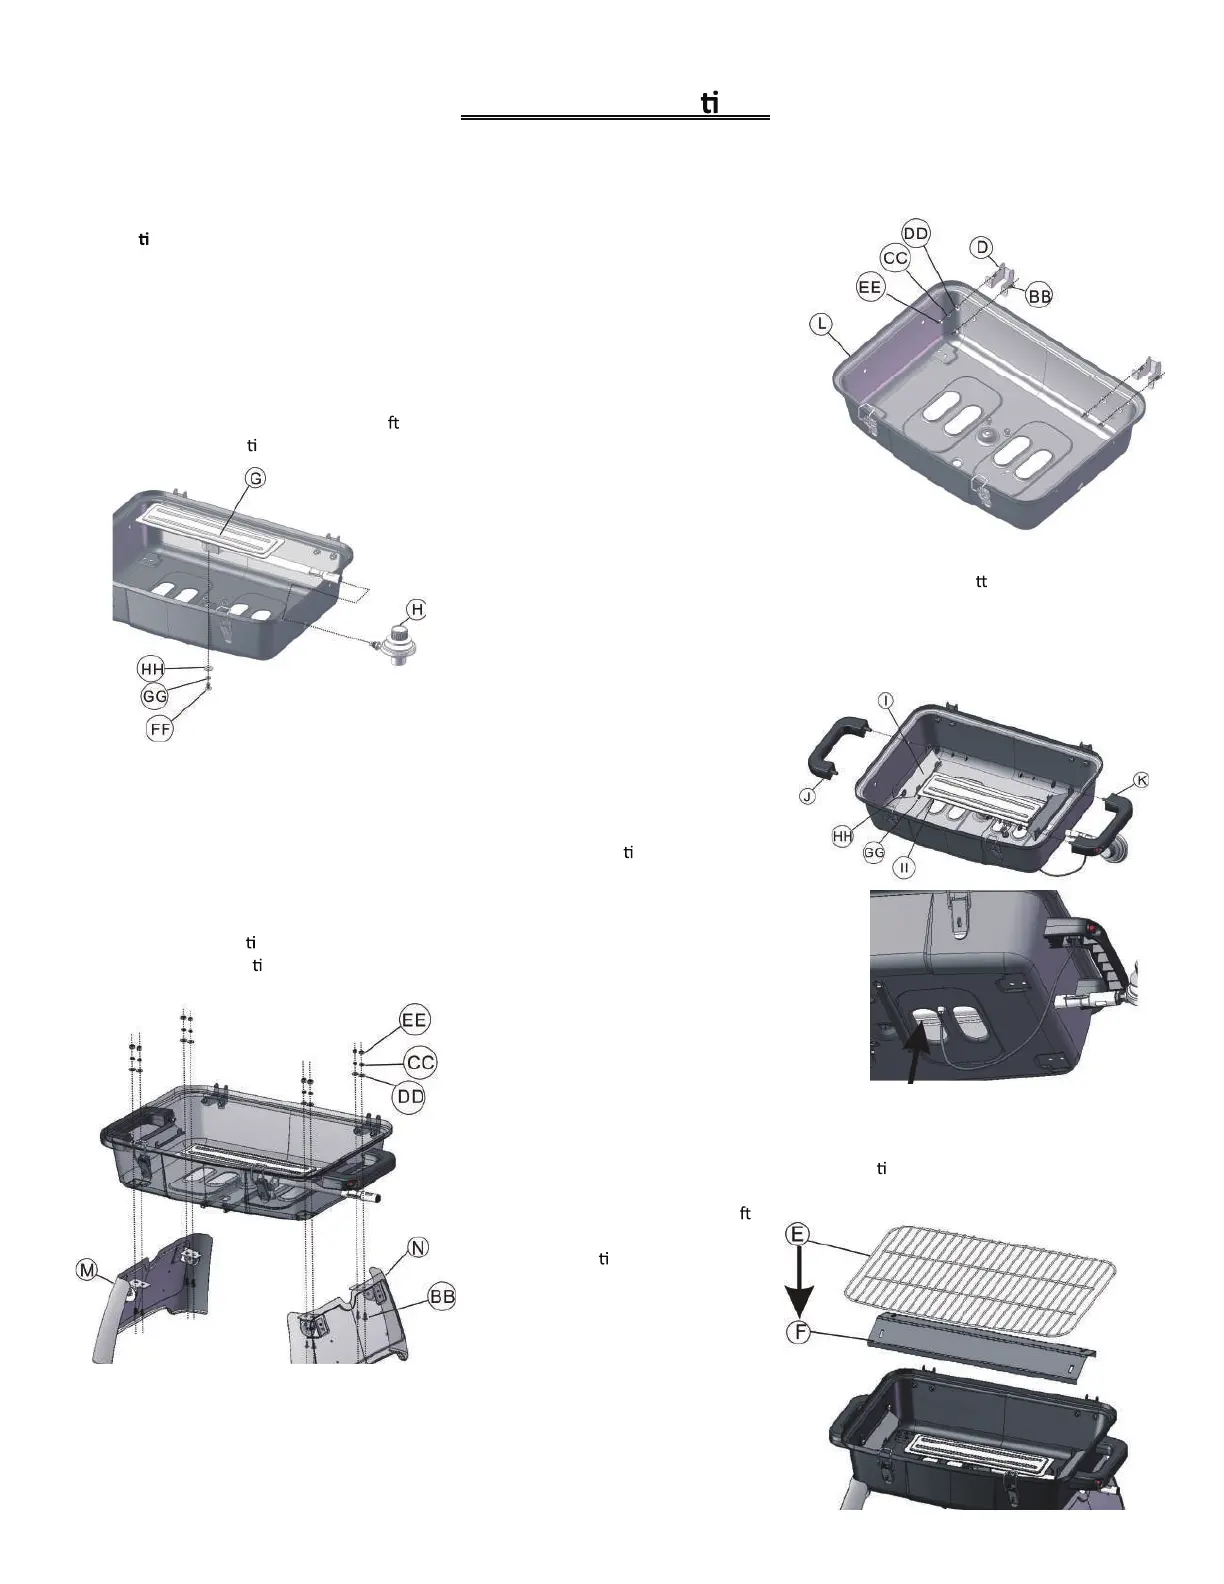
Step 1
a) Align the holes on the right back side of body assembly (L) with the holes on the
lower hinge (D).
b)
c) Repeat the procedure for the le back side of body assembly.
d) Go back and
ghten all the bolts using the screwdriver provided.
Step 2
a) Insert the venturi side of the burner (G) through the hole on the right side of body.
b) Align the pre-drilled hole under the burner with the hole on t
he bo
om of body.
c) Insert one flat washer (HH), one lock washer (GG) and one bolt (FF) into the
pre-drilled
hole.
d) Tighten the bolt using the screwdriver provided.
e) Screw the regulator valve (H) into the threaded venturi tube of the burner.
Step 3
a) Align the holes on the left side of the firebox with the holes on the heat plate
support (I).
b) Insert the bolts on left handle (J) into each pre-drilled
hole and
ghten with one flat
washer (HH), one lock washer (GG), and one nut (II) in sequence.
c) Repeat the procedure for the right handle (K) and another heat plate support (I) with the
right side of the firebox.
d) Go back and
ghten all the nuts using the wrench provided.
e) Insert the igni
on cable into the electrode underneath the firebox. (See the figure on the
right).
Step 4
a) Align the holes on the lower right front side and lower right back side of the
body assembly with the holes on the right leg (N).
b) Insert one bolt (BB) into each pre-drilled hole and
ghten it with one flat washer
(DD), one lock washer (CC) and one nut (EE).
c) Repeat the procedure for the le
leg (M).
d) Go back and
ghten all the bolts
using the screwdriver provided.
Step 5
a) Place the heat plate (F) on the heat plate support.
b) Place the cooking grid (E) over the heat plate.