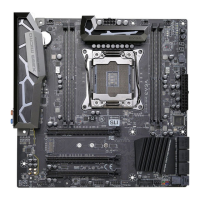
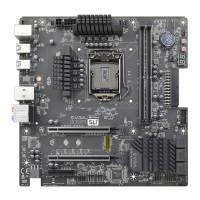
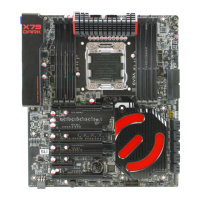
EVGA X299 Micro (131-SX-E295)
- 20 -
Po
wer and Reset switches are both designed to use “Momentary Switches,”
rather than “Latching Switches,” which means the connection between the two
posts needs to be made just briefly for it to work, as opposed to being held in
place. This is why the Power and Reset switches can be triggered with a screw
driver by simultaneously touching the + and - posts.
Power LED will power on with the system, indicating the system is on and can
blink with CPU activity.
HDD LED will blink during access to the SATA ports, U.2 port, and/or the
M.2 Key-M SSDs.
22. Removable BIOS Chip
The ability to remove and replace the BIOS chip without requiring special tools
is a key feature on many of our boards, by adding a level of protection against
BIOS failures, bad BIOS flashes, BIOS corruption, etc. This feature also allows
EVGA to work with end-users if something happens to render the BIOS chip
unusable or a BIOS update is needed for CPU compatibility; rather than
replacing the whole board, Customer Support can send a pre-flashed BIOS chip
to get you up and running without requiring the end-user to send in the
motherboard. Please see the walkthrough on Page 122 for further information.
23. CMOS Battery
The CMOS battery backup provides uninterruptable power to the BIOS/UEFI
to keep all of the settings; otherwise, each boot would behave like you just reset
the BIOS. These batteries typically last several years and rarely need to be
replaced.
24. PC Speaker
This is a small mono low-fidelity speaker permanently attached to the
motherboard used mainly for debugging purposes. A POST beep may indicate
a successful POST, various tones for USB initialization, and other beeps to
indicate an issue during the post process. Please see Page 129 for more details.
25. Rear Panel Connectors (Figure 2)
This is the section referred to as the I/O Hub. This panel contains the
hardwired USB, Sound, and Ethernet connections. Please see Page 14 for a
component level breakdown.