EVGA X299 Micro (131-SX-E295)
- 30 -
Installing M.2 devices
Securing a M.2 device to the motherboard requires a few extra steps compared to other
current drive or slot-based connectors. M.2 devices used on this motherboard, Socket 3
(for SSDs) and Socket 1 (for WiFi/Bluetooth), will be installed and attached the same
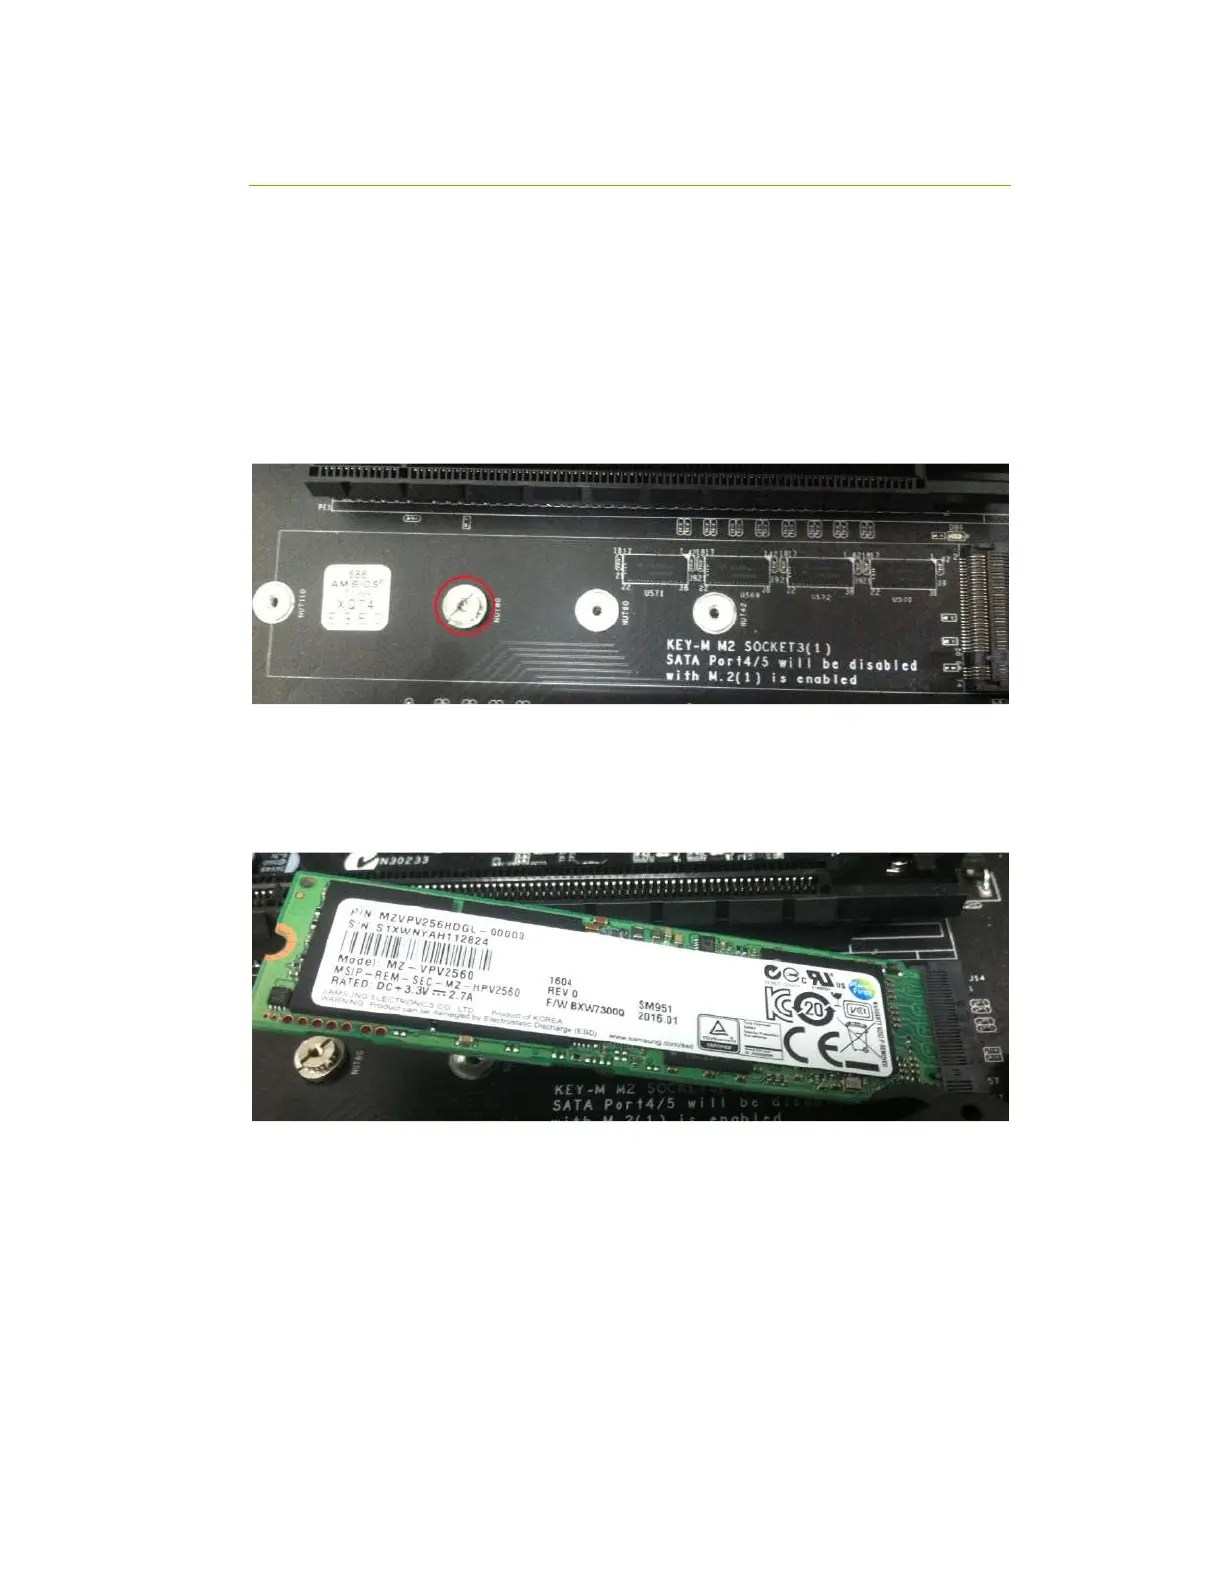
way. Below are images from an installation of a SSD on a Socket 3 Key-M.
1. Remove the screw that comes pre-attached to the M.2’s retention standoff; this will
be used to keep the device in place.
2. Insert the M.2 device in at a slight angle, at approximately 45 degrees to the board.
This will allow the contacts (colloquially called “Gold Fingers”) to seat completely into
the slot. If the device is fully seated, you should be able to release it and the device will
rest at an angle of about 30 degrees on its own, as shown in the picture below.