EVGA Z490 DARK (131-CL-E499)
- 34 -
Installing M.2 devices
Installing M.2 Key-M Socket 3 Devices
Securing an M.2 device to the motherboard requires a few extra steps compared to other
current drive or slot-based connectors. M.2 devices used on this motherboard - Socket
3 (for SSDs) and Socket 1 (for WiFi/Bluetooth) – are installed differently.
Below are images from an installation of an SSD on the Socket 3 Key-M 110mm PM1
slot of the Z490 DARK.
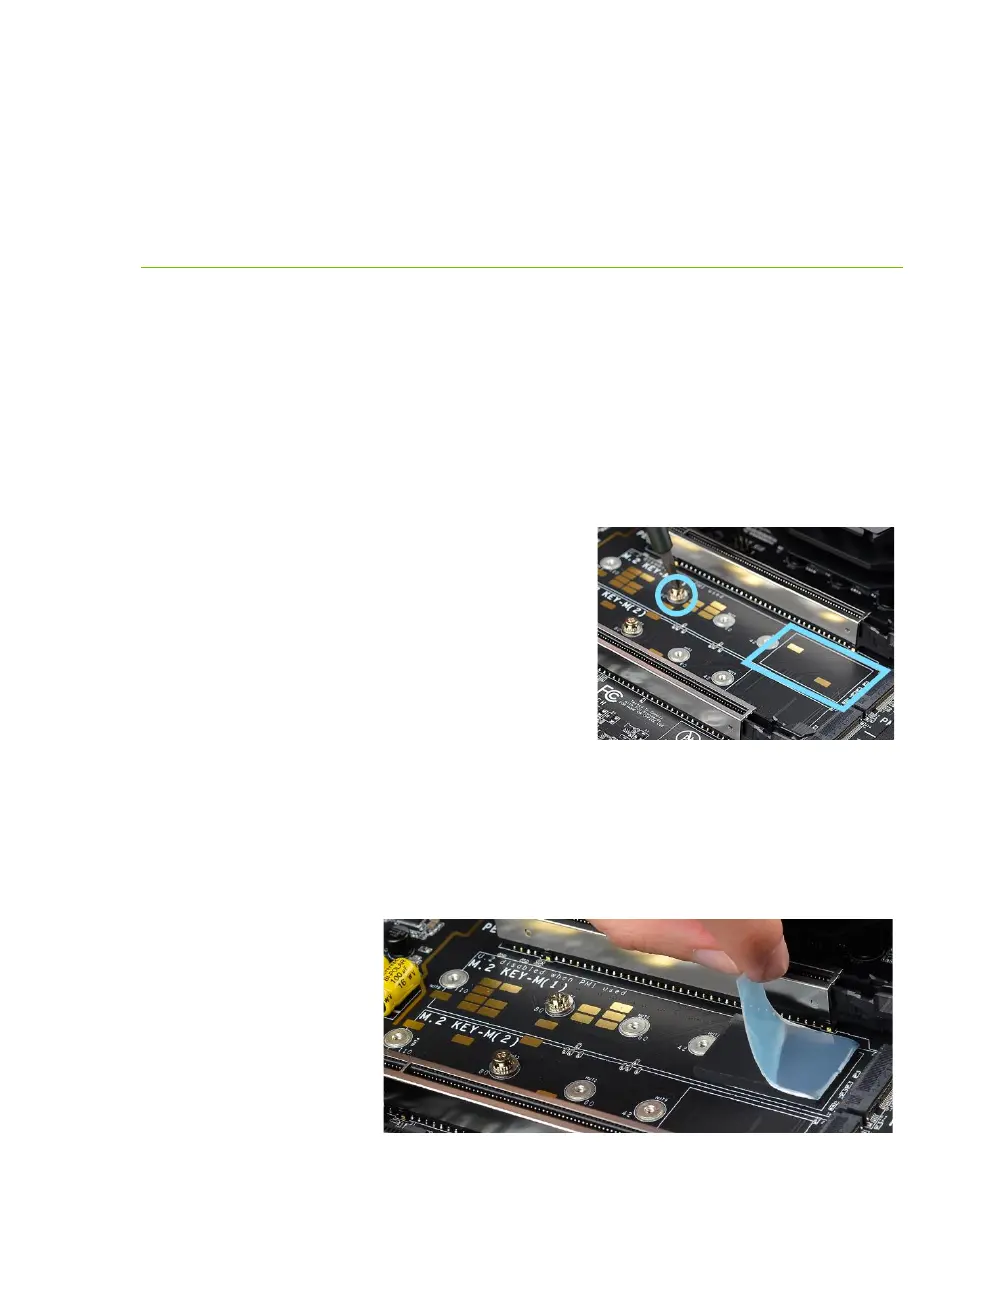
1. Before you can install an M.2 device, you must
first remove the screw that comes pre-attached to
the Socket 3’s retention standoff; this will be used
to keep the device in place. The standoff is placed
at the 80mm interval for the Socket 3 slot. There
are also additional standoffs available for different
size drives, such as 110mm Intel 905P Optane
SSDs.
Next add one thermal pad – included with the
Z490 DARK accessories – to the outlined area to the right.
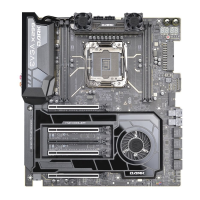
2. After adding the thermal pad, the motherboard will look like the image below. This
thermal pad will assist with cooling your M.2 Key-M device.