The difference is clear at www.evolutionaqua.com
11
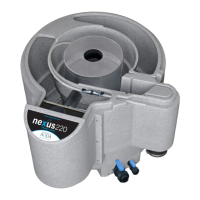
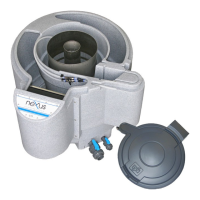
NEXUS 310 GRAVITY FED INSTALLATION
NEXUS 310 GRAVITY FED INSTALLATION
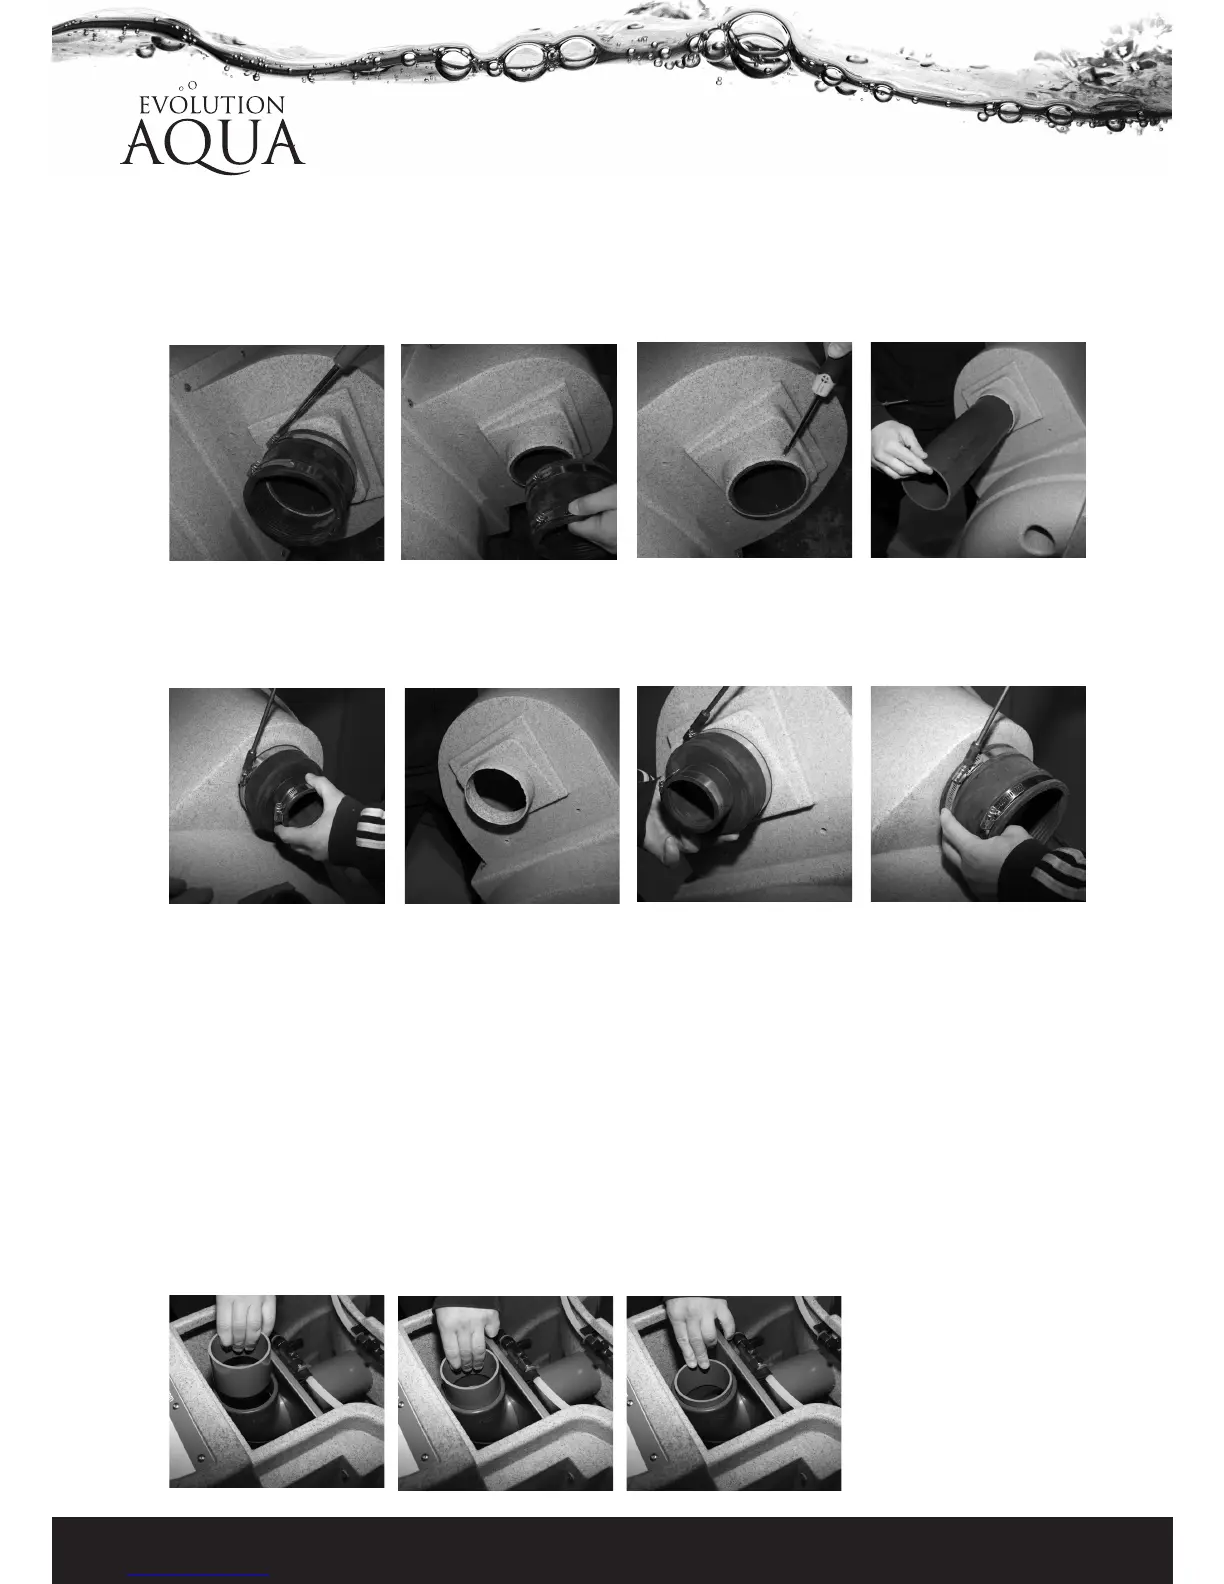
Your Nexus 310 comes with a stand pipe in the outlet. This is for use in PUMP FED SET UPS ONLY.
Please remove the standpipe from the Nexus outlet by undoing the jubilee clip (Fig 2.1)
and removing the 4”- 4” eazyconnector (Fig 2.2), remove the 3 retaining screws (Fig 2.3)
and slide out the 4” PVC pipe (Fig 2.4).
Your nexus 310 is now ready to be connected up for gravity fed operation.
Setup procedure
1. Remove the 4”- 2” eazyconnector from Nexus inlet (A) (Fig 3.1).
2. Attach the 4”-2” eazyconnector (Fig 3.3) to the Nexus Outlet (F) (Fig 3.2).
3. Attach the 4”-4” eazyconnector to the Nexus Inlet (A) (Fig 3.4) and then to the 4”
pipe work from your pond.
4. Connect your water pump to the 4”-2” eazyconnector using suitable pipe work. A
valve should be positioned between the pump and the Nexus, to isolate the
Nexus during cleaning.
5. Pour the 2 x 50L K1 media into the outside chamber (D) of the Nexus (Fig 5).
6. Fit the bypass collar provided into position. See g 4.1 to 4.3.
7. Connect your air pump to the Nexus air valves (H).
8. Connect your pump outlet to the remainder of your pipework including a
UV steriliser.
9. Connect the waste valves (G) to your waste outlet
Fig 2.1
Fig 3.1
Fig 2.2
Fig 2.3 Fig 2.4
Fig 4.1
Fig 3.4
Fig 3.3
Fig 3.2
Fig 4.3Fig 4.2