8
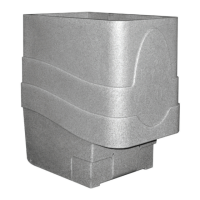
TEMPEST FILTER SET-UP
Follow these instructions to set-up your Tempest filter ready for installation.
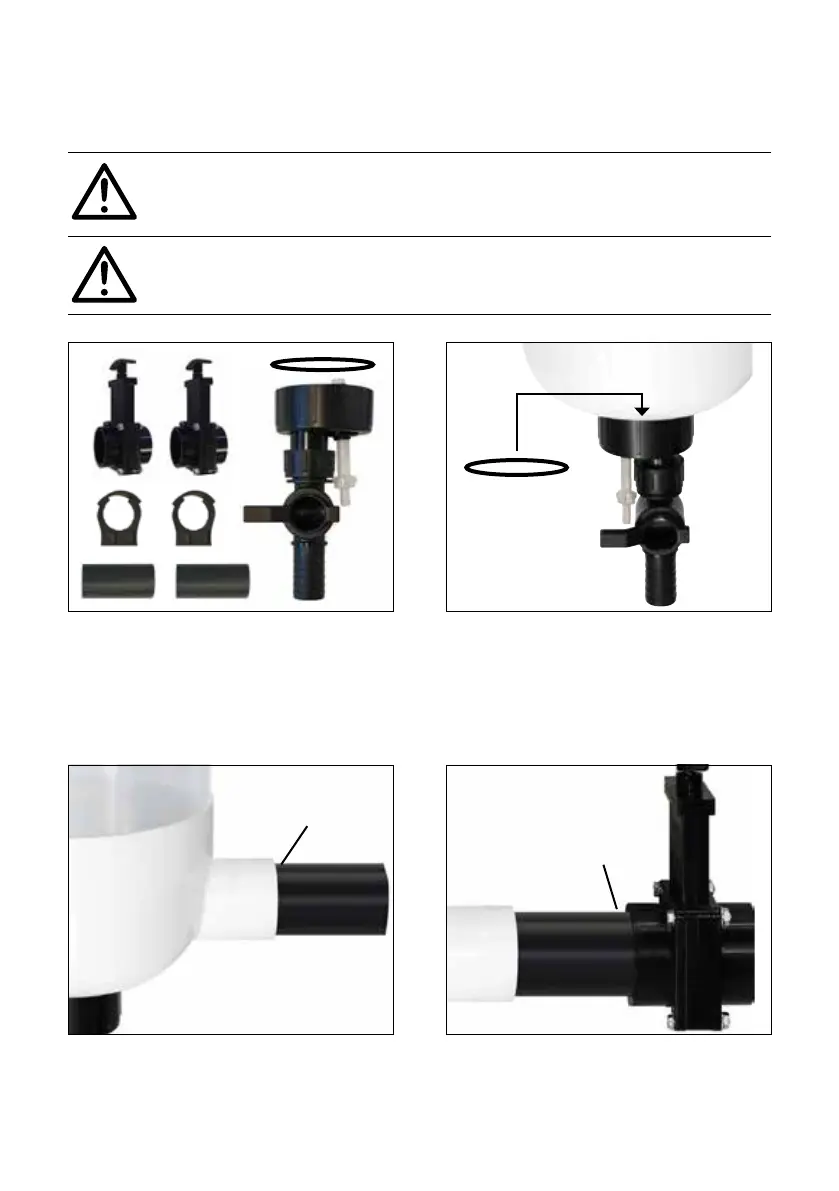
STEP 1: Familiarise yourself with all
the components from the parts bag.
STEP 3: Solvent weld one end of the
100mm length of 1½" connector pipe
into the inlet of the Tempest. Push
pipe into the inlet until it stops.
STEP 2: With o-ring in place inside
collar, screw on the waste valve
assembly to the bottom of the
Tempest filter, hand tight only.
(Do not use tools)
STEP 4: Solvent weld the slide valve
onto the opposite end of the 1½"
connector pipe. Push slide valve onto
pipe until it stops.
IMPORTANT: Ensure the supplied o-ring is fitted inside the waste valve
assembly before screwing on to waste outlet (See step 2).
PARTS NEEDED: You will need solvent weld adhesive and a brush
for gluing.
SOLVENT WELD
SOLVENT WELD