1
Model No:S2281801M
Item No:583982671
Owner’s Manual
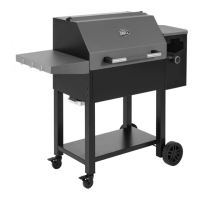
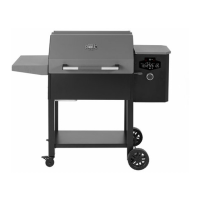
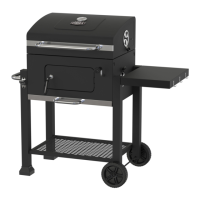
Expert Grill Commodore
A MAJOR CAUSE OF FIRES IS FAILURE TO MAINTAIN
REQUIRED CLEARANCES (AIR SPACES) TO
COMBUSTIBLE MATERIALS. IT IS OF UTMOST
IMPORTANCE THAT THIS PRODUCT BE INSTALLED
ONLY IN ACCORDANCE WITH THESE INSTRUCTIONS.
READ ALL INSTRUCTIONS BEFORE INSTALLING AND USING THE APPLIANCE
Failure to follow these instructions could result in property damage, bodily injury or even death.
Contact local building or fire officials about restrictions and installation inspection requirements in
your area.
SAVE THESE INSTRUCTIONS
For Outdoor Use Only
If you have any questions or problems,you can contact with our customer service at
855-256-2160 or expertgrill@grillservices.net from 9 AM
– 6 PM CDT, Monday through Friday