EX320-EU-ENG V5.1 6/09
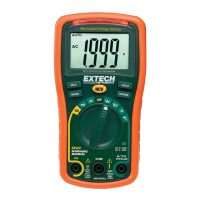
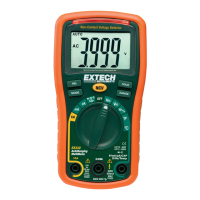
BATTERY INSTALLATION and LOW BATTERY INDICATION
WARNING: To avoid electric shock, disconnect the test leads from any source of voltage
before removing the battery cover.
LOW BATTERY INDICATION
The icon will appear in the lower left-hand corner of the display when the battery
voltage becomes low. Replace the batteries when this appears.
BATTERY REPLACEMENT
1. Disconnect the test leads from the meter.
2. Remove the protective rubber holster as shown in the diagram.
3. Remove the Phillips head screw located on the lower back of the instrument.
4. Flip up the fuse/battery compartment cover to access the batteries.
5. Gently remove the batteries and install two new 1.5V ‘AAA’ batteries observing
polarity.
6. Secure the fuse/battery compartment cover.
7. Place the protective rubber holster on the meter.
You, as the end user, are legally bound (Battery ordinance) to return all used
batteries and accumulators; disposal in the household garbage is prohibited!
You can hand over your used batteries / accumulators at collection points in your
community or wherever batteries / accumulators are sold!
Disposal:
Follow the valid legal stipulations in respect of the disposal of the
device at the end of its lifecycle
WARNING: To avoid electric shock, do not operate the meter until the batteries and the
fuses are in place and fastened securely.