7AP-7532 Access Point Installation Guide
2
Hardware Installation
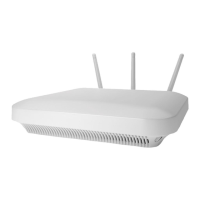
An AP-7532 Access Point mounts either on a wall (with M 3.5 x 0.6 x 23 MM pan head
screws and mounting bracket- or equivalent) or on a suspended ceiling T-bar.
To prepare for the installation:
1 Match the part number on the purchase order with the part numbers in the packing list
and on the case of the Access Point.
2 Verify the contents of the box include the intended AP-7532 Access Point, and the
included hardware matches the package contents.
3 Review site survey and network analysis reports to determine the location and mounting
position for the AP-7532 Access Point.
4 Connect a CAT-5 or better Ethernet cable to a compatible 802.3at or 802.3af power
source and run the cable to the installation site. Ensure there is sufficient slack on the
cable to perform the installation steps.
.
Precautions
Before installing an AP-7532 Access Point, verify the following:
• Your are using the correctly rated power solution for the AP-7532 (either the AP-
PSBIAS-2P3-ATR power injector or the PWRS-14000-54R external power supply)
• Do not to install the AP-7532 in wet or dusty areas.
• Verify the environment has a continuous temperature range between -4° F to 104° F/
-20° C to 40° C for external antenna Access Points and 32° F to 104° F/0° C to 40° C
for internal antenna Access Points.
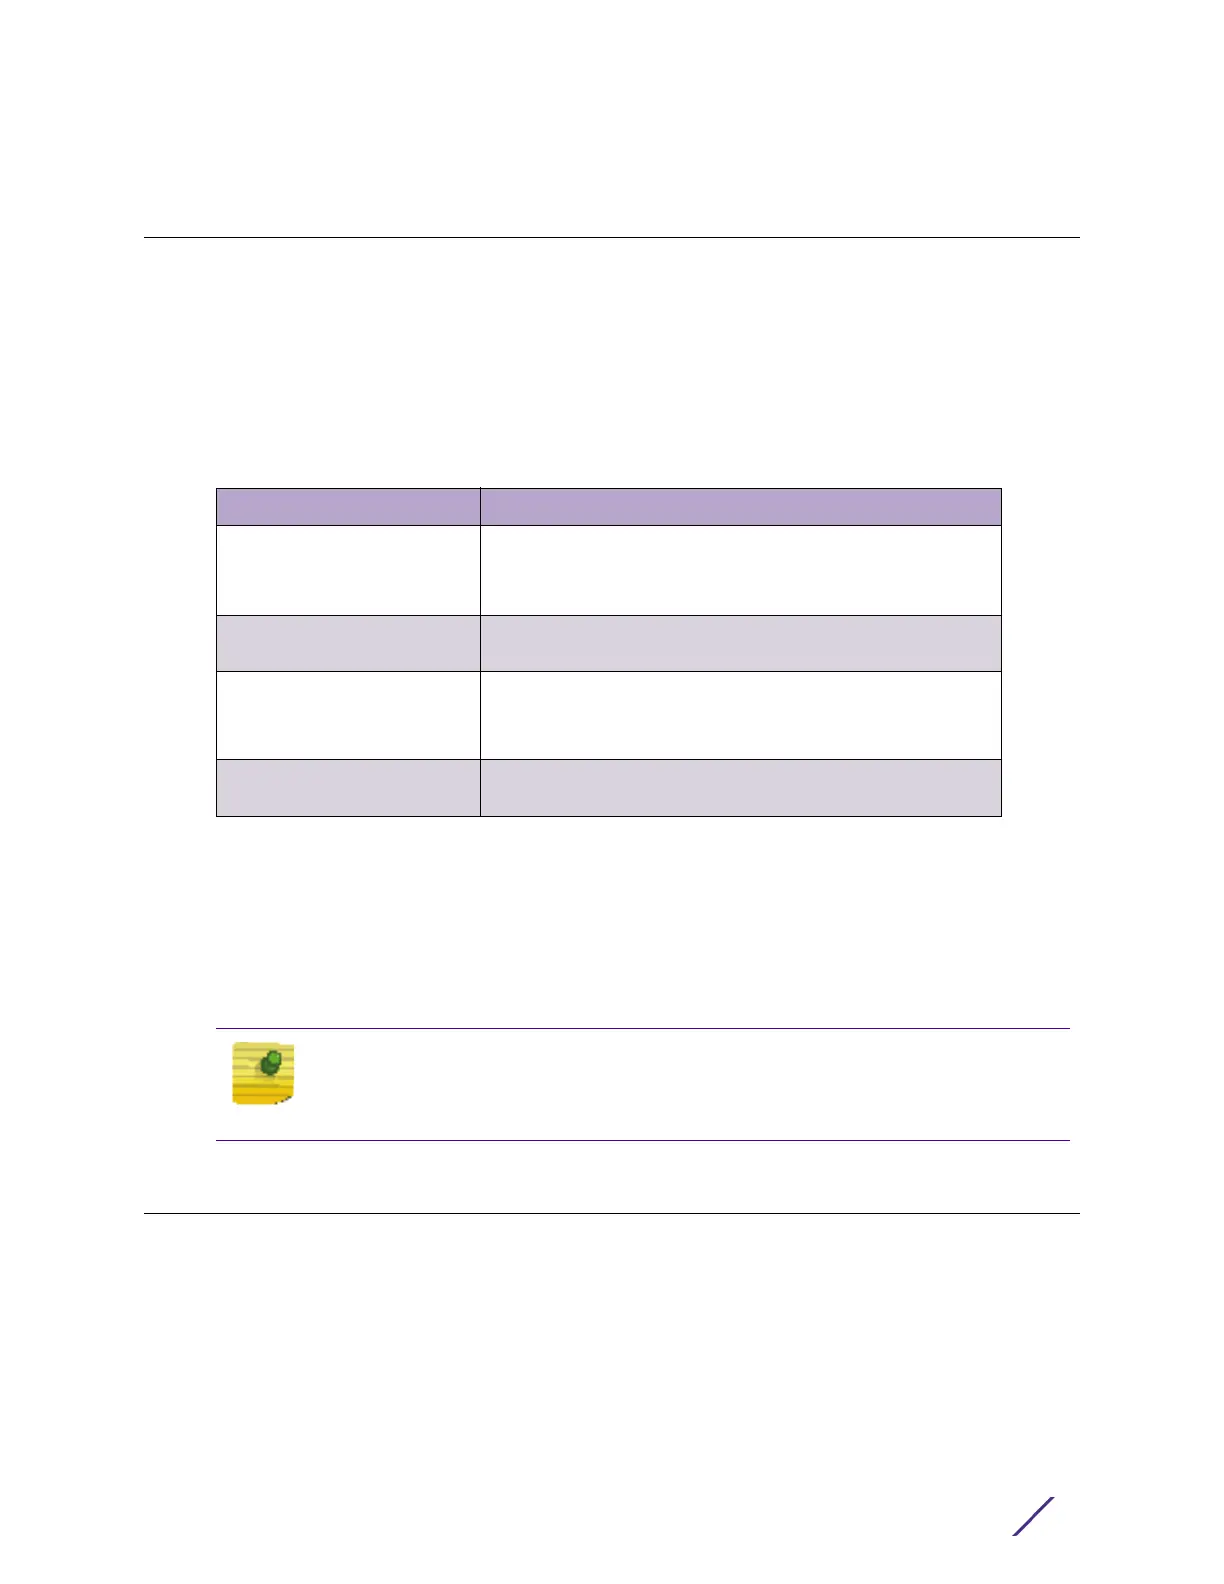
Part Number Description
AP-7532-67040-US AP-7532 dual radio 802.11ac 3x3:3 MIMO Access Point
external antenna
US version
AP-7532-67040-1-WR AP-7532 dual radio 802.11ac 3x3:3 MIMO Access Point
external antenna International version
AP-7532-67030-US AP-7532 dual radio 802.11ac 3x3:3 MIMO Access Point
internal antenna
US version
AP-7532-67030-1-WR AP-7532 dual radio 802.11ac 3x3:3 MIMO Access Point
internal antenna International version
NOTE
When operating in a Gigabit Ethernet environment, CAT-5e or CAT-6 cable is
recommended for Gigabit operation.
 Loading...