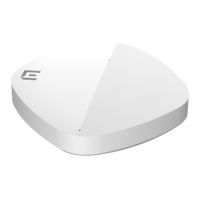
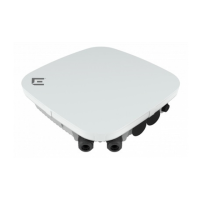
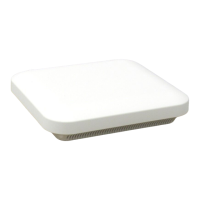
Install the Access Point
Access Point Box Contents on page 12
Install the Access Point on a Standard Ceiling on page 13
Install the Access Point on a Wall or a Solid Surface Using the AH-ACC-BKT-AX-
TB Bracket on page 15
Non-Standard Ceiling Grid or Wall Installation on page 17
Lock the Access Point after Installation on page 21
Details about pre-installation checks and various installation options.
About This Task
The access point can be installed on an indoor environment such as a ceiling rail, on non-standard
ceilings, and on a wall. The access point is shipped with one mounting bracket, but can be used with
other mounting accessories. For more information about selecting the right accessory for your
installation scenario, see 802.11ax and Cloud Access Points Accessories Guide.
Procedure
1. Verify the access point box contents.
2. Visually inspect the access point, the mounting bracket, and any other optional accessories that you
have ordered for physical damage.
If there is any damage, contact Extreme Networks Support.
3. Read and review the safety guidelines.
4. Select an access point mounting option:
• To install the access point on a standard ceiling rail, see Install the Access Point on a Standard
Ceiling on page 13.
• To install the access point on a non-standard ceiling grid or a wall, see Non-Standard Ceiling Grid
or Wall Installation on page 17.
5. Lock the access point after installation.
Access Point Box Contents
When you purchase the access point, ensure that the following items are available in the box:
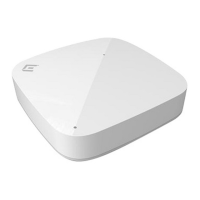
• An AP4000 access point
12
ExtremeWireless™ Indoor Access Point AP4000

 Loading...
