• One mounting bracket for 15/16 in. T-bar ceiling installation (part number AH-ACC-BKT-AX-TB)
Note
The mounting bracket includes wall mounting hardware; two screws and two anchors for
wall installation.
• One quick reference guide
All optional brackets and accessories are sold separately. For detailed instructions about all mounting
procedures, see 802.11ax and Cloud Access Points Accessories Guide.
Install the Access Point on a Standard Ceiling
Details about access point installation on a standard ceiling
Before You Begin
Hardware requirements for installation:
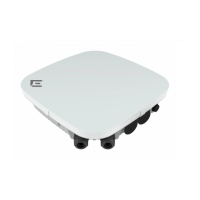
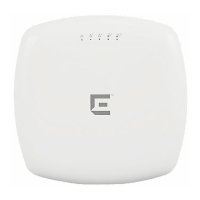
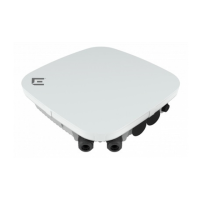
• One AP4000 access point
• One AH-ACC-BKT-AX-TB bracket
About This Task
The access point ships with the AH-ACC-BKT-AX-TB mounting bracket for standard 15/16 in. dropped
ceiling grid or for 9/16 in. wide and flat T-bar, and for walls or solid surfaces with the appropriate
mounting hardware. For wall or solid surface installation using the AH-ACC-BKT-AX-TB bracket, see
Install the Access Point on a Wall or a Solid Surface Using the AH-ACC-BKT-AX-TB Bracket on page 15.
For non-standard ceiling rail installations, see Install the Access Point on a Non-Standard Ceiling Grid or
a Wall.
The bracket and the access point have a red dot on the back that acts as a guide during installation.
To install the access point:
Procedure
1. Remove the ceiling tiles.
Install the Access Point
Install the Access Point on a Standard Ceiling
ExtremeWireless™ Indoor Access Point AP4000 13
 Loading...