Install the Access Point on a Standard Ceiling Rail
Install the access point on a standard 15/16 in. dropped ceiling rail.
Before You Begin
Hardware requirements for standard ceiling rail install:
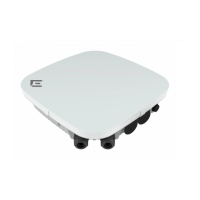
• An AP410C access point
• An AH-ACC-BKT-AX-TB bracket
• AH-ACC-BKT-AC-KIT adapter, when the ceiling rail protrusion is 1/8 in. or ¼ in.
About This Task
The AP410C access point ships with a mounting bracket for standard dropped ceiling rail installation.
You must use the AH-ACC-BKT-AC-KIT adapter with the -TB bracket when there is a 1/8 in. or ¼ in.
ceiling rail protrusion.
Procedure
1. Remove the ceiling tiles.
2. Put together the AH-ACC-BKT-AC-KIT protruded ceiling tile bracket set parts.
Note
If you are not using the -KIT bracket set, go to Step 4 of this procedure.
a. Insert the bracket tabs into the slots.
Ensure that the locking tabs slide smoothly one behind the other.
Figure 3: Locking tabs and bracket slots
Callout Description
1 Bracket tabs
2 Bracket slots
3 Locking tabs
b. Slide the two bracket halves in the direction shown in the following figure.
Install the Access Point on a Standard Ceiling Rail
Install the Access Point
14 ExtremeWireless™ AP410C Access Point

 Loading...