Installation
This section details the installation and configuration of the XTP II matrix switchers,
including:
• Setup and Installation Checklist
• Rear Panel Cabling and Features
• Front Panel Configuration Port and Power LEDs
Setup and Installation Checklist
Get ready
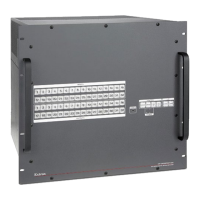
c Familiarize yourself with the XTP II CrossPoint matrix switcher.
c Obtain IP setting information for the matrix switcher from the local network administrator
(see Ethernet Connection on page 154).
Configure the matrix switcher
c Install the desired input and output boards (see Installing an Input or Output
Board or Blank Panel on page 145). Use a screwdriver to tighten the captive screws
that lock the boards in place.
Perform physical installation
c If desired, create and replace button labels (see Removing and Installing Button
Labels on page 150).
c If desired, install the switcher in a rack (see Mounting the Switcher on page 143).
c Cable input and output devices to the input and output boards (see Input and Output
Boards on page 14).
c If desired, connect computers or control systems to any of the remote control ports (a
serial port [see item
C
on page 27], a USB port [see item
A
on page 29], and a LAN
port [see item
D
on page 27]) on the switcher.
c Connect power (see item
F
on page 28).
c Test the switcher by creating a tie (see Example 1: Create a set of video and
audio ties on page 39).
Ancillary operations
c Install the XTP System Configuration software (see the XTP System Configuration
Software help file, available at www.extron.com).
XTP II CrossPoint 1600, 3200, and 6400 Switchers • Installation 10