15
ENGLISHENGLISH
Fig. 6
Fig. 8
Fig. 9
Fig. 11 Fig. 12
Fig. 10
Ø 5
8) Close the gate leaf and, keeping the operator perfectly
horizontal, locate the leaf attachment position of the front
bracket (fig. 7).
9) Fix the front bracket temporarily to the leaf by two welds.
N.B.: If the gate frame does not allow for secure fixing of
the bracket, add a support plate.
Fig. 7
10) Release the operator and ensure that the gate opens
smoothly with no stiff points and that it stops on the
mechanical travel stops.
11) Completely weld the front bracket to the leaf. To weld,
detach the operator temporarily from the bracket to
prevent any waste material from damaging it.
N.B.: 1) Grease all pivots on brackets
2) If welding is not possible, the front and rear
bracket plates are also designed for fixing by
screws and screw anchors.
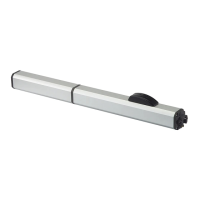
12) Fit the cover (fig. 8) on the operator as shown in fig. 9.
N.B.: Fix the guide support of the cover on the hole furthest
from the cap (fig.8).
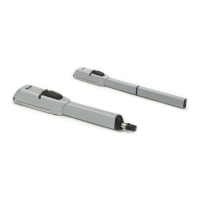
13) Repeat the above operations to install the second operator.
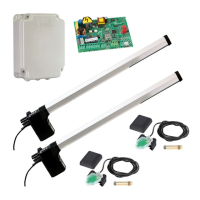
14) Install the control unit box according to the dimensions
shown in fig.10.
The box can be surface-mounted (fig.11) or flush-mounted
(fig.12).
15) Make the control unit connections as described in
paragraph 4.1.