Do you have a question about the FAAC 400 Series and is the answer not in the manual?
Explains warning symbols used in the manual for safety and operation.
Details safety signs and symbols according to EN ISO 7010 standard.
Lists necessary tools and their types or sizes for installation and maintenance.
Explains handling and storage markings found on product packaging.
Details safety precautions specifically for installers during installation activities.
Outlines procedures and risks associated with the transport and storage of the product.
Instructions on closing the vent hole to prevent oil leaks.
Provides guidelines for the proper disposal of the product and its components.
Defines the specific intended applications and purpose of the FAAC 400 actuator.
Details the operational limits and conditions where the product should not be used.
Explains the different types of hydraulic locks and their implications.
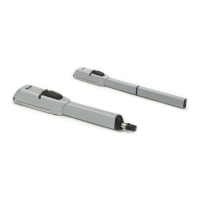
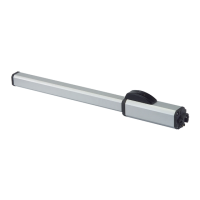
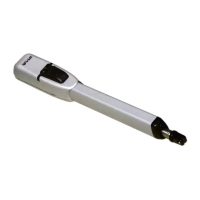
Describes the rod stroke options available and their suitability for different installations.
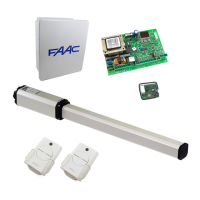
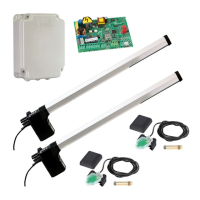
Lists all the components included in the package for the actuator.
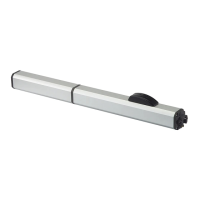
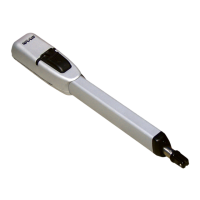
Provides the physical dimensions of the actuator models.
Step-by-step instructions for releasing the actuator for manual operation.
Step-by-step instructions for restoring automatic operation after manual use.
Specifies the structural and mechanical conditions required for proper installation.
Details the electrical system requirements and safety precautions for installation.
Explains how to determine the correct position for the rear bracket installation.
Provides installation measurements for the 400 model.
Specific steps for installing the rear bracket on a steel pillar.
Instructions for installing the rear bracket on a masonry pillar with an embedded plate.
Steps for installing the rear fork onto the actuator.
Instructions for connecting the joint to the actuator rod.
Explains the method of fastening the actuator by welding.
Explains the method of fastening the actuator using screws.
Steps to remove the breather screw for initial setup.
Details how to adjust the actuator's force using by-pass screws.
Lists the essential final checks to ensure proper functionality and safety.
Describes the final operational steps and documentation required.
Outlines the routine maintenance tasks and their frequency.
Details specific checks and tasks for the actuator's scheduled maintenance.
Lists safety recommendations for users operating the automation system.
Table showing wind use limitations for specific 400 models.
Table showing wind use limitations for the 400 SBS L model.
Measurement data for outward opening applications with the 400 model.
| Operating Temperature | -20°C to +55°C |
|---|---|
| Protection Class | IP54 |
| Model | 400 Series |
| Protection Rating | IP54 |
| Voltage | 230 Vac |
| Power Supply | 230V AC |
| Usage | Residential |
| Motor Type | Electromechanical |
| Safety Features | Obstacle detection |