Facina_VKPCCTV_Instructions_Rev01
27
Aim Your Camera :
Your Camera is built with RED LED to indicate the Passive
Infrared Sensor detection coverage area and the capture area.
Please follow below operations to test that area.
• After mounting the camera to pillar or tree by the
provided mounting strap, installing batteries and SD card.
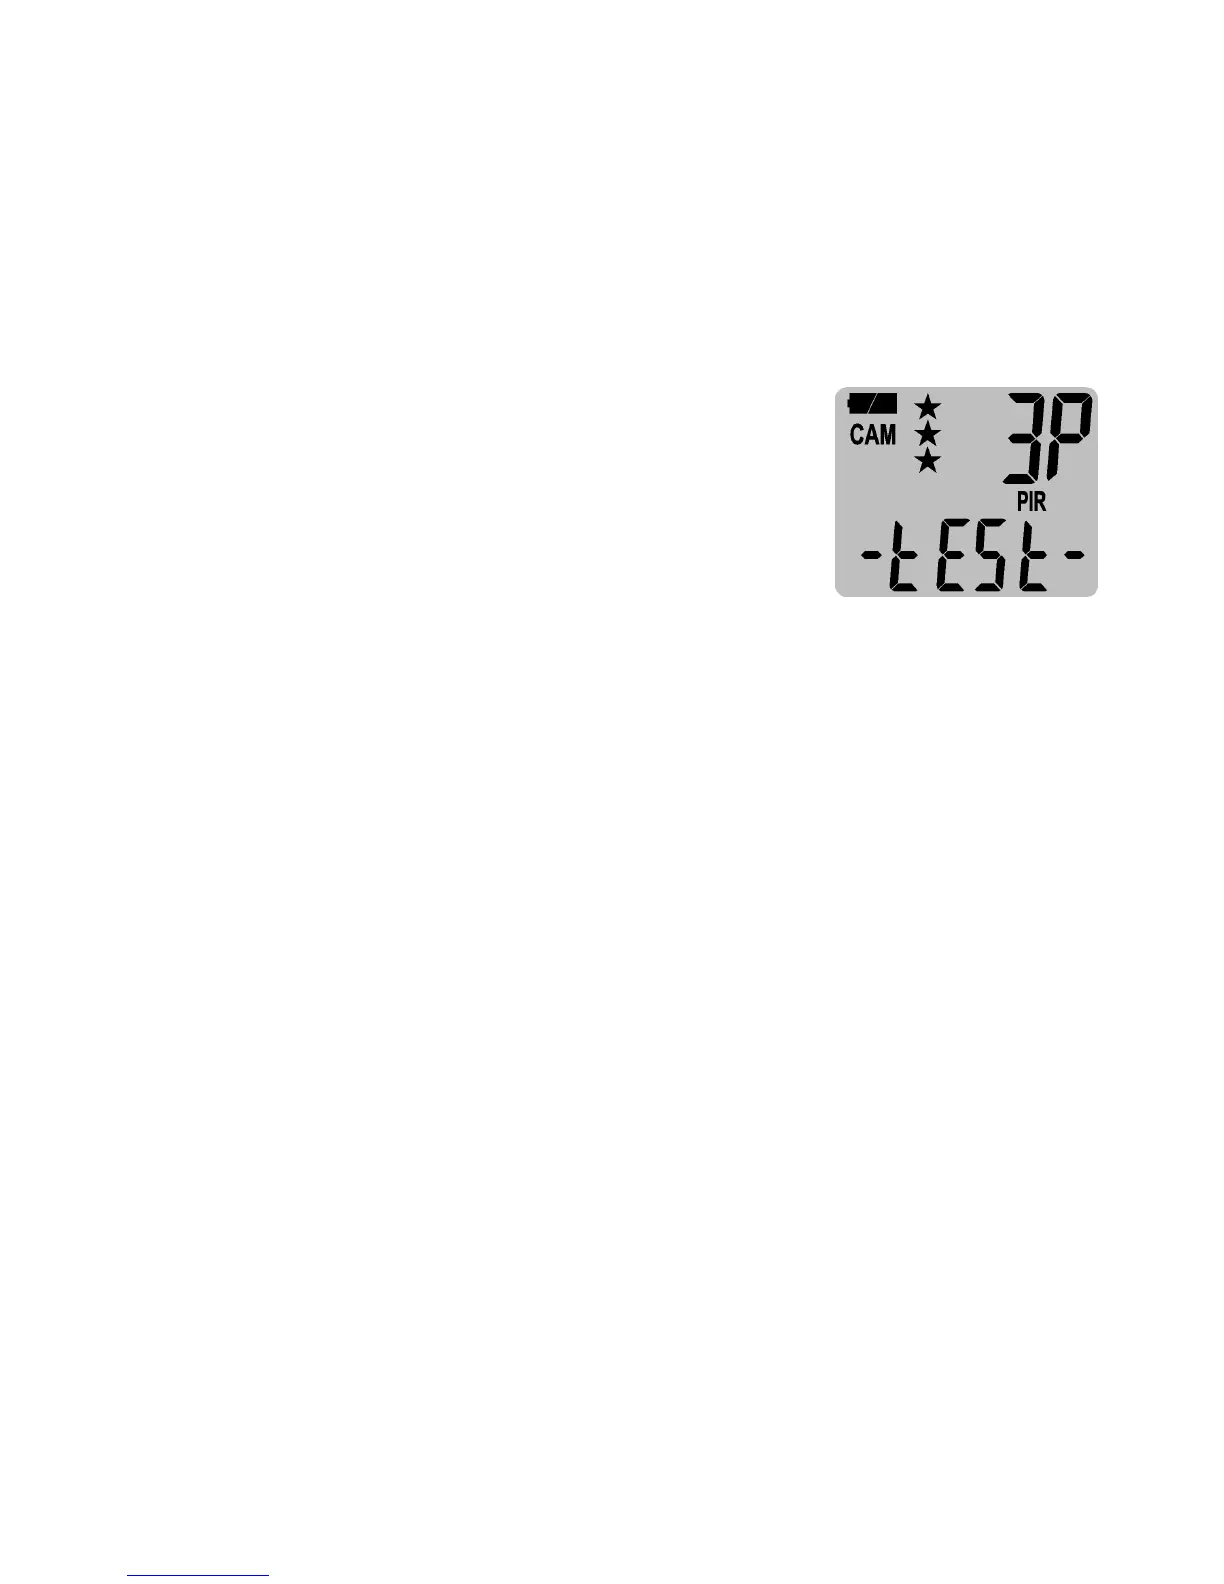
• Open the cover, and then slide the
switch to TEST position from OFF.
• The display will show - tESt -.
• Walk around in front of the camera
to see if you have mounted the camera in the proper
position. The RED LED indicator will blink when you have
intruded the coverage area.
• Adjust the camera position as needed and repeat testing
until the desired coverage area is achieved.
• When you have completed the coverage area testing and
slide the switch to CAM or A or B from TEST and please
close the front cover with lock.
• Now camera will start 60 seconds countdown by
displaying from 60 to 0. It gives you one minute to leave
the coverage area. Then camera will be armed and enter
the PIR detection Mode or Time Lapse Mode.
NOTE: Make sure you slide the power switch from TEST to A or
B or CAM position before you leave the field. Otherwise, the
Camera will not take any pictures and will auto power off for
power saving if it is switched at TEST for more than 5 minutes.
Wake it up by sliding the switch to OFF then to TEST / A / B /