The user can set automatic exposure without complex operation.
The user can have more professional settings, for example setting shutter speed as 1 s ~1/8,000
s; and the ISO can be set as 100, 200, 400, 800, 1,600, 3,200 and 6,400.
It provides users with more professional camera setting. AUTO can adjust the white balance.
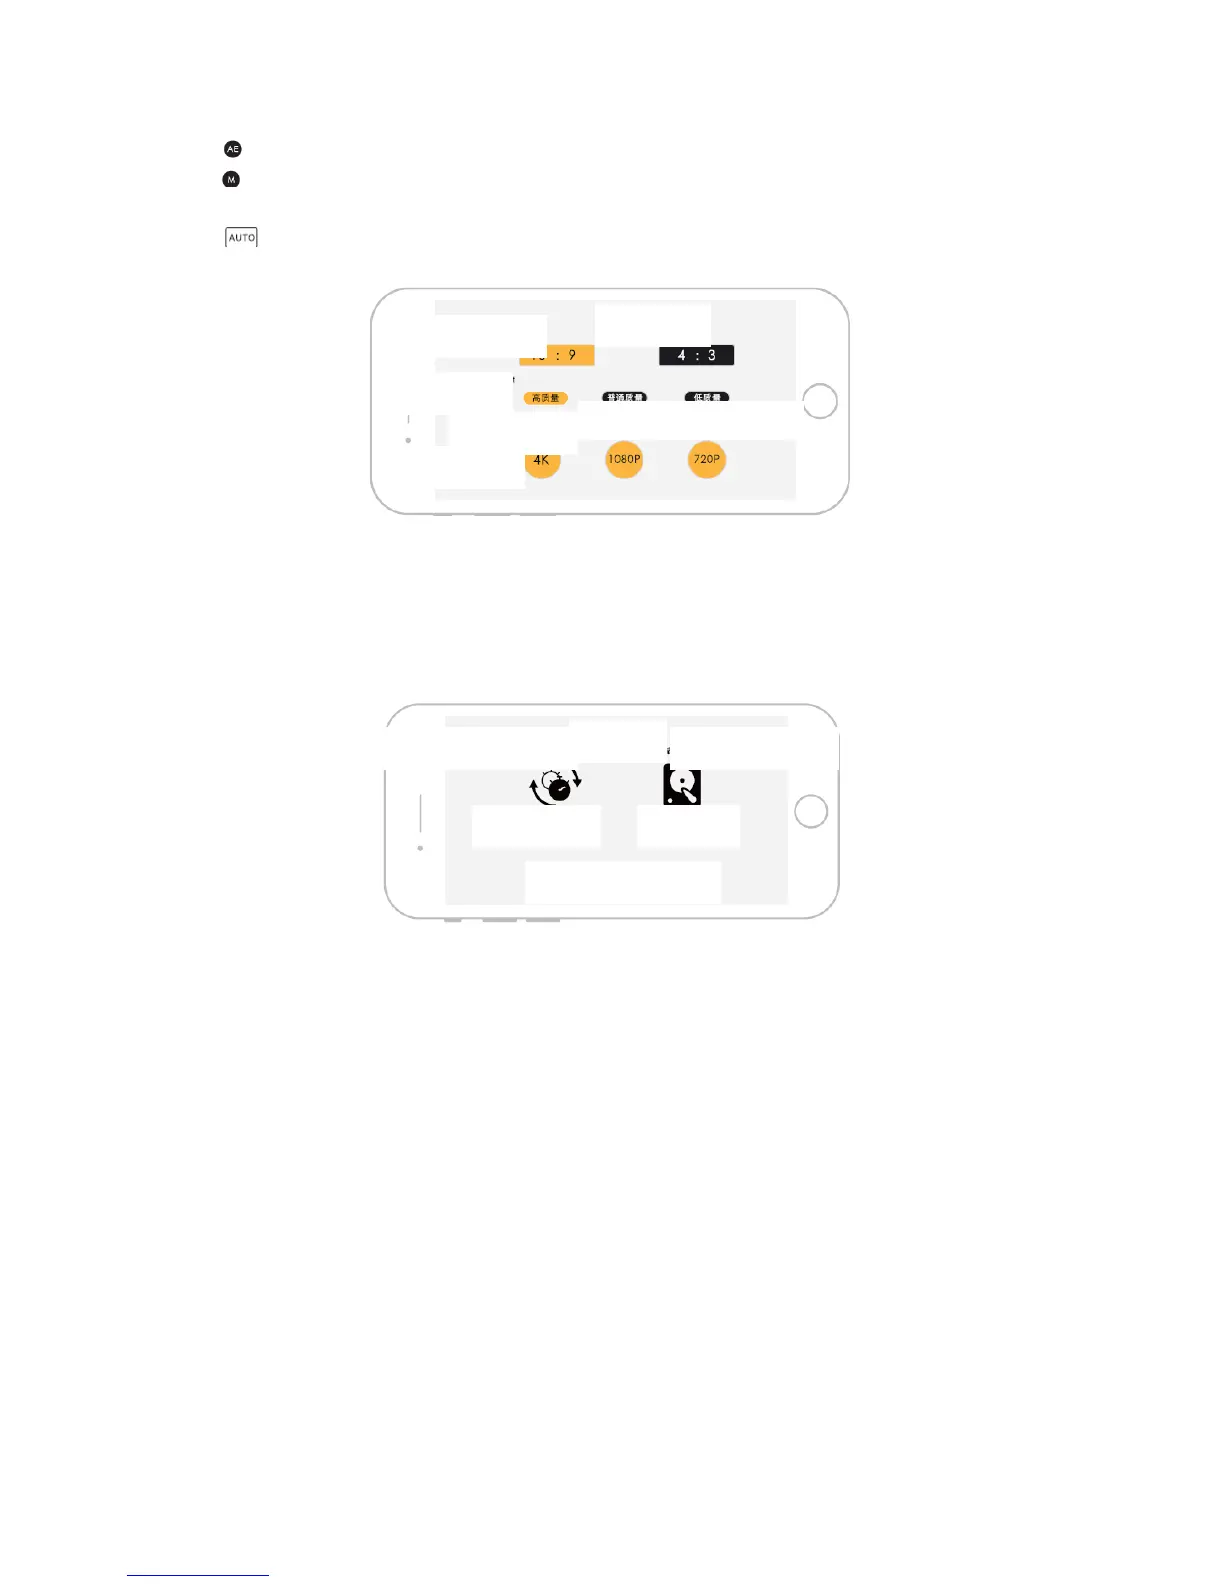
Image Quality Interface
Photo Size: The user can set photo dimension as 16:9 or 4:3 based on demand.
Photo quality: The user can set photos to high quality, common quality or low quality.
Video quality: The user can set video to 4K, 1,080 P and 720 P.
Other Columns
The user can restore factory settings or format memory card in other columns.
Synchronization time: Synchronize the time of aircraft with the time of mobile phone.
Basic Flight Steps
1. Put the aircraft on flat and smooth ground and face to the aircraft end.
2. Start up the aircraft.
3. Operate J.ME FLY App, connect mobile equipment and enter J.ME FLY control interface.
4. Calibrate magnetometer.
5. After the aircraft GPS signal is normal (it is suggested the GPS satellites is more than 12),
enter safe flight mode; long press take-off button for 3 s until the aircraft flies to 1 m high.
6. Slide “forward” button to move the aircraft away from operator; slide “back” button to fly
nearer; slide “left” button to fly left; slide “right” button to fly right.
7. To land off, press “land” button and the aircraft will land to the ground vertically from current
position and the motor will stop rotating.
8. After shutdown, close the aircraft and J.ME FLY.